With a plentiful supply of wood available, it would have been silly to use electricity to heat our water. The trouble lay in finding a supplier of boiler stoves. We visited several places locally, but the available models ranged from "inserts" (to go in an existing fireplace) through to pellet stoves. Not a boiler stove in sight anywhere.
Undaunted, I turned to the Internet, and found a website in the UK called https://www.woodburningstoveslimited.com/ which seemed to have exactly the model we wanted. (The link is purposefully not clickable). However, I was unable to add the selected model to the shopping cart for some reason, so I emailed them. I received a very snooty reply:
I WANT A BOILER STOVE! Waste of time and a very expensive installation cost which takes a long long time to re-pay. The Royal Collage(sic) of Engineers announced in January 2012 that they were recognising that plumbers are currently not trained or experienced enough for the eco technology ie installation of boiler stoves. We recognised this several years ago and withdrew our boiler stoves from the market. Translated plumbers were a hit and miss for installation and we were finding some plumbers taking £2000 to £3000 to leave with a plumbing system that did not work, not just from our stoves but from all boiler stoves on the market. We feel chances of finding an installer who can actually fit it is minimal as the knowledge has been lost over a generation, young plumbers are not up to the technology and the cost of fitting outweighs the benefit of any hot water produced. Just go for the largest woodburner you can install without a boiler.
I replied that this was a pity, as I would be installing it myself in any case; but the answer I received was fairly insulting, basically casting aspersions on my ability. I did try to find the email so I could quote the reply in its entirety, but then remembered I was so annoyed at the time that I just deleted it. So in all honesty I don't recommend this company.
I then found another UK-based company, StovesCentral. The model we selected was the Bestfire Ember 12kW Multifuel boiler stove. This has an output of up to 7kW to the room, and 5kW of heat output to the built-in boiler. This is stated to be sufficient for up to 4 radiators, so is the ideal size for our requirements. It arrived very quickly too. If you're looking for a boiler stove, I can recommend this company.
It was exceedingly heavy to move into place though - 130kg! Made in China, of course, like so many other things these days; but we have no complaints about the quality. The stove itself has a 5-year warranty, and the boiler warranty is 3 years.
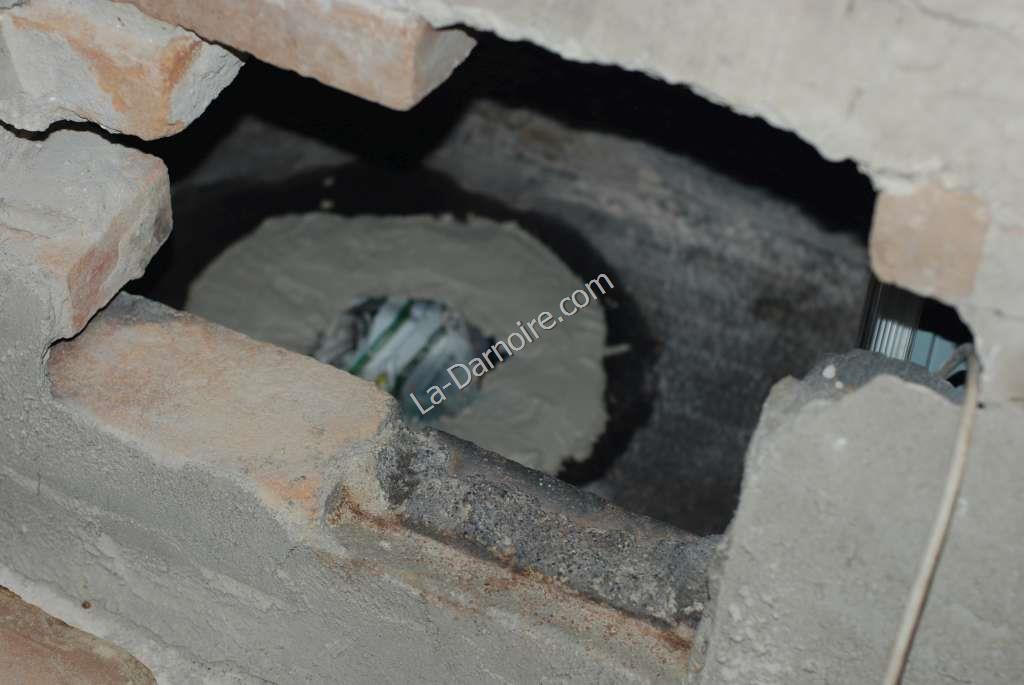
We positioned it directly below the thermal store so that thermosyphoning would eliminate the need for a pump. Using 22mm copper tubing I connected it to the thermal store. Unfortunately the stovepipe exit was on the opposite side of the room, so some building work was required upstairs! Firstly I had to remove the existing metal inspection cover in the chimney; this measured about 20cm long by 10cm high - far too small for accessing the chimney. A larger inspection cover was installed before the bricks were replaced. I'm afraid the photo is a bit blurry, but you can see through the hole in the brickwork the newly-installed collar for the stovepipe (the stovepipe connects to the underside of this collar).
Update, 2015
Earlier this year we had a stainless steel chimney liner installed by a local company. This has not only improved the "draught" for the boiler stove but we no longer get smoke filtering through into the bedroom from gaps in the chimney brickwork! The metal inspection cover is now obviously redundant; and in fact I now leave it open so that the brick chimney receives some ventilation.
The stove has 4 connections at the back. These are 1" BSP. The top two were joined together and connected to the top inlet of the thermal store; this is the hot water inlet. This copper pipe was insulated using ordinary closed cell polyethylene foam. The lower two connections were joined together and connected to the copper pipe leading to the bottom of the thermal store - this is the cold water return and was not insulated. When the water is heated in the stove, thermosyphoning takes place (in simple terms, the hot water goes up the hot pipe, and the cold(er) water descends down the cold pipe to replace it. Unfortunately I did not take a photo of the rear of the stove (and it's too heavy to move it about to take a photo now!)
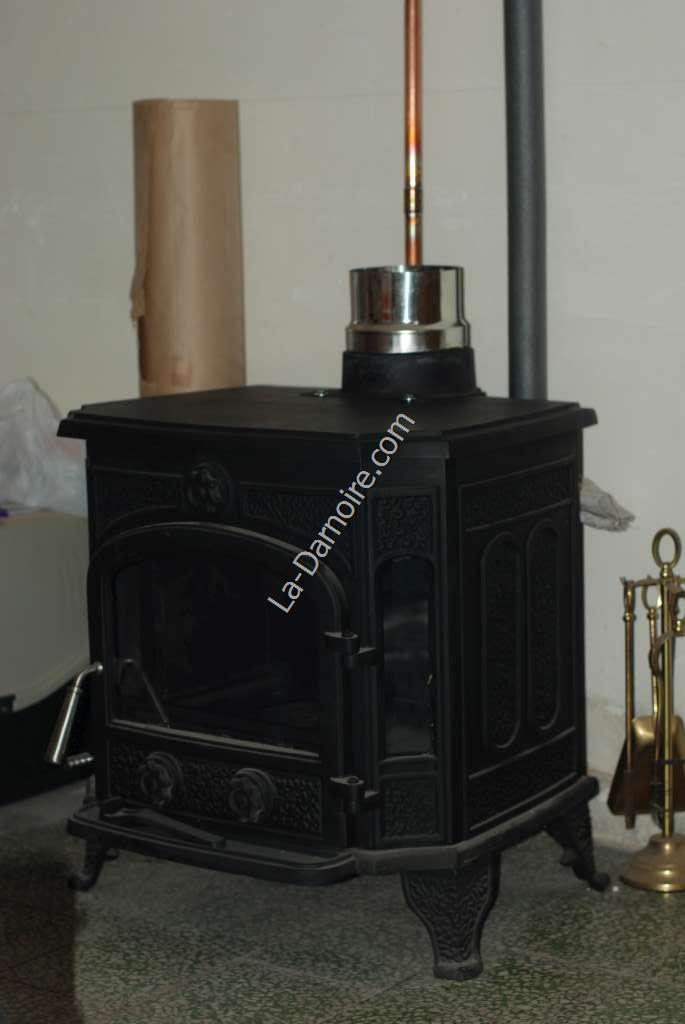
We obtained some sections of stainless steel 6" (150mm) stovepipe, and using two 90° bends, linked the stove to the chimney collar I had installed earlier. Now I need to mention something regarding stovepipes. I initially thought that the stove designers had made a mistake; both our second-hand kitchen woodburner and this new boiler stove had outlets which were sized to take the female end of the stovepipe. Of course this means that as far as the stovepipe is concerned, all the male ends are pointing upwards.
This is absolutely fine until you have moisture inside the stovepipe; either due to condensation or - possibly - rain entering the sytem. This is certainly possible if your chimney does not have a cowl. (Update, 2015: At the same time our chimney liner was being fitted, a proper cowl was installed). If moisture is present, you are rewarded by drips of foul-smelling black liquid which either run down the outside of your stovepipe, or drip onto your nice clean floor. Surely it would have been a better idea to have the female ends of the stovepipes pointing upwards?
Well, I've since discovered that this depends upon which country you're in.
European flue systems are designed so that the male stovepipe ends point upwards. If there is a leak, the flow of air is into the pipe in the same direction as the smoke, and the flow of air is thus not disrupted. The pipes should also be made in such a way that the joints are airtight and do not need sealant.
UK flue systems, on the other hand, are designed to allow the downward flow of water. Any water or condensate can thus run down inside the pipe into the fire. The joints are normally a loose fit and are filled with sealant. This usually cracks easily when you take the stovepipe apart for cleaning, so more needs to be applied.
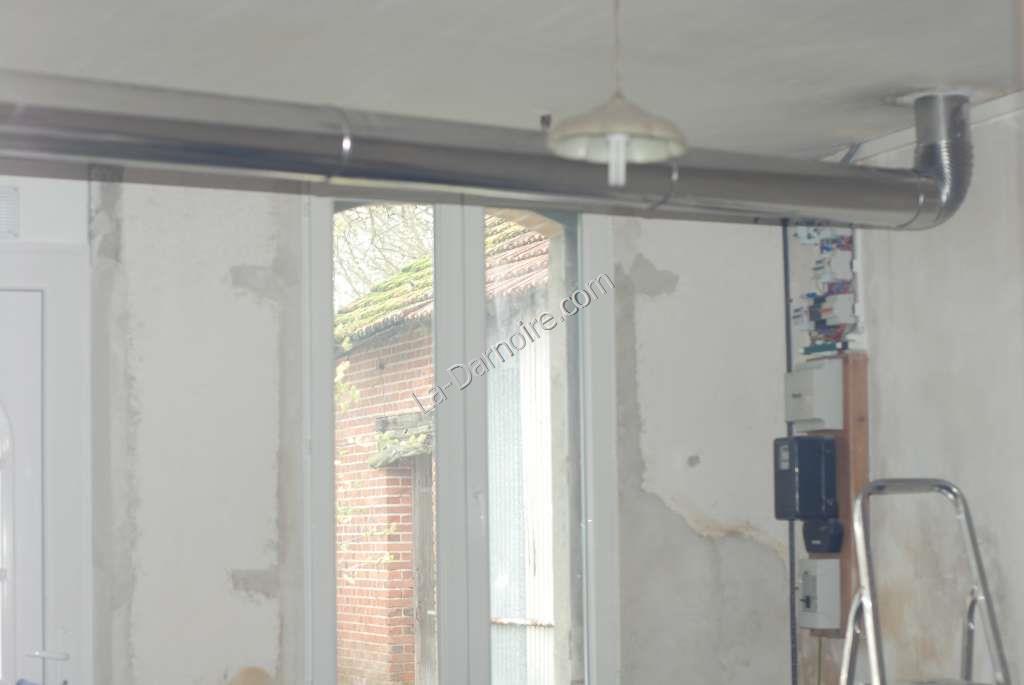
Despite being in France, I decided to arrange the stovepipes the British way! Of course this meant I had to slightly modify the male end of the lowest stovepipe so it would fit into the stove outlet. But at least we no longer have black drips exiting the joints! The two lower sections you can see in the photo below came with the second-hand replacement kitchen stove which we bought.

The rest of the stove pipe travels just below the ceiling. It helps to warm the room! I did consider whether it needed to be supported in the middle, but have found that the ends are perfectly capable of holding it in place. (There is a stainless steel screw holding the 90° elbow to the ceiling). It's also not perfectly horizontal; it slopes slightly upwards towards the chimney exit.
The stove itself can take log lengths of 40cm; but for ease of use I cut all the firewood into 30cm lengths. When the stove is first lit, the temperature at the top of the thermal store remains fairly constant for the first half an hour. Thereafter it increases fairly rapidly. To give you an example, here are some measurements I took recently:
17:04 Stove lit. Temperature in thermal store 41.1°C.
17:35 Temperature 45.0°C
18:02 - 52.9°C
18:34 - 58.2°C
19:16 - 64.1°C; hot enough for a bath! (The water loses some 10°C on its journey from the hot water coil in the thermal store to the kitchen hot tap despite the pipe being insulated. And because it's an enamelled iron bath that we're currently using, this deducts another 10°C)
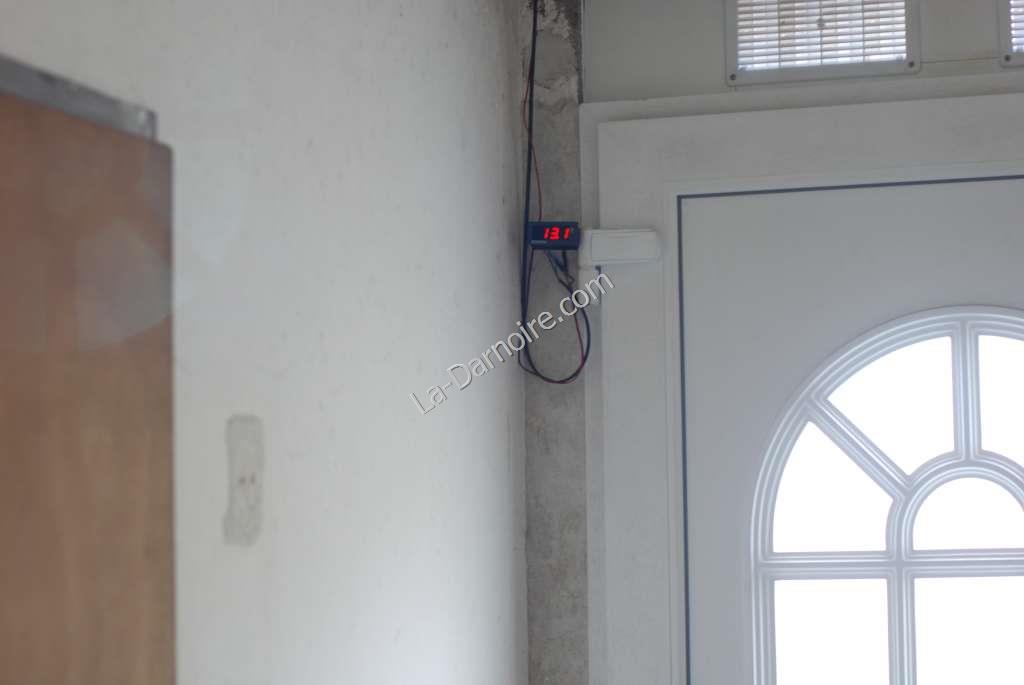
How do I know these temperatures? Well, I installed a probe in the thermal store of course! (Not just one, but three; I go into more details on the Thermal Store page.) Here's the digital LED screen in its temporary location above the front door (the photo was taken before the stove was lit for the first time):
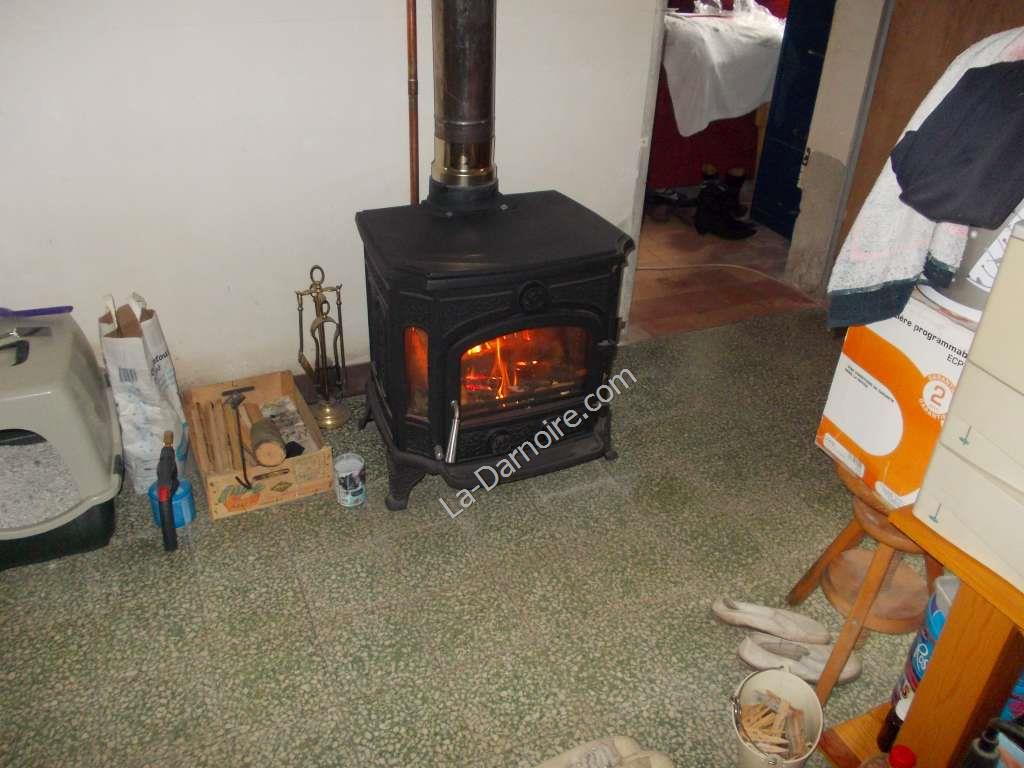
And finally a photo of the boiler stove in action! (If you look at the lowest stovepipe you'll notice the male end is crammed into the stove outlet as described above).
How to clean wood stove glass
A final word on how to clean the glass of the wood stove: simply crumple up an old newspaper, wet it slightly, and dip it in the white fluffy ashes from the previous fire. Rub the stove glass gently; you'll find the sooty coating comes off fairly easily. Then take a fresh piece of damp newspaper and wipe the glass again. Finally wipe it with a piece of dry crumpled newspaper. It's a daily job which only takes ten minutes, although if you skip the cleaning for a day it does take a bit longer! I believe this technique should not be used if you use wood pellets for fuel, but proper wood ash certainly works. I've read that a technique to stop the glass from sooting up at all is to run the fire really hot; but this method doesn't work for us. Probably because this is a boiler stove, a lot of heat is absorbed by the water tank.
Next page: Thermal Store