We love a good barbecue. Or "braai" as it is known in South Africa. I even made my own by cutting an aluminium beer barrel in half and mounting it in a frame which I welded together. Several inches of sand in the bottom of the barrel provides a nice base for the fire and prevents the barrel from damage.
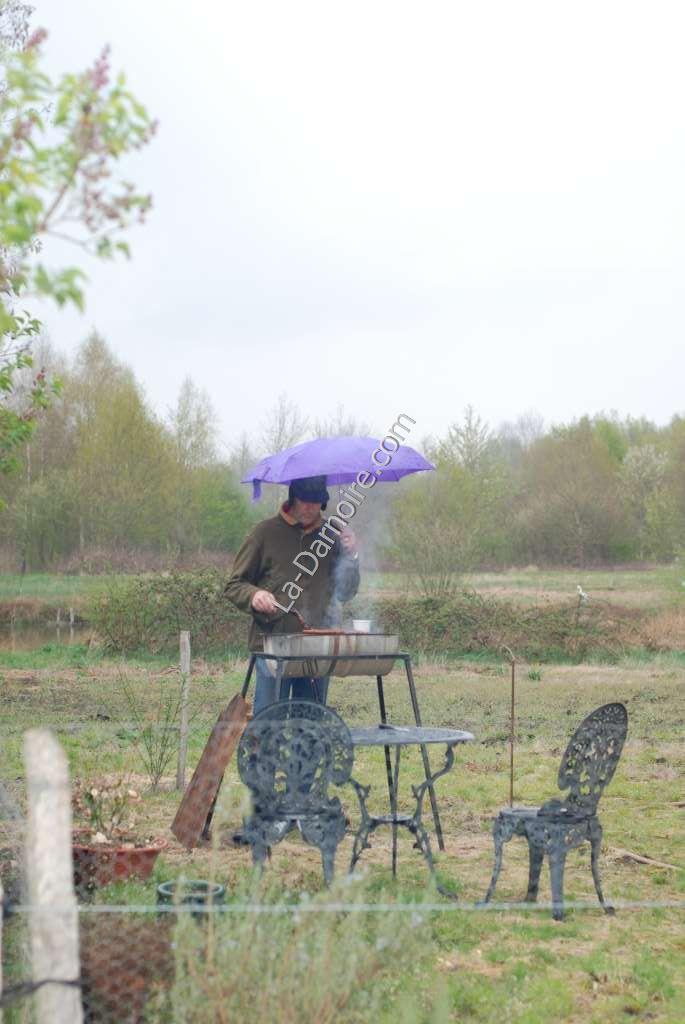
As luck would have it, no sooner had we lit our first barbecue here than it started raining. Undaunted, I kept cooking, under a fetchingly-coloured ladies' umbrella!
The only real barbecue in my opinion is one using solid fuel; either wood or charcoal. The exception would be if you live in a block of flats with a balcony - in that case using a gas or electric barbecue would be fair enough.
As we have around 30 hectares of woodland here, there is sufficient fuel for us to barbecue to our heart's content. My personal preference regarding fuel is for charcoal. Not those compressed briquette things, but real charcoal. Once we got here, for the first month or so, I used supermarket-purchased charcoal. I had always assumed that charcoal making was a black art. Well, it is, especially if you shovel it with your hands.
But I did some research. It seems there are two ways of making charcoal.
- The Direct Method
- Basically in this method, the wood is piled up and lit, and then covered. It can either be done in a pit, or in a metal container. Part of the wood is used for fuel, and the remainder turns into charcoal. It seems that this method is used for large-scale production, but requires careful attention to the burn in order to regulate the amount of air reaching the fuel. Let too much air in, and all the wood is burnt and you're left with ash. Not enough air - the fire goes out and you're left with lots of unburnt wood.
- The Indirect Method
- This is a far simpler method. It involves "cooking" the wood in a retort. It's simply a case of lighting the fire, and cooking the wood for around three hours. No regulation of air supply is required. So this was the method I decided to use.
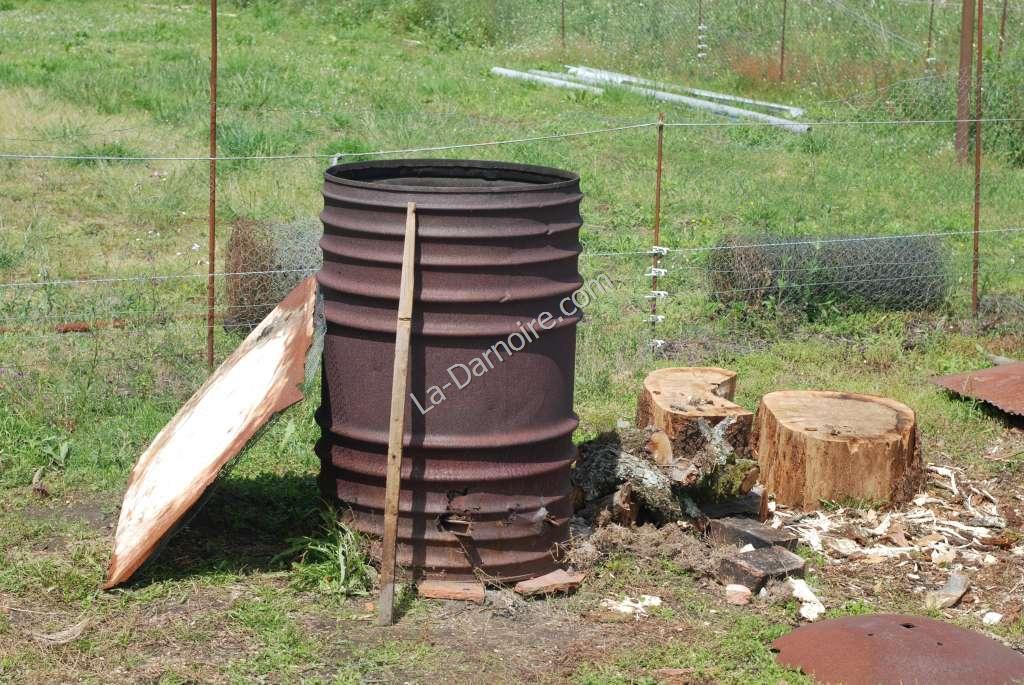
Next to one of the outbuildings was a 210-litre drum which had seen service as a brazier, primarily to get rid of rubbish. I emptied all the ashes and horrible congealed stuff out of it, and pushed a couple of steel bars through the sides near the bottom for the retort to sit on. (A retort is a fancy name for an airtight vessel used for cooking stuff. In this case it is simply a smaller drum which fits inside the big one!)
Pushing the bars through was a lot easier than it sounds, as there were several rust holes in the drum already. Still, these added to the ventilation!
Update, 2014: These rust holes grew rather rapidly with each subsequent charcoal manufacturing run, so hot embers started falling out. I therefore closed the largest hole with a piece of heavy-duty aluminium mesh. However, during the next burn, there was a stiff breeze blowing. The following day, once everything had cooled, I found a puddle of congealed aluminium at the bottom of the drum. As aluminium melts at 660°C, the temperature at the bottom of the brazier must have exceeded this.
The brazier drum has now been replaced with a newer model; I drilled holes all around the base for ventilation, and there are three bricks in a triangle-formation at the bottom to support the charcoal retort.
The next challenge was to find a smaller drum; it had to be as large as possible, but still fit inside the 210-litre drum. I finally found an old empty oil drum which would do the job, and cut the top off with an angle grinder. As luck would have it, I then found another rusty drum of the same size, which had once contained grease. The drum itself was beyond repair, but it did have a removable lid which was still in good condition, so I now had a retort which could be closed.

Closing the retort is important; it prevents oxygen from reaching your charcoal. At the same time, the lid should not be hammered on too tight, because when you heat the wood it releases a lot of water vapour and volatile components (this stuff is known as "wood gas" and can be used for cooking or even for powering an internal combustion engine). This wood gas should be allowed to escape; during the cooking process it will ignite, adding heat to the fire.
I filled the retort with wood. I used oak because I had a lot of oak planks from some rotten old barrels, but any decent hardwood will work. Don't use softwood, it doesn't make very good charcoal. Also, the drier the wood, the better, as less energy will be used to drive off the water vapour. It's also preferable not to have thick chunks of wood as these will take longer to cook. (I've found that splitting the wood into pieces about 2cm thick produces a nice size in charcoal pieces.)
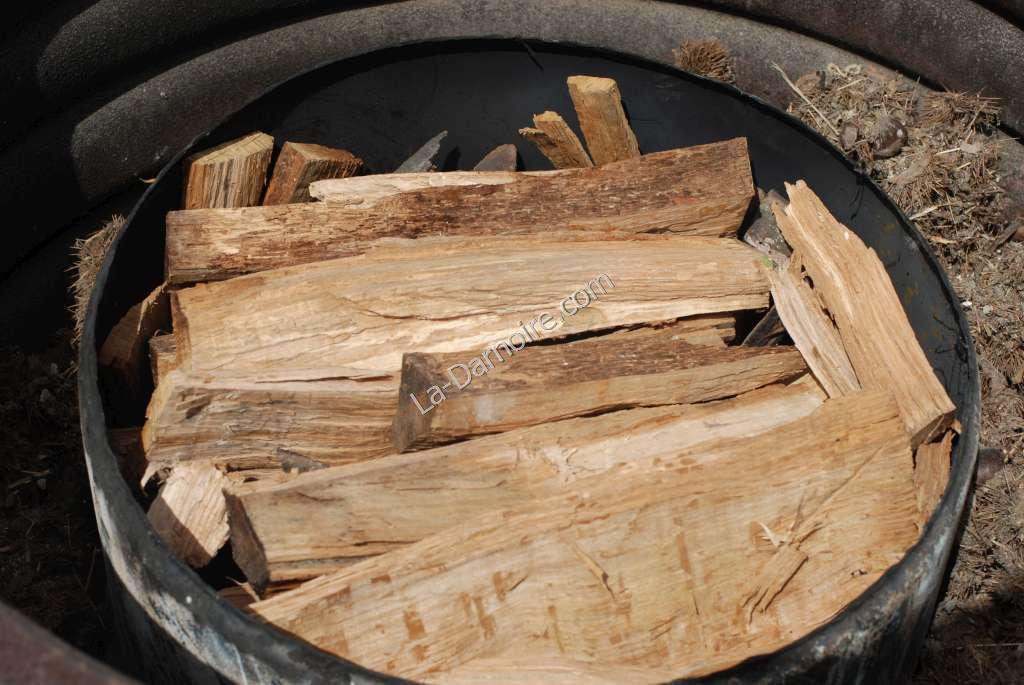
I put the lid on, and placed the retort in the larger drum.
I also added a couple of bricks on top of the lid just to make sure it wouldn't come off. I then packed the sides of the larger drum with yet more wood, and lit the fire.
After the first hour I noticed quite a bit of white smoke billowing out of the lid of the retort. This was then followed by the wood gas, which burnt like a gas jet with a bright orange flame. I kept the fire going for around three hours, after which time I left it alone to die out of its own accord.
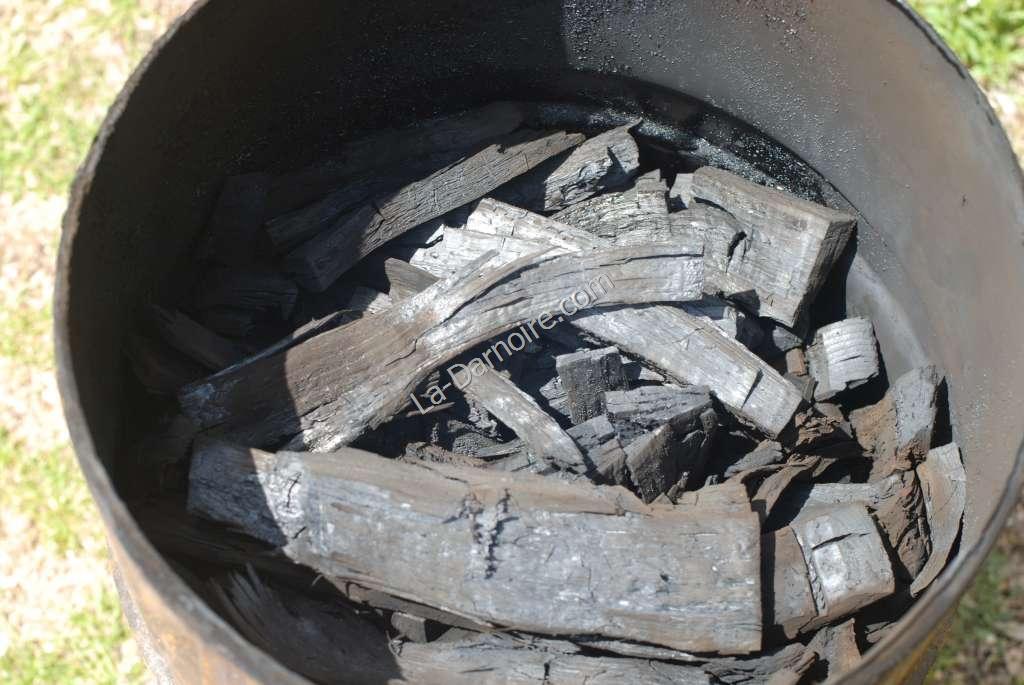
The following morning I removed the bricks, and lifted the retort out of the larger drum. It was certainly a lot lighter! With some trepidation I removed the lid, and was rewarded with the sight of lots of lovely charcoal!
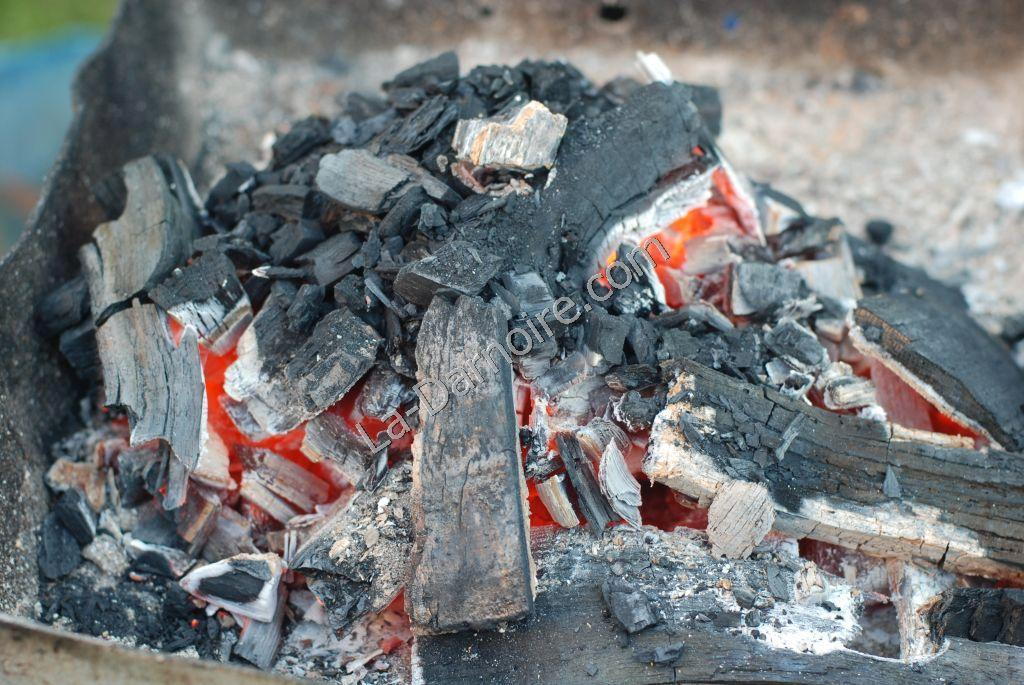
Obviously this had to be tested as soon as possible! Now the secret to lighting a charcoal fire is to use paper. No accelerants or complex petrochemicals required! Simply place some crumpled paper in the barbecue (equivalent to about four sheets of newspaper), and place some pieces of charcoal on top. Not too many, mind! Light the paper.
By the time the paper has burned out, you should see bits of white on your charcoal. This means it's alight. Now carefully stack more charcoal on top, and keep adding pieces gradually. If there isn't a breeze, you may wish to blow gently into the pile, or fan it gently. Once you have a decent amount of hot coals, you're ready to cook!

P.S. The beer is an essential aid to barbecueing - especially if it's home-brewed.
P.P.S. I've lost some weight since that photo was taken!
Comments
Have your say about what you just read! Leave a comment in the box below.