They say a picture is worth a thousand words. Well, in that case, this page is over 31,000 words long! Yes, there are a lot of images. But it details the construction of a bathroom from scratch.
The location we chose for the bathroom was in the part of the house which was added-on as a barn many years ago. It had a dirt floor:
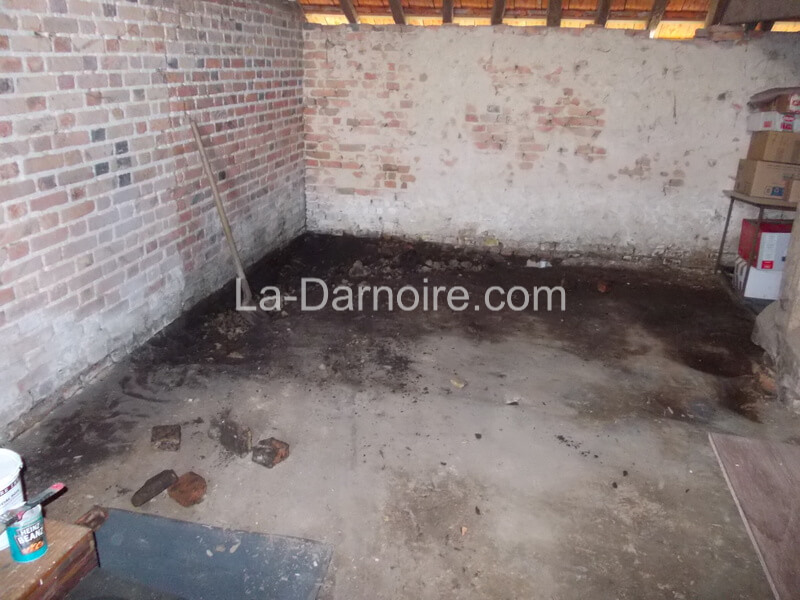
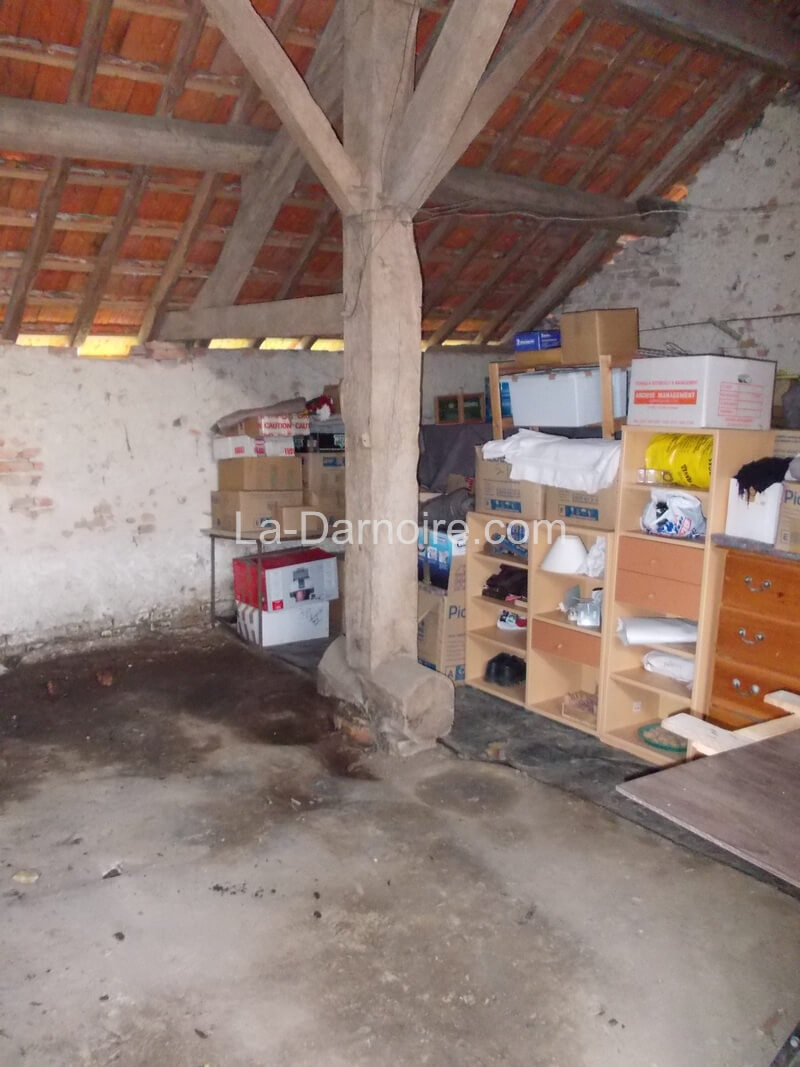
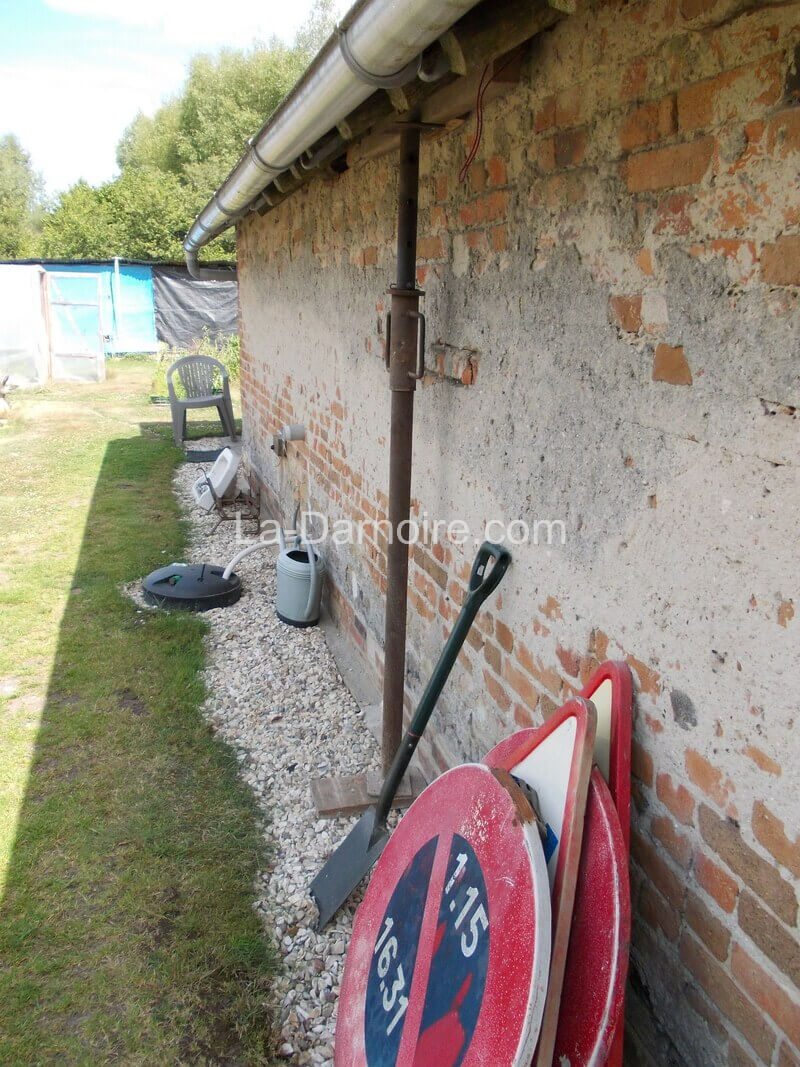
An interesting feature of the barn was the single massive oak support pillar holding up the roof. This determined the size of the bathroom and separate toilet.
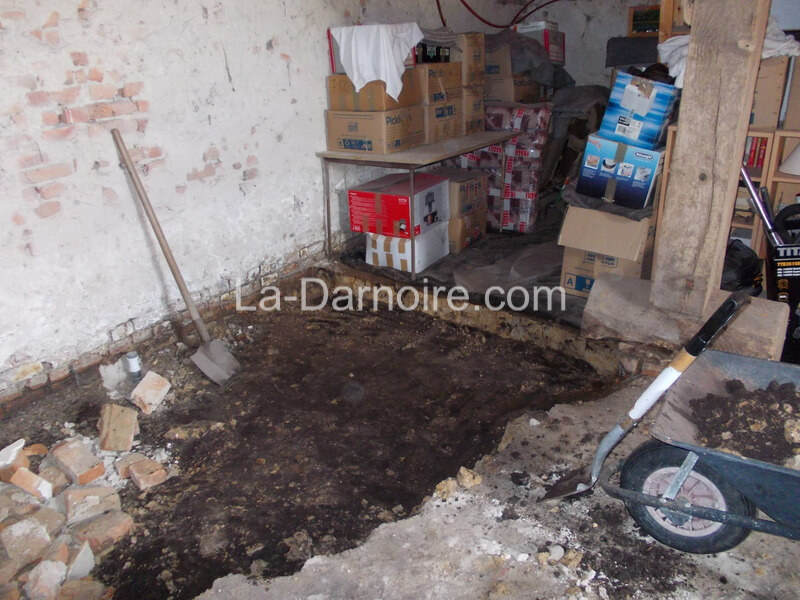
The first step after excavating some of the compacted dirt floor was to install the wastewater drain. You can see it just to the left of the shovel. The scattered bricks you can see come from the breaking through of the corridor to the barn as shown in the gallery photos here.
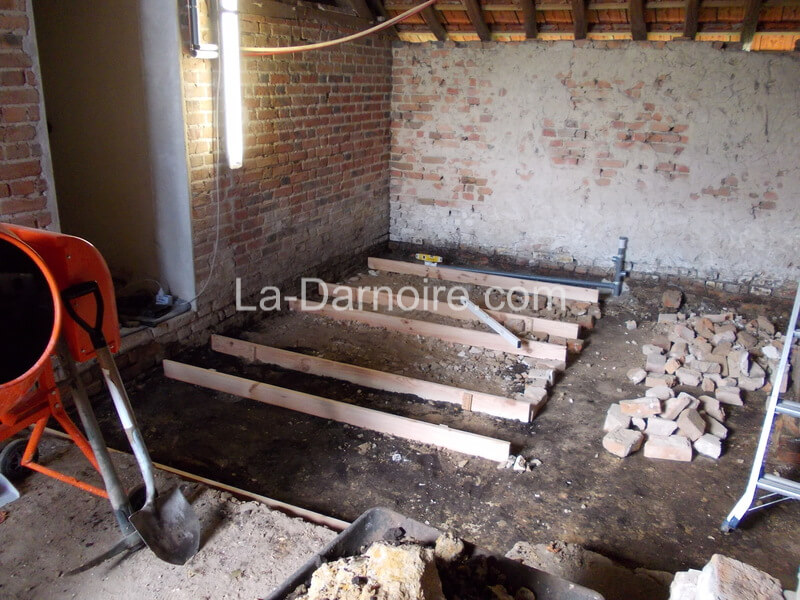
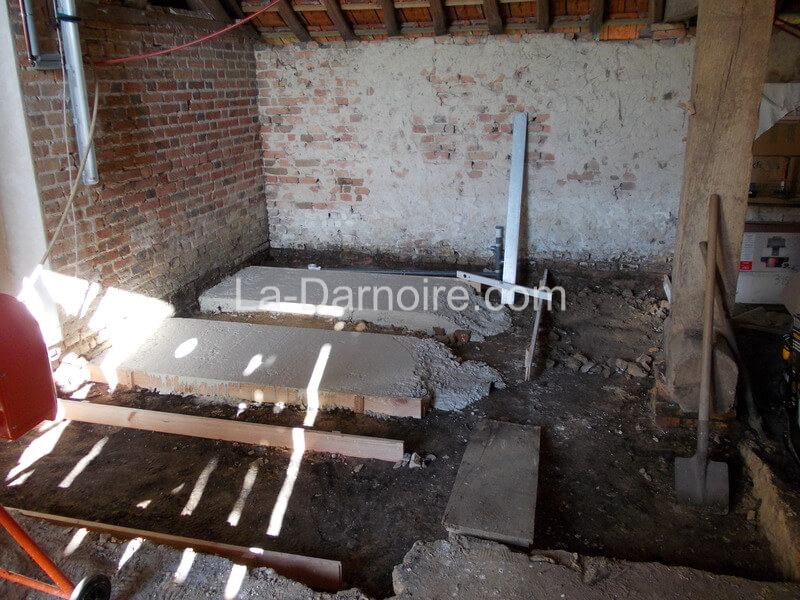
With the excavation of the floor in this area complete, wooden forms were installed for pouring the first sections of a limecrete floor base. This makes it easier to ensure the floor is level. The wastewater pipe from the future shower was also put in place at this stage; it will be encased in the limecrete. It goes without saying that the levels were carefully determined first! So what is limecrete? Simply, a concrete made with lime instead of cement. I used the ratio of 3:2:1 for this i.e. 3 buckets of gravel (the grade here was called 11.2/22.4); 2 buckets of sand (grade 0/2); and 1 bucket of NHL 3.5 lime. And enough water to make a pourable mixture without being too sloppy; probably a ¾ bucket.
T&M visited soon after the following photo was taken, and wanted to know who we'd buried. Yes, they do look rather like graves! But it's just limecrete (lime concrete). Each of the filled forms seen here required ten cement-mixer loads. The depth of the limecrete is approximately 15cm. No reinforcing was used. This allows the limecrete to flex slightly if required, without cracking.
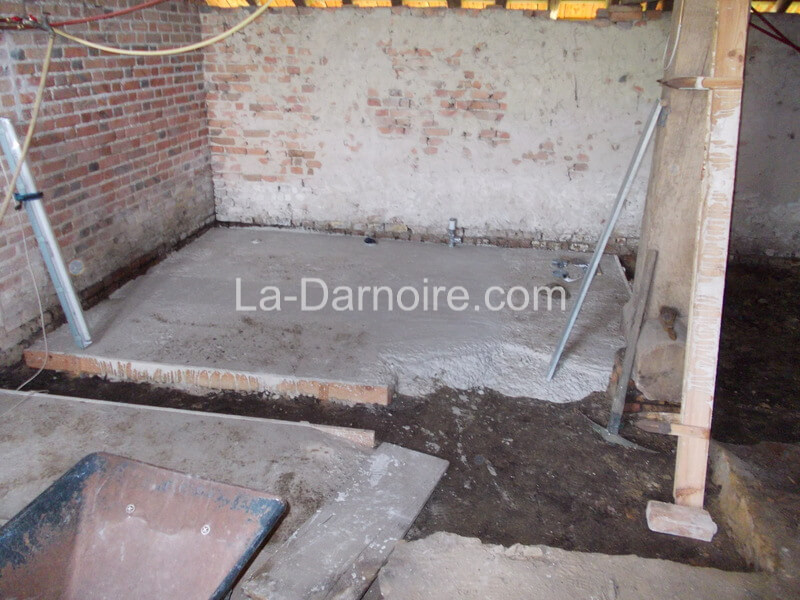
Once the limecrete in the forms had cured, the wooden forms were removed and the areas between filled in with more limecrete. The surface was levelled with a long piece of aluminium straight-edge.
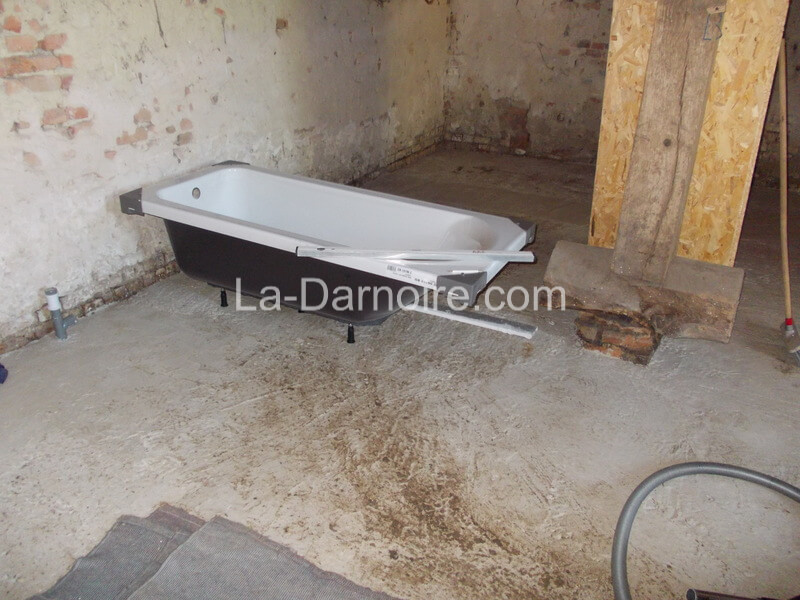
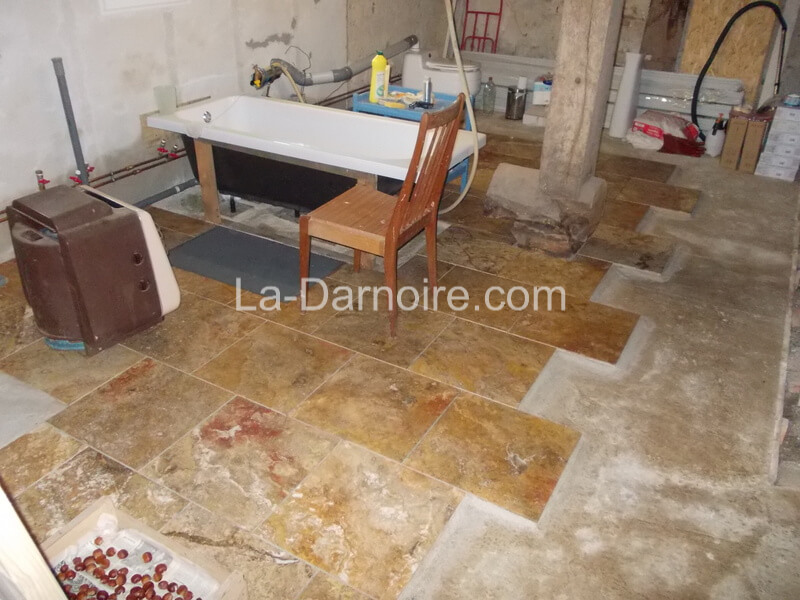
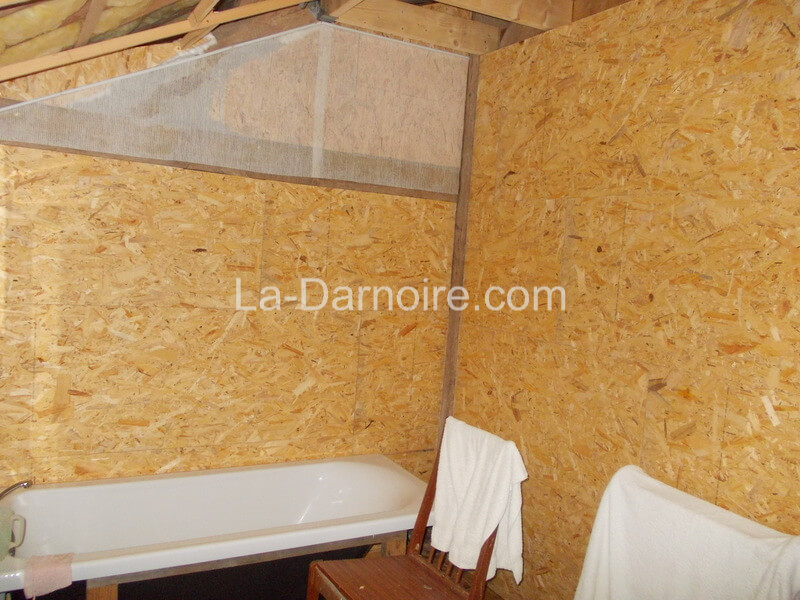
With the floor base finished in the southern half of the barn, the new bathtub could be placed in its approximate final location.
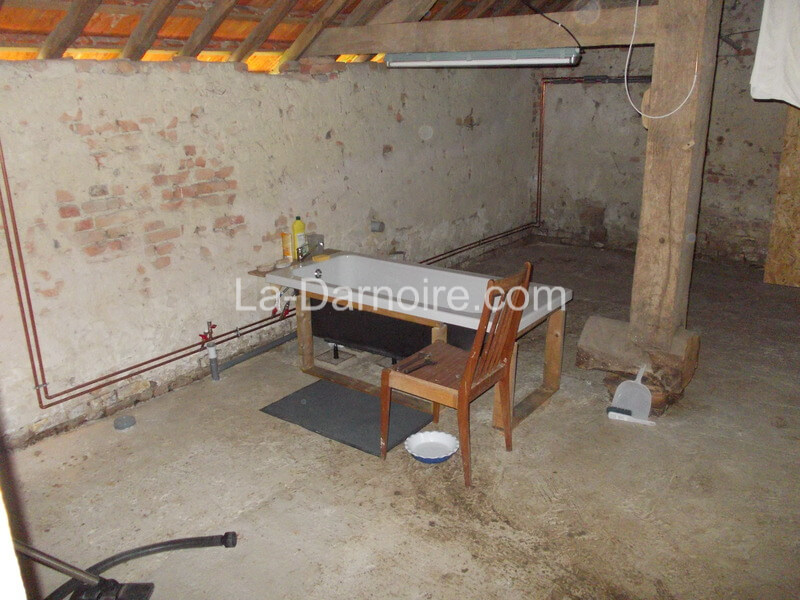
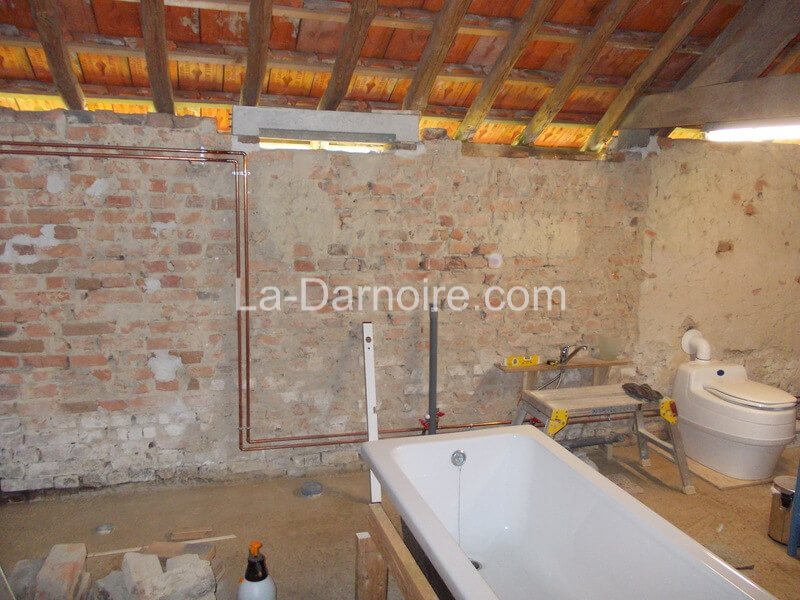
The hot and cold water supply could now be installed. The bathtub was finally connected and usable! The copper piping extends beyond the bathroom, and terminates outside the barn at an external shower - for summer use only, of course! I made the copper pipework in several sections which can be separated. We needed a usable bathroom as my sister was coming to visit, and there wasn't time to render the walls first. By fabricating the pipework in sections it can easily be removed and reinstalled once the walls are done. The bath is not only supported by its feet; I also made a framework from some pallet wood to increase stability.
It was now time to get some natural light into the bathroom! And what better way of doing this than by installing windows. The first step was to install an acrow prop to support the weight of the rafters, which were currently resting on top of the brick wall of the barn.
The upper layer of bricks could now be removed, and I installed one of the reinforced concrete lintels which I had made earlier. These were made with Portland cement. One down, two to go.
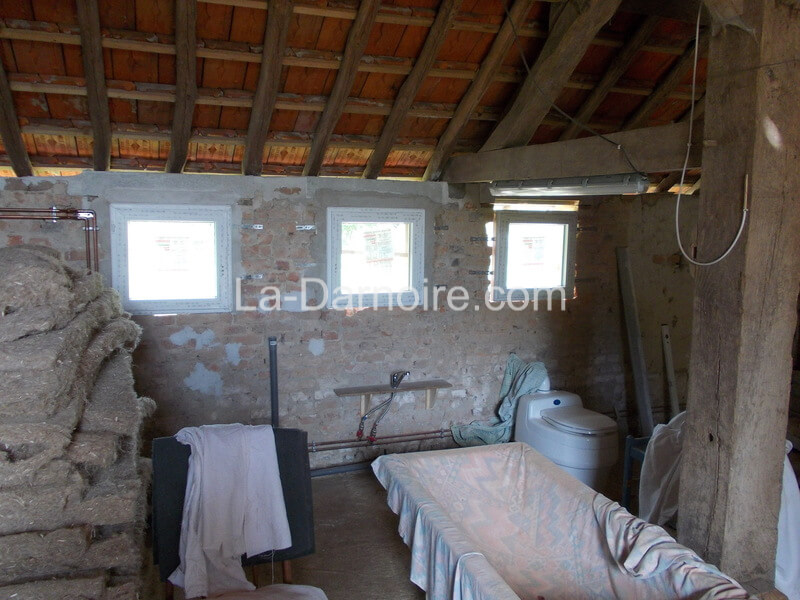
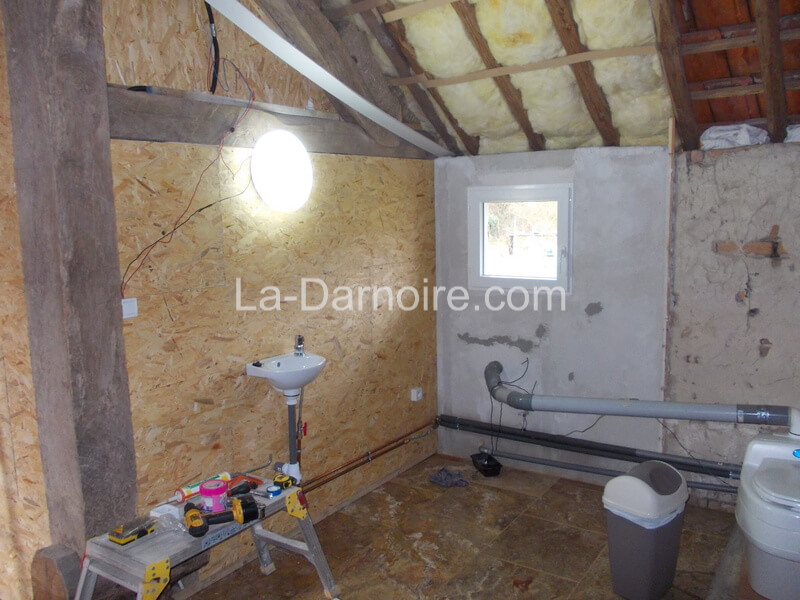
The windows were then installed. Two for the bathroom, and one for the separate Separett toilet, seen here in its final location. On the left is the hemp insulation kindly donated by a neighbour; this will be used within the stud walls. Thanks Christophe!
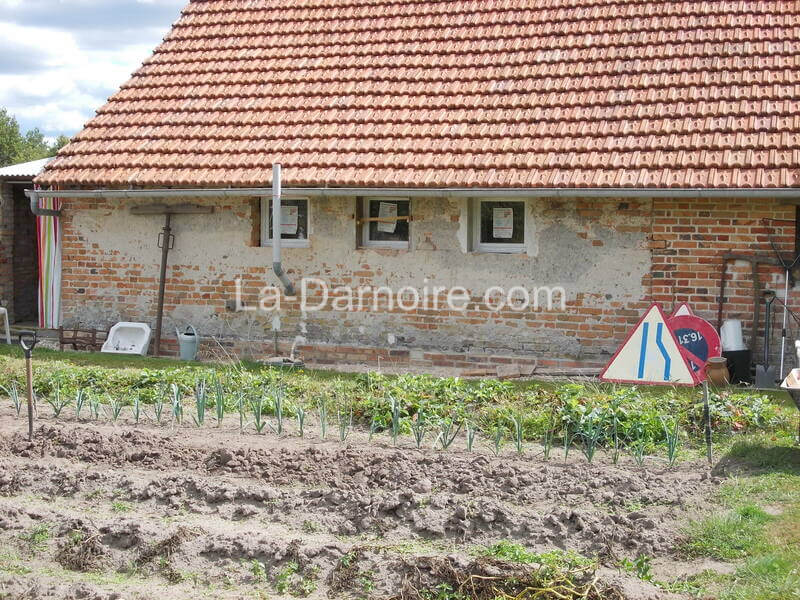
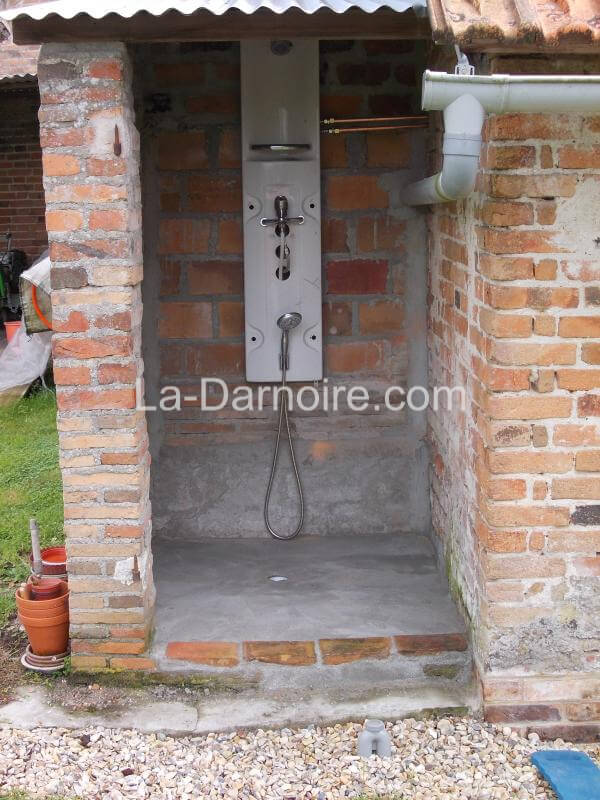
Here's the view from the outside. The pipe you can see here is from the extractor fan of the Separett. It's only a temporary installation; once the windows have been sealed the pipe will be removed and the Separett vented straight through the wall again, as it was before the window openings were made. On the left you can see the little "outhouse" which has now been converted into an outside shower.
Whilst we're on the subject of outside showers, here's a better view. The floor is cement. The shower itself was donated by T&M. Originally the roof sloped downwards towards the back wall; this made it impossible to stand upright, so I reversed the slope of the roof and raised the back wall accordingly.
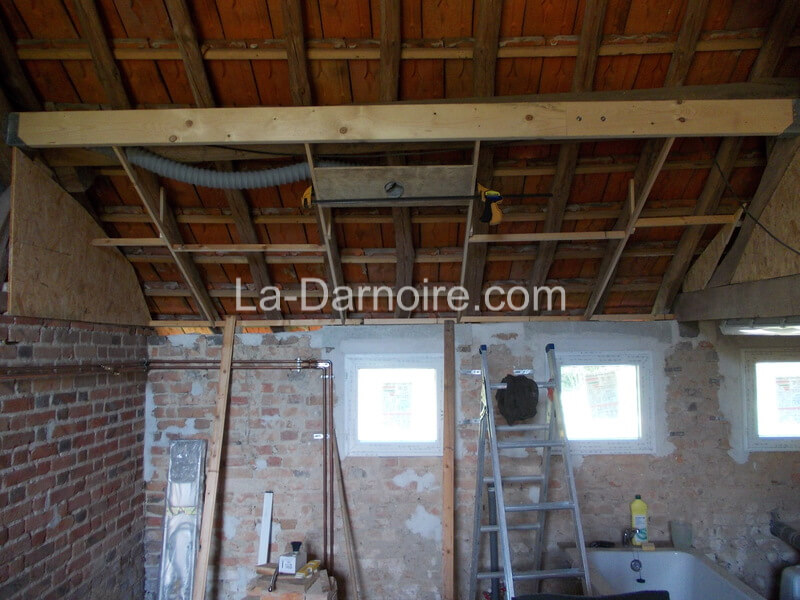
Back inside, I installed a framework under the rafters. This will support a suspended ceiling. Ventilation is also important for a bathroom, so ducting for an extractor was added. The spaces between the rafters will be filled with glass fibre insulation later.
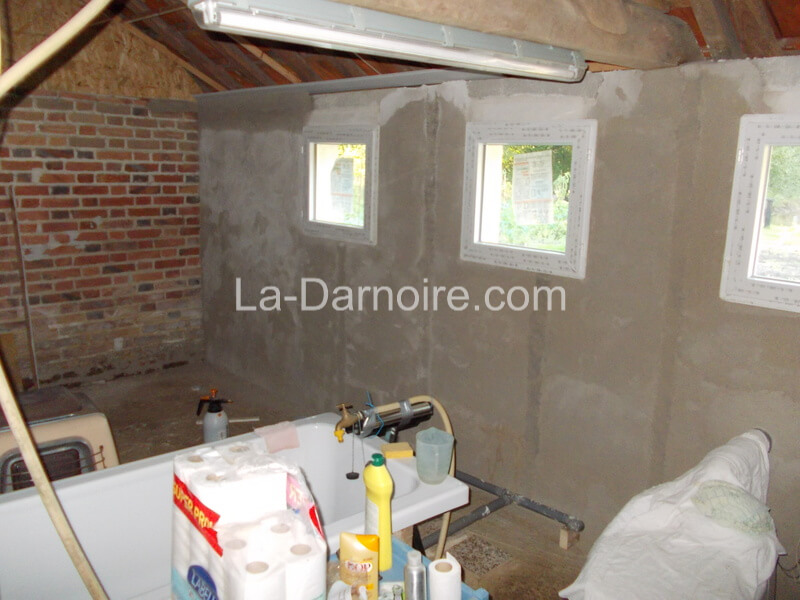
It was now time for my least favourite task; rendering. A lime render was made with a mixture of lime and sand in a ratio of 1:5. The brickwork of the end wall was in much better condition, and will be left as is apart from the section covered with tiles for the shower. You may notice something missing in this photo. Yes, it's the copper pipework for the water supply. This is why it was fabricated in sections; it will be reinstalled once the walls have been fully rendered. As an interim measure a normal hosepipe was used! The bathtub is still connected to the wastewater pipe, of course.
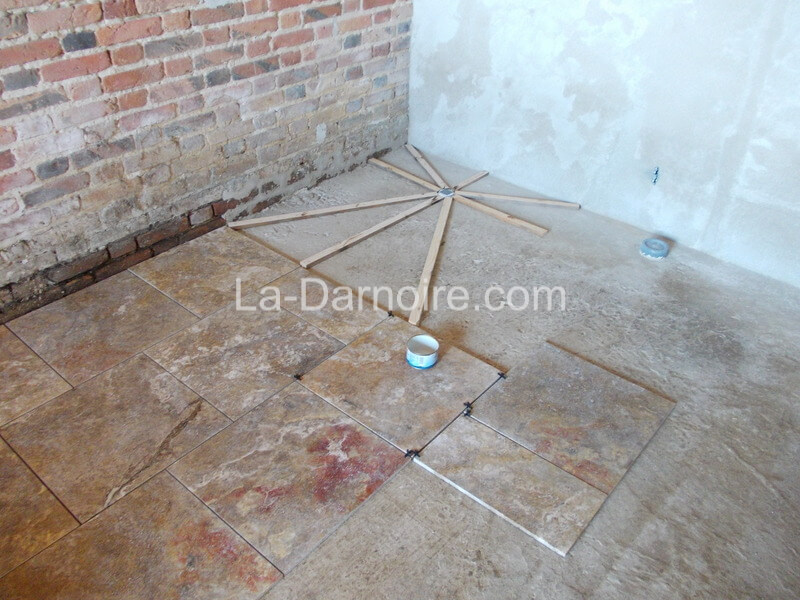
Now on to the floor tiles and shower. The shower will be of the Italian variety; in other words it's not a fully enclosed cubicle. The tiles are travertine, a sort of marble. This particular travertine is from Turkey. In order to ensure shower drainage, I cut some tapering strips of wood of varying lengths. The shower floor will consist of an attempt at tadelakt, and by pouring it between the strips it will be possible to create the right slopes. More on tadelakt later...
The bathroom and toilet floor tiles have now been installed and grouted. I did not bother installing tiles underneath the bathtub!
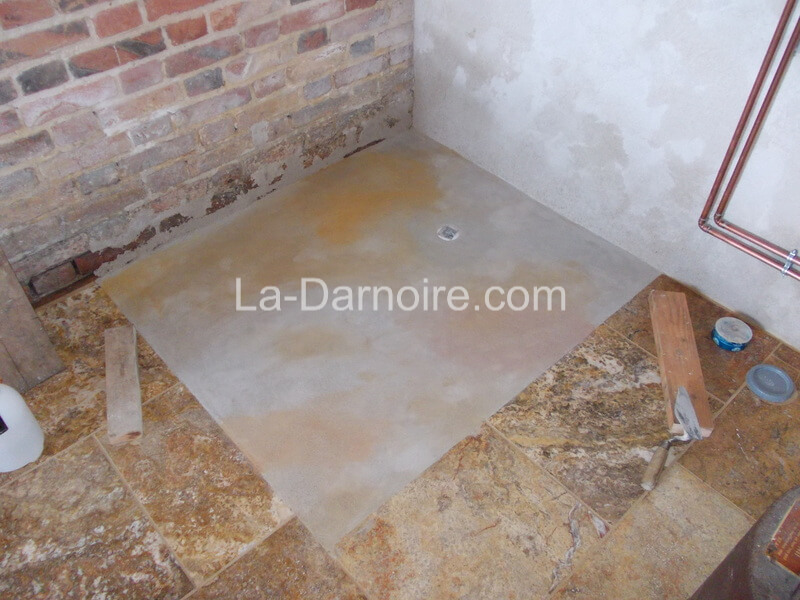
The shower tray. A lime render was made with a ratio of 1:3 lime:sand and poured to form the base of the shower tray. Once it had set slightly, the wooden strips were removed and the gaps filled in with render. Some coloured pigments were sprinkled randomly onto the surface in order to try and replicate the colours of the travertine tiles. Then the tadelakt process could start. Tadelakt is a waterproof plaster, the technique originating in Morocco. The surface was rubbed smooth with a metal trowel, compressing it as much as possible. Some "Savon de Marseille" (olive oil soap) was then applied to the surface, and rubbed in. Lacking the proper "tadelakt stone" I instead used a metal tin with a smooth convex surface (an old sweet tin which you can see on the right). The soap reacts chemically with the lime, making it waterproof. I did not want the surface to be too polished as it would be slippery, so I'm not sure it can really be called tadelakt. It does seem to be waterproof though!
The ceiling was then insulated with glass-fibre and the studs for the walls constructed, starting with the all-important doorframe. At the same time some mini-joists were installed at ceiling level. This forms the base of a cupboard on the upper storey, and at the same time provides a framework for the horizontal part of the suspended ceiling.
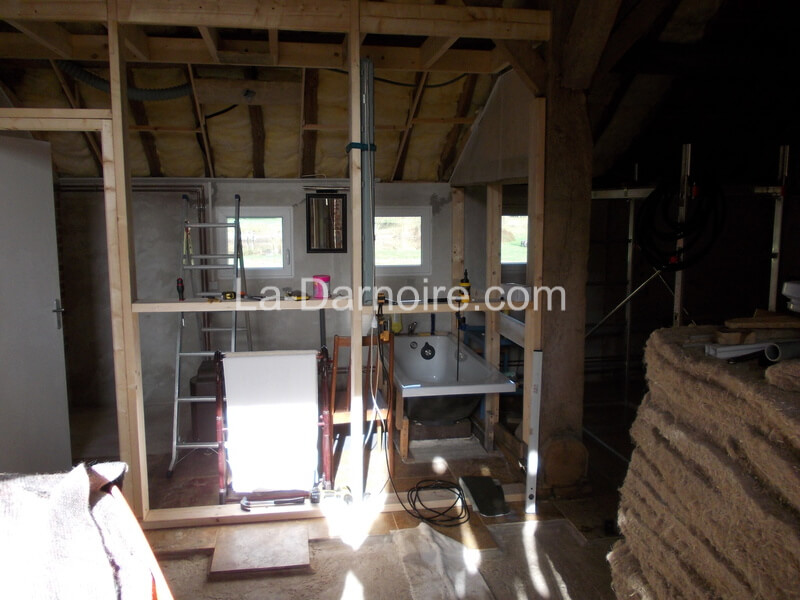
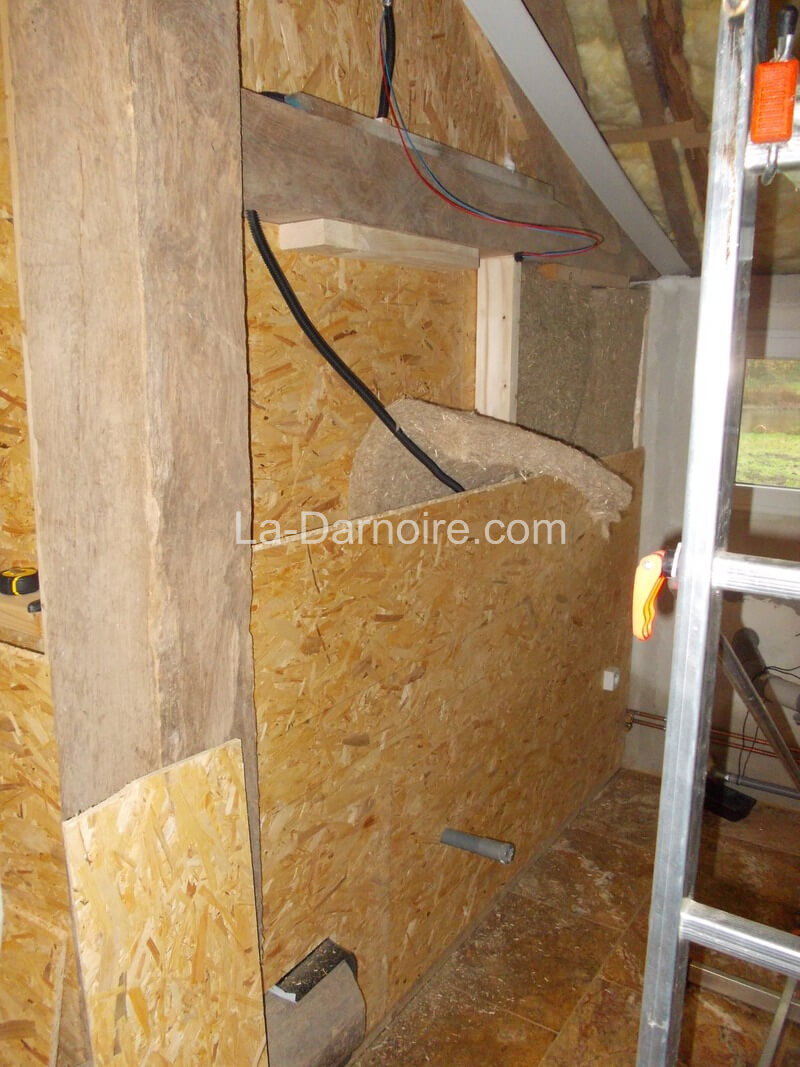
Here's the partially-completed wall between the bathroom and the toilet, with hemp insulation being installed. I used OSB panels to construct the wall. The pipe sticking out near the bottom is for the hand wash-basin. Electrical wiring for the lights is also evident.
The bathroom is finally a room, rather than open-plan! The OSB walls will be painted with a moisture-resistant paint. The whitish covering you can see at the top is some sort of fabric meant to smooth out uneven surfaces. Unfortunately it created a wallpaper-like texture which we didn't like, so it was removed.
The toilet has once again been moved out of position in order to improve access. The hand wash-basin has now been installed, and the LED light fixture installed temporarily; it will be moved to the opposite wall once that has been installed. The roof has also been insulated, again using glass fibre insulation.
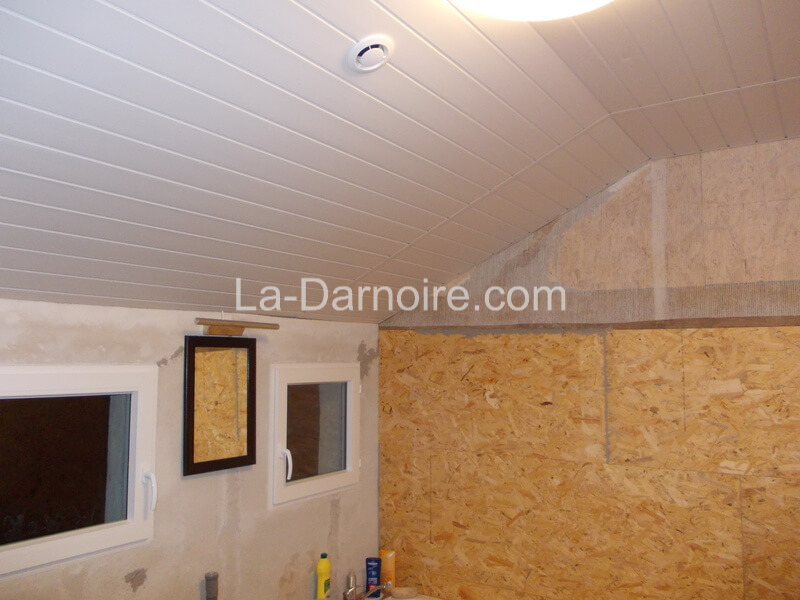
The bathroom ceiling has now been installed, as has the LED light and extractor duct. The ceiling consists of individual PVC panels which link together; they are extremely light and also insulating. The light above the mirror is also of the LED variety.
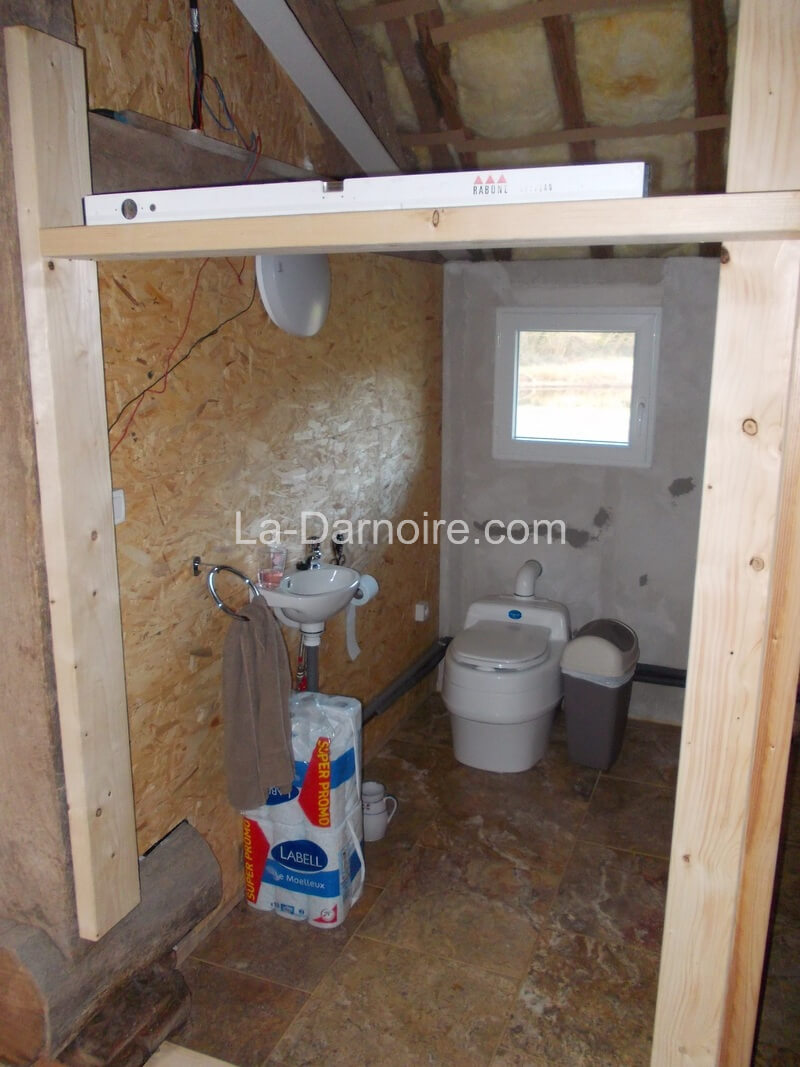
The stud wall for the toilet is taking shape; and the toilet now really is in its final position!
Once again using pallet wood, I constructed a cupboard/shelving unit for the bathroom. At this point we also splashed out on a heated towel rail, as we found the towels were not really drying quickly enough!
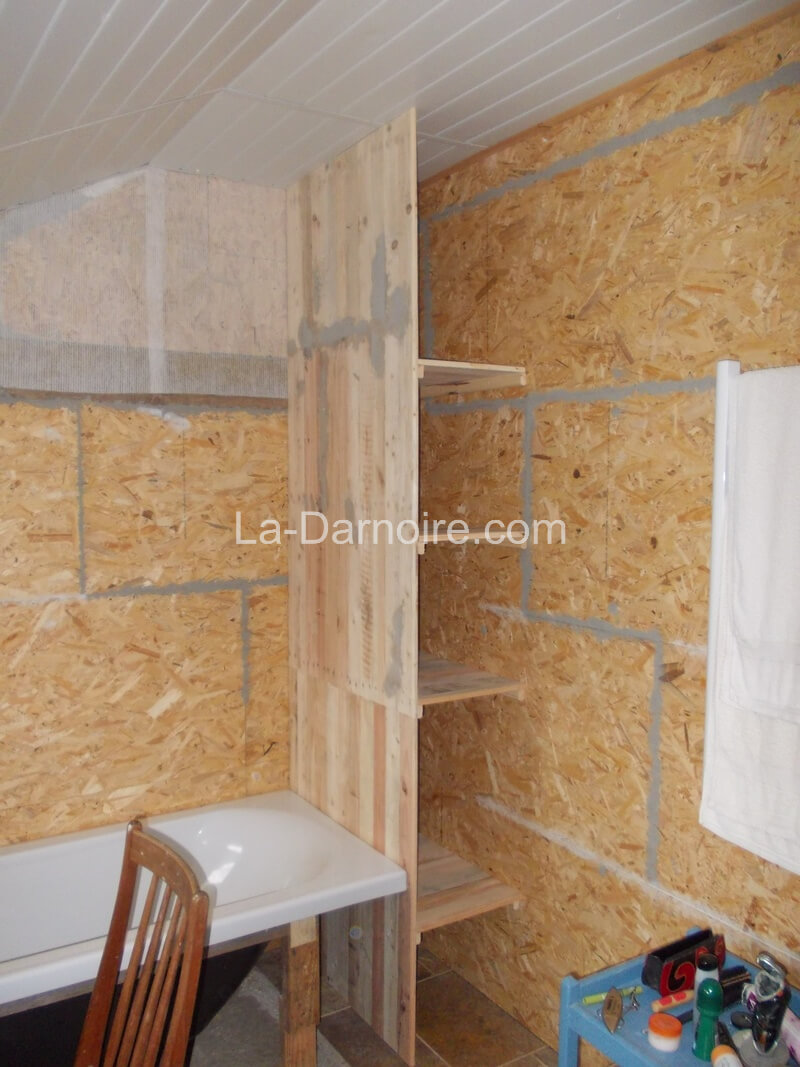
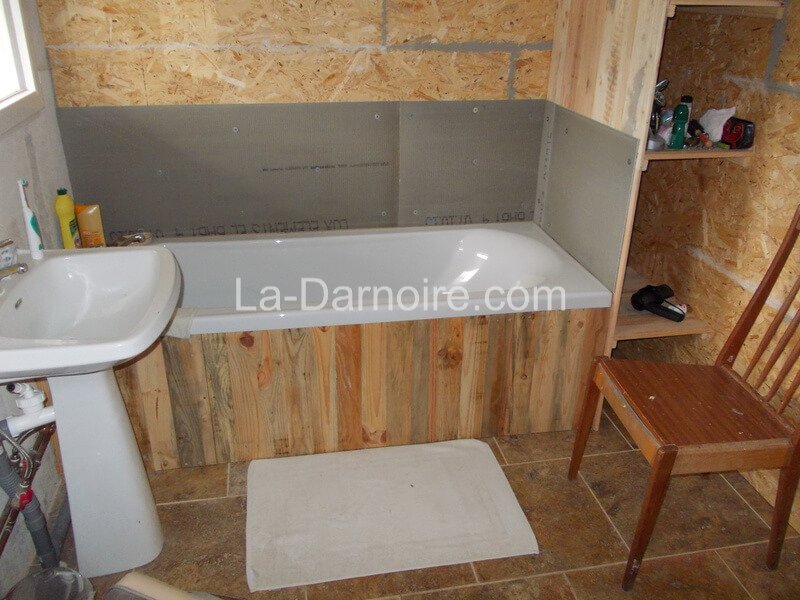
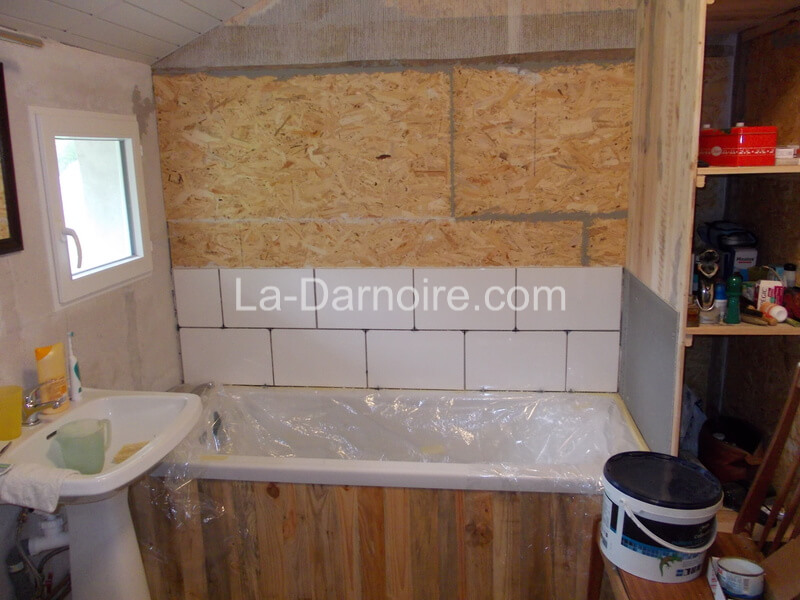
Pallets also provided the wood for a bath surround. Backing boards were installed above the bath; one should not apply ceramic tiles directly to wood in case any shrinkage occurs - if that happens, the tiles will fall off! The sink unit seen here was free; it was rescued from under a pile of junk in The Aged FIL's barn.
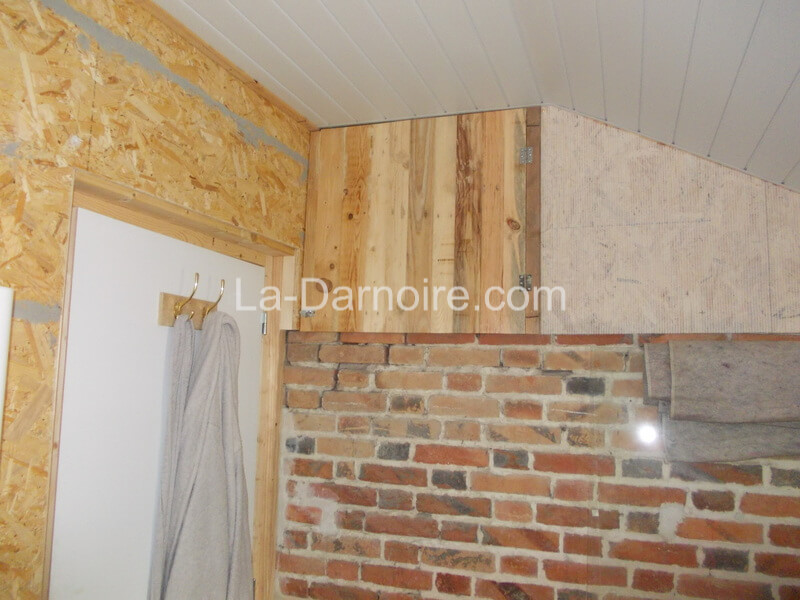
At the other end of the bathroom, I fabricated a door out of pallet wood to close this section. This is a secret location, above the pantry ceiling. I've no idea what its purpose was in the past, but it now houses the VMC unit (extractor fan).
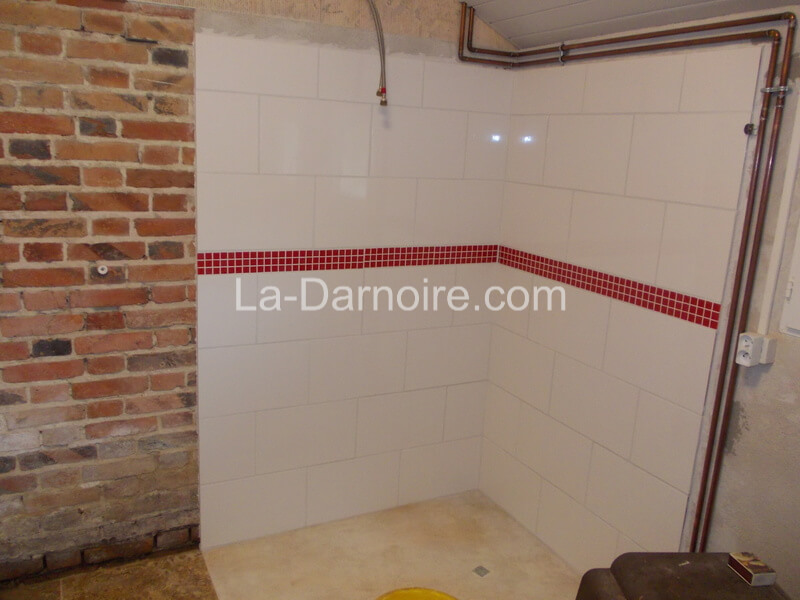
Tiling the shower starts:

Shower tiling finished:
Now it's the bath's turn:
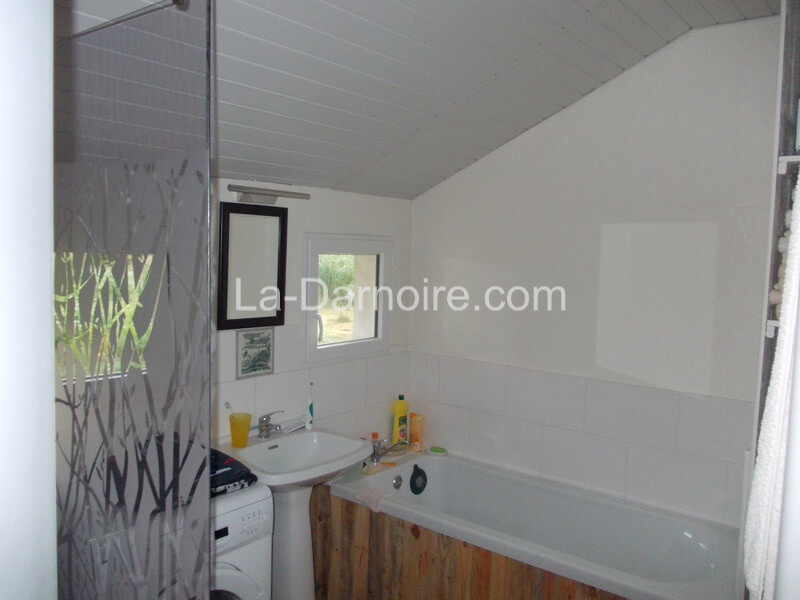
Finally finished! The completed bathroom. The bath tap was sold as a "kitchen sink tap", but we liked the look of it more than those intended for baths.
The other side of the bathroom. The shower "glass" is acrylic. You can also see an ancient gas heater which we picked up for €20. Once the barn construction is finished and fully insulated it may no longer be required.

And finally, you're probably wondering what happened to the old bathtub; the one made famous on the cover of the books. No, we didn't get rid of it. It's back in the garden. We're keeping it for sentimental reasons!