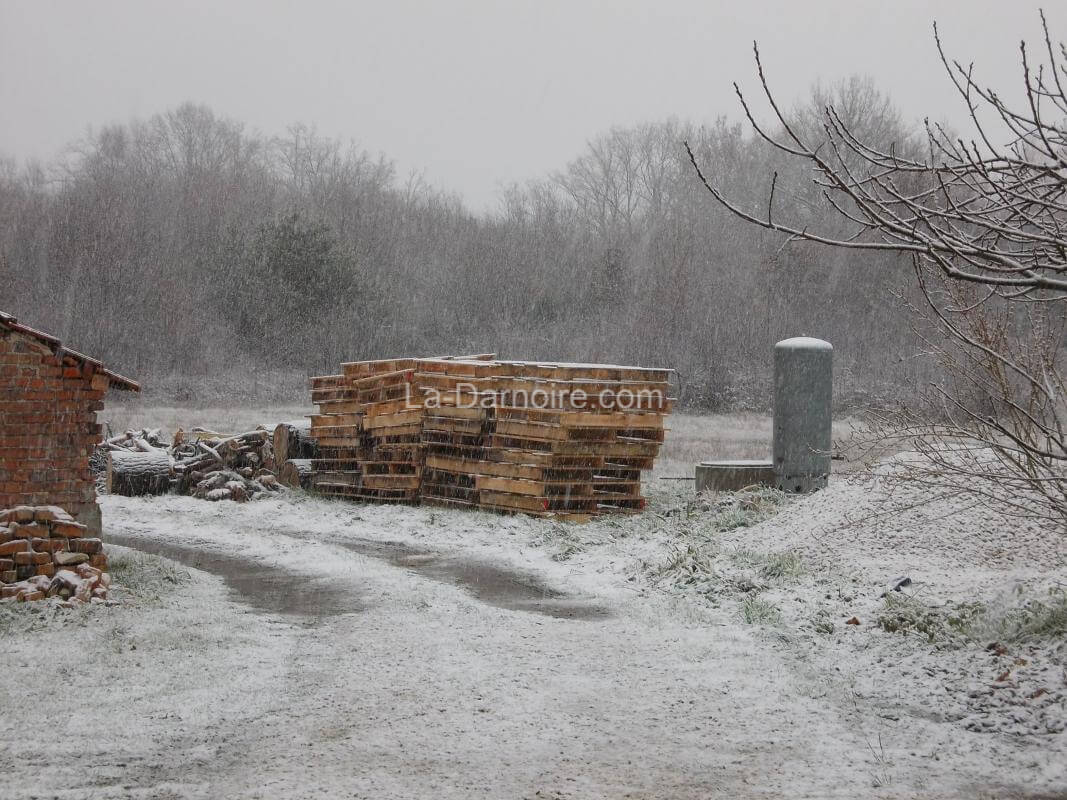
The previous winter, we had taken delivery of a truckload of pallets, courtesy of a neighbour who's in the building trade, and for once they were all the same size!
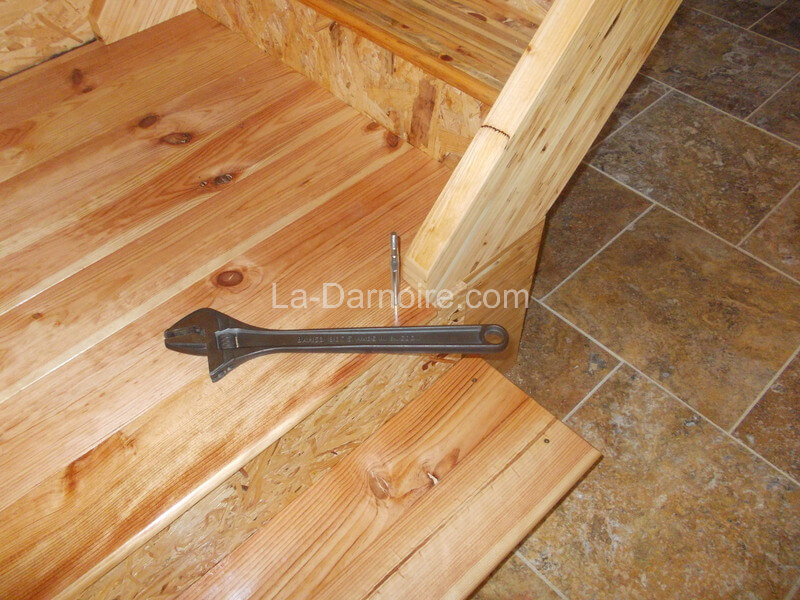
Staircase construction started with the installation of a frame for the lower landing. I used some left-over wood from the second-floor joist installation.

Final measurements could now be taken, and the required length of the strings could be calculated. In staircase terminology, the strings (limon in French) are the two side parts of a staircase supporting the treads (which you walk on) and the risers (the fill-in at the back of the treads). There is a formula for determining the size of the tread and riser, and the number of treads required. Building standards also come into play here in order to ensure a comfortable experience when ascending or descending the stairs. I'm not going to go into too many details; this is not a stair-building website. I had never built a staircase before, so found the book "Simply Stairs" by Mark Milner extremely useful.
Because this book is published in the UK, I considered that there may be differences in building regulations between the UK and France, so did some checking. The formula used was the same; twice the "rise" (the height of each tread in mm) plus the "going" (depth of each tread in mm) gives you a number. This must be between 580 and 620 (France) and between 550 and 700 (UK). The east stair flight came out at 581, with 9 steps; whereas the west flight resulted in a figure of 612, with 10 steps. So building regulations were satisfied, in either country! The differences between the two flights were due to the fact that the landing was not precisely in the midpoint of the stairwell, because as previously mentioned, the massive oak beam - which was the cause of us having to construct a double staircase - was not in the middle of the barn.
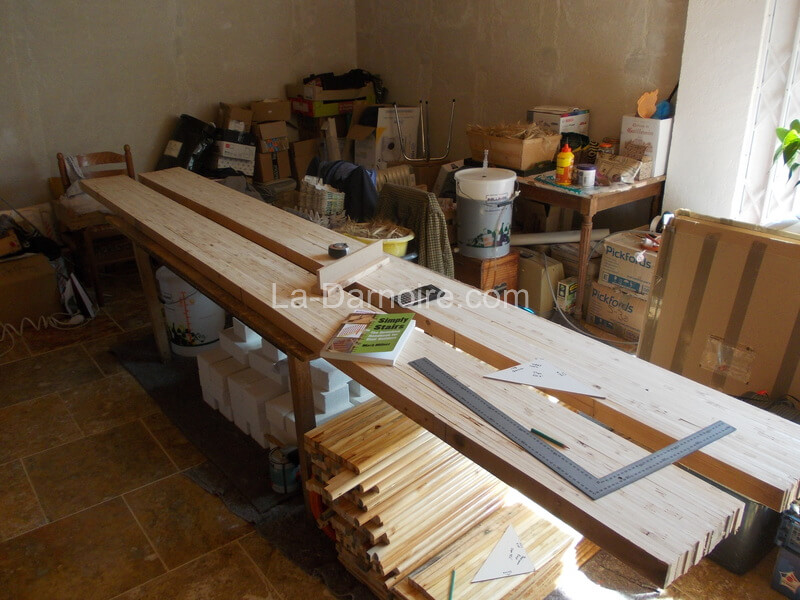
Now that I knew the length of the strings, I could start making them by laminating lots of strips of wood together.
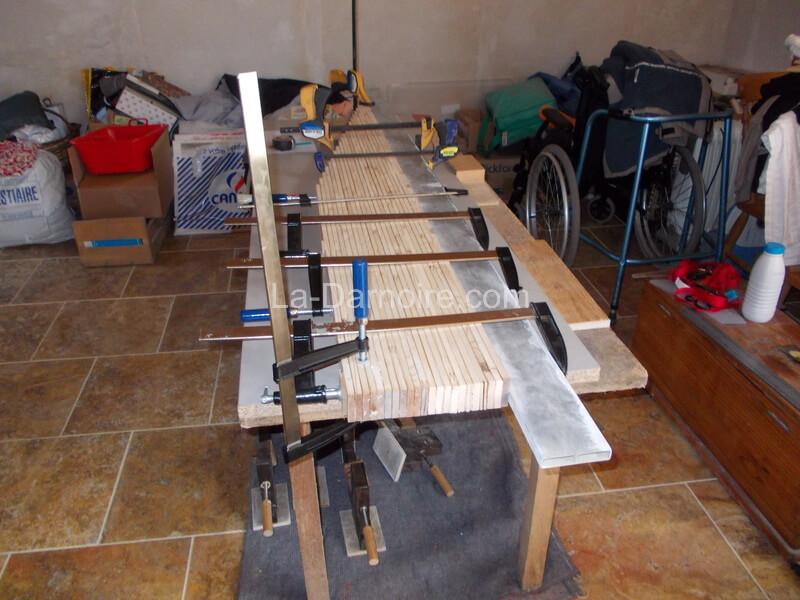
Here's the first string. I had cut the strips of wood to specific individual lengths in order to stagger the joints.
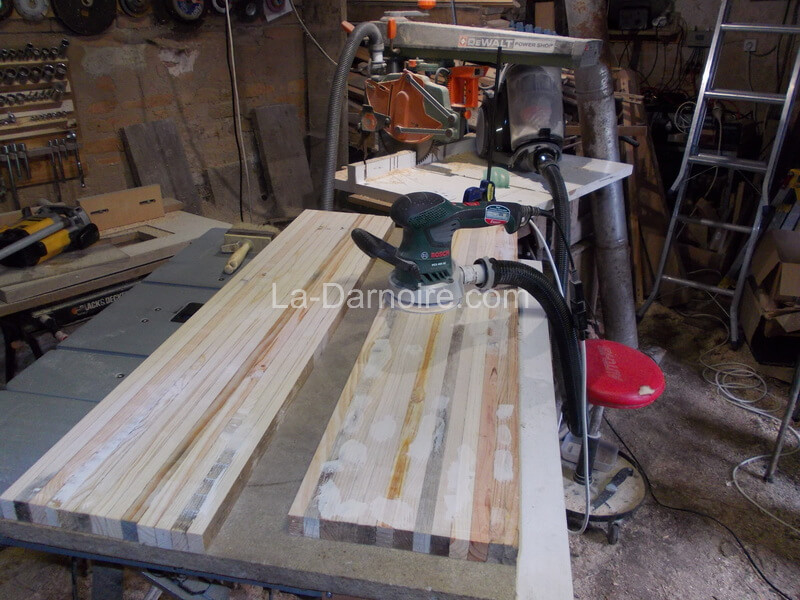
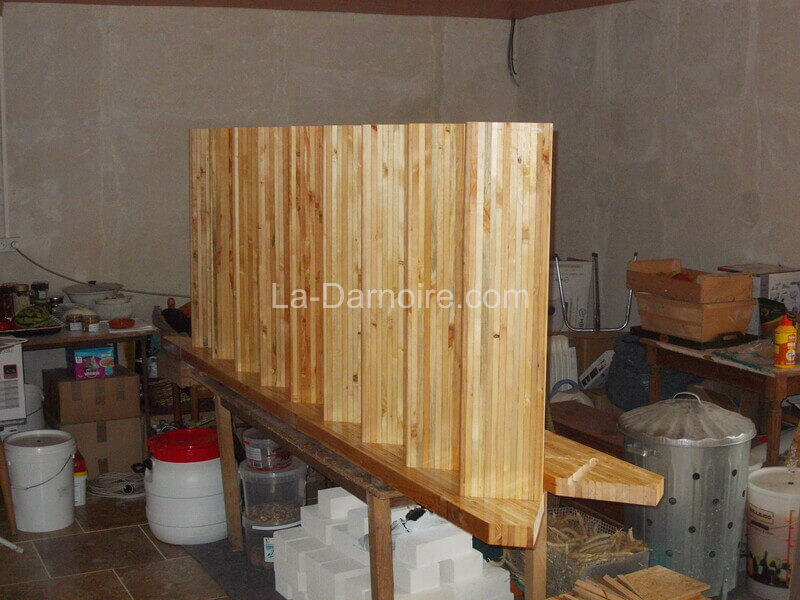
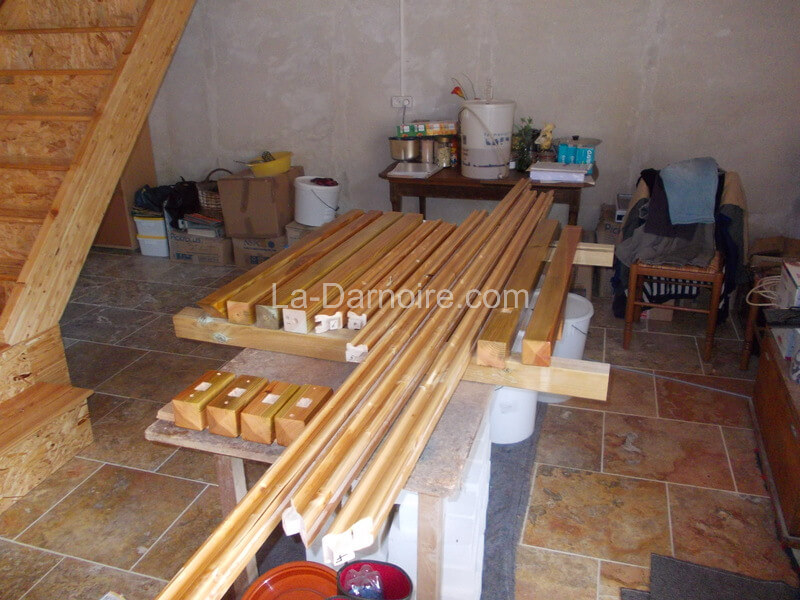
The treads were constructed in the same manner. Pallet wood planks were run through the planer/thicknesser, and then cut into strips on the table saw. They were then laminated together with ordinary wood glue. Obviously this took some considerable time, as I only had a limited supply of clamps and work surface available! Once the glue had dried, they could be cut to the correct lengths and then any holes were filled with wood filler before each tread was sanded smooth. I opted for a final tread thickness of 24mm. The front edge of each tread was also shaped by using a roundover bit in the router.
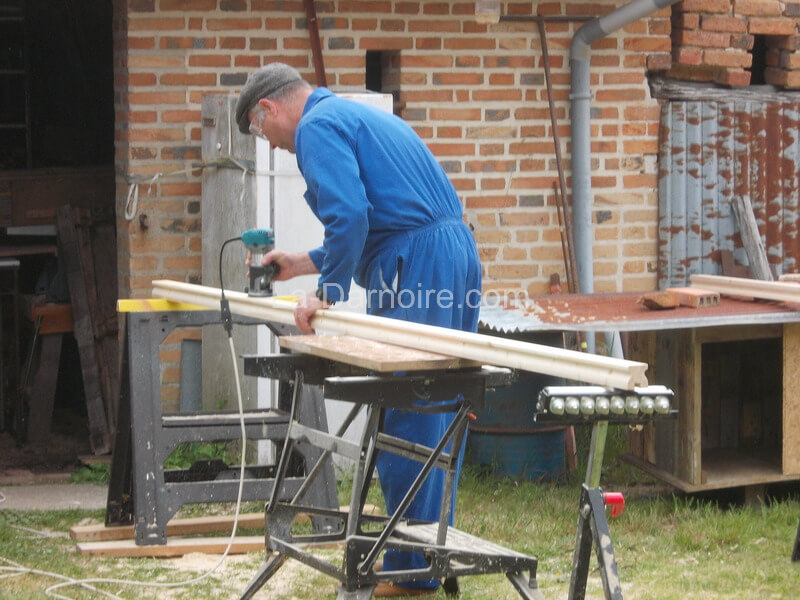
Next up were the handrails. These were made of three strips of wood laminated together to get the required thickness. I then used a handrail profile bit in my router to get the correct shape. Here I am rounding over the edges with my small trim router.
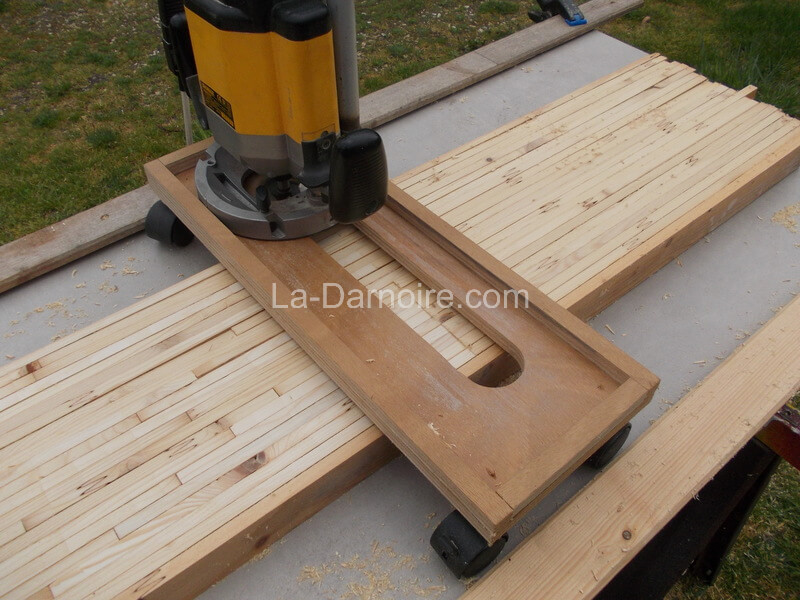
Unfortunately, at a width of 250mm, the strings were unable to fit through my planer/thicknesser, so I had to devise another plan to get the surfaces flat. I therefore made a router jig, consisting of a baseplate mounted on some castors. With the string fixed to a flat surface, the bit height could be adjusted and the surface of the string planed smooth. It could then be turned over and the other side planed, to end up with a final thickness of 45mm.
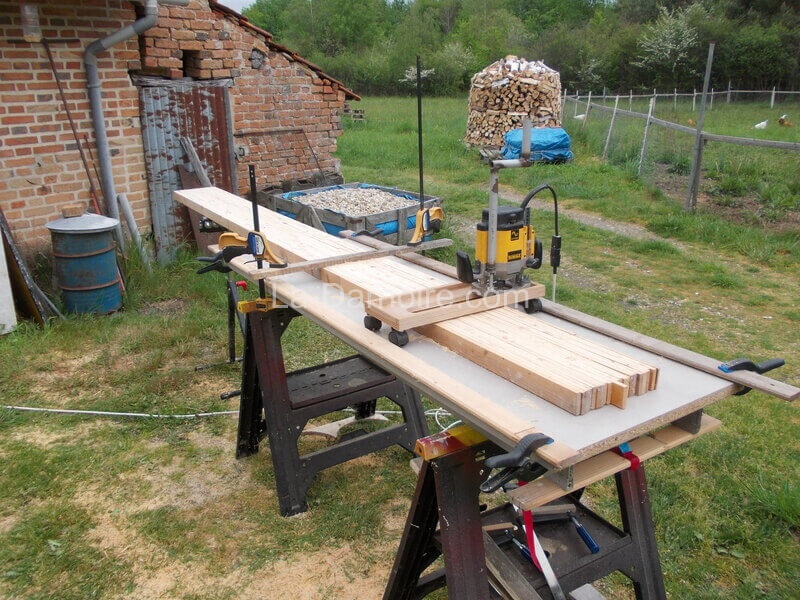
Here's a better view of the jig in action. Of course I had to keep dusting off the woodchips after every transverse pass, otherwise the castors did not move smoothly. There is another type of setup you can use to plane an uneven piece of wood with a router. You set up two rails, one either side of the workpiece, and the router fits within a tray - similar to that shown here. The tray rides on these rails instead of on castors. Now I did use this method when planing the treads, but due to the length of the strings (3200 and 3500mm), this was just not practical for these.
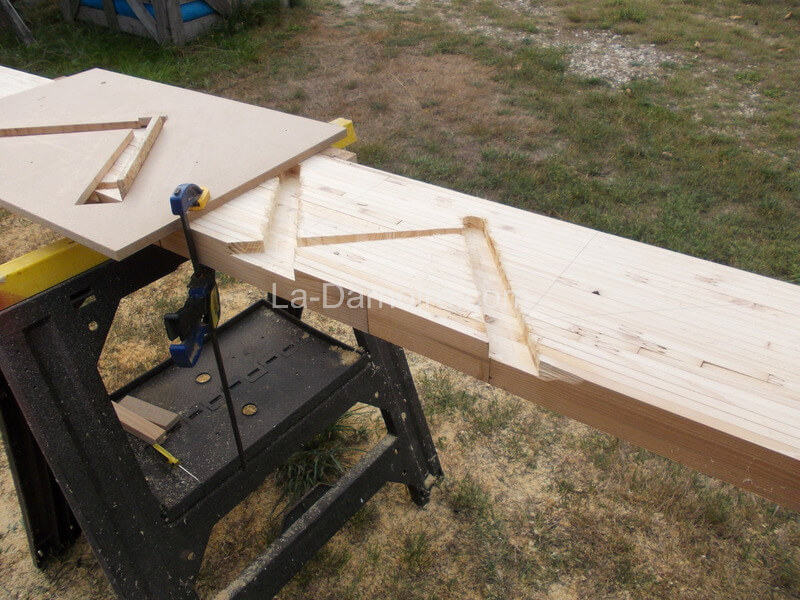
With the strings smooth and at their final thickness (apart from some light sanding), it was time to mark out the recesses for the treads and risers. There are two methods of attaching treads to the strings; either you cut the string in a zig-zag pattern, so the tread rests on top (the so-called "open string"), or you rout a groove in the face of the string so that the tread and riser are embedded in it. The "open" type seems to be more popular in the USA and UK. I chose the latter option, as I thought it would look better. You can also see the pile of untrimmed laminated treads under the table.
The point of no return: routing the recesses with the aid of a specially-designed stair jig.
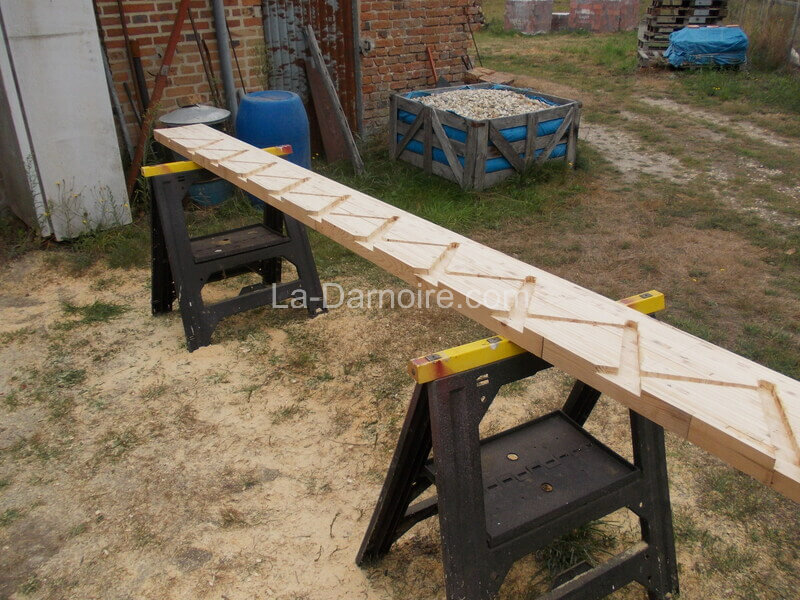
Here's the completed string. One down, three to go. Note all the sawdust underneath the trestles! Fortunately it's biodegradable...
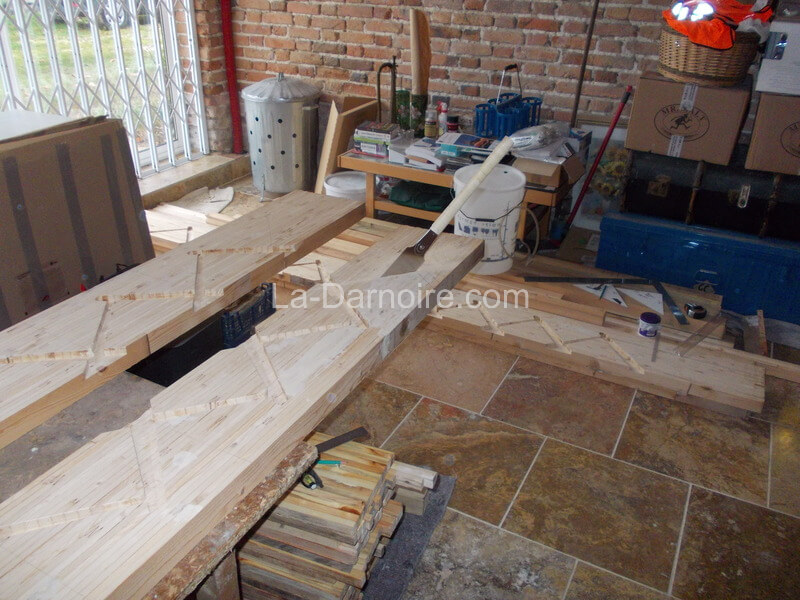
With the routing operation complete, it was time to cut the ends of the strings to fit into the space between the upper and lower landings. This was probably the most nerve-wracking moment of the entire build. I did NOT want to have to start all over again.
Before starting assembly, everything was given two coats of marine varnish, obviously avoiding the surfaces which would be glued. The treads and risers were then inserted into the recesses in the strings, and wedges were glued and hammered into place on the underside, whilst using the roofing square to ensure a right-angle between tread and string. And in case you were wondering, the width of the staircase is 940mm.
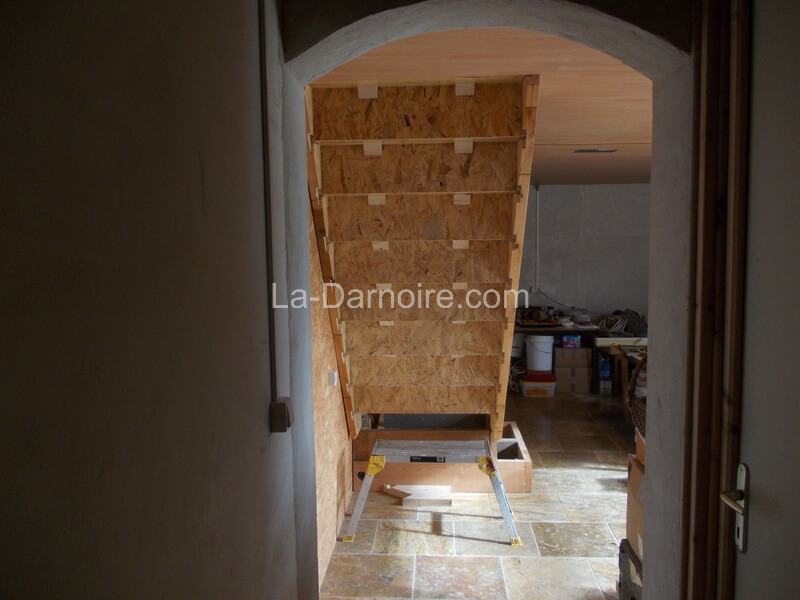
The remaining string was then attached to the other side of the treads and risers, and similarly wedged and glued in place. For the risers I used 9mm thick OSB. The upper edge of each riser fits into a groove I routed on the underside of each tread. We had to have some assistance in lifting the stairs into place, (they are somewhat heavy) so some neighbours were called in to help! Here's the west staircase; the string next to the wall is also fixed with screws for added rigidity.
Some triangular blocks were then glued to the underside of each tread, adding additional rigidity to both tread and riser.
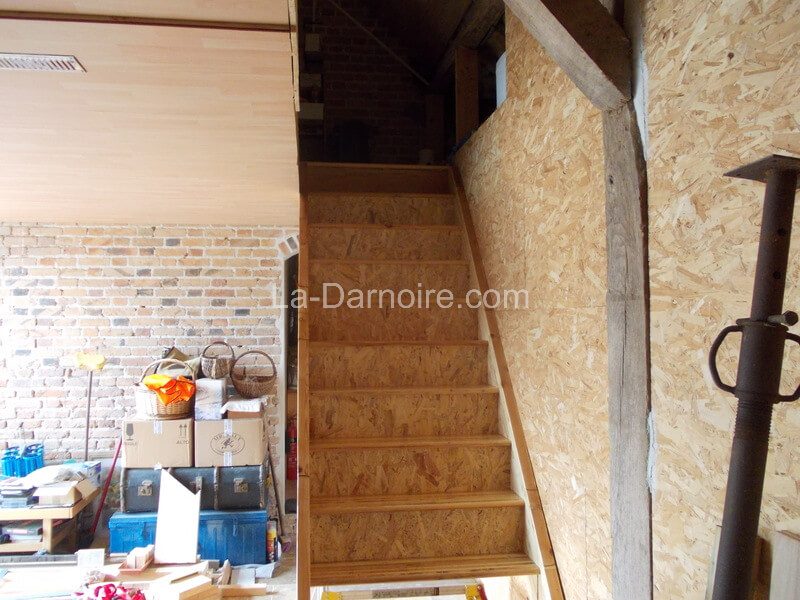
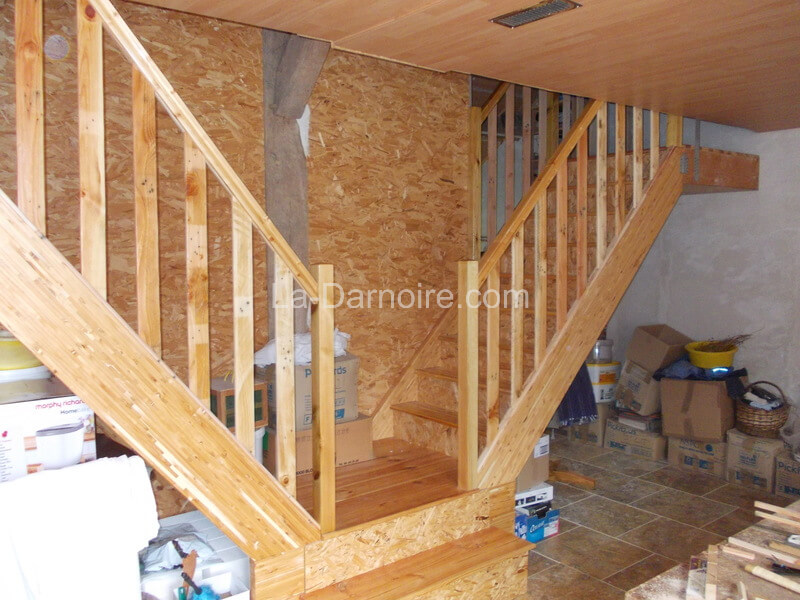
The same procedure was then carried out for the installation of the east staircase. You may notice a missing tread at the bottom of each staircase; it will be formed by a continuation of the landing floorboards.
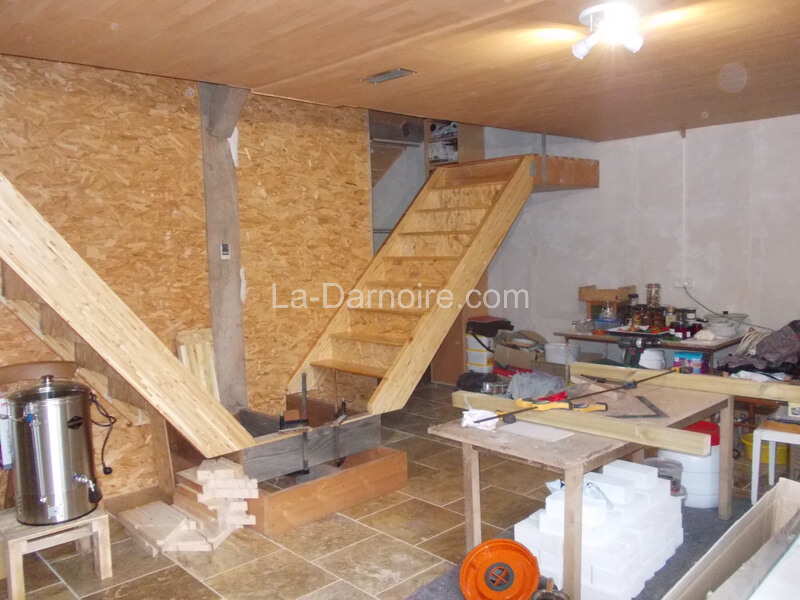
The lower landing was then completed. At a later date some cupboards will be built under the stairs for additional storage.
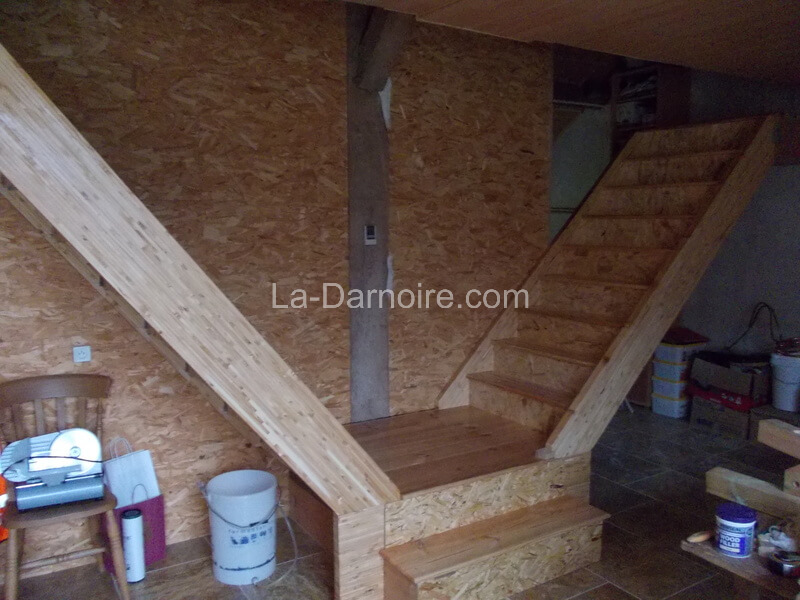
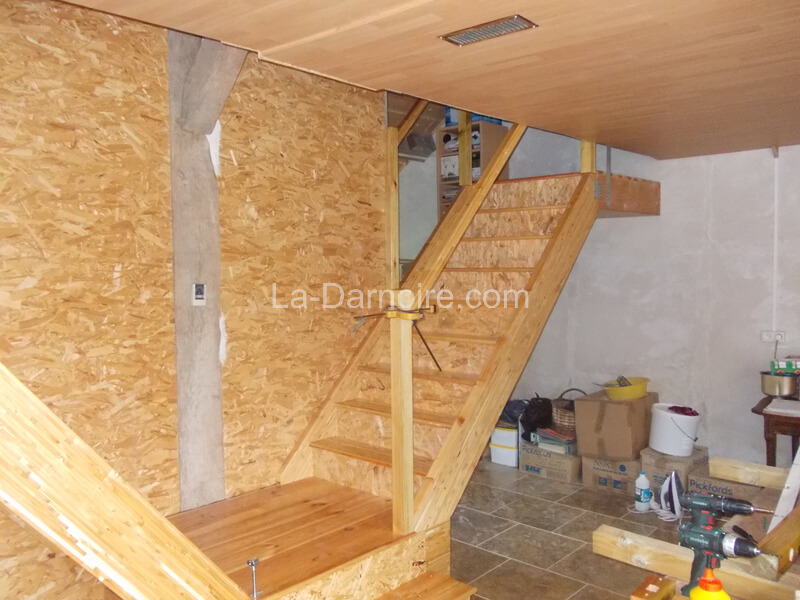
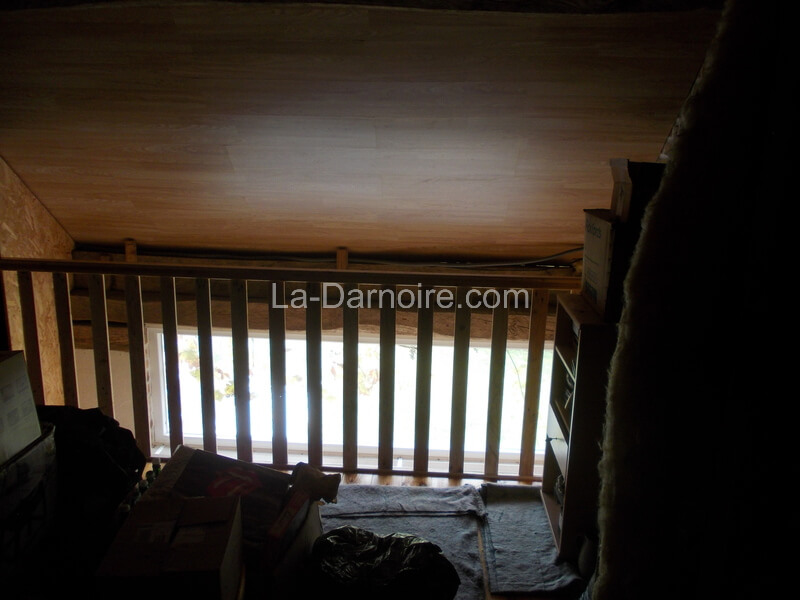
It was such a joy to be able to go upstairs without having to climb a ladder! Although the stairs are perfectly usable like this, they're not exactly finished as far as building regulations go. They're missing a handrail and balusters. In order to fix the newel post to the landing, I found a thing called a zipbolt online. An Australian invention, it certainly made the newel post installation easy, and very solid.
The joinery was hand-cut on the handrails and newel posts, and then everything was given two coats of marine varnish.
Installation of the newel posts and handrails:
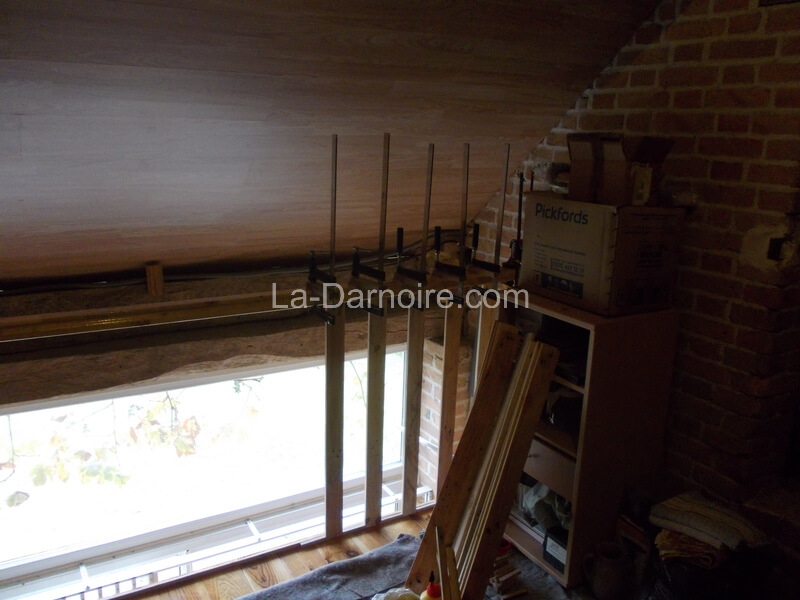
Here the balustrade is being installed for the upstairs mezzanine area. The balusters (the things joining the handrail to the floor) are pallet wood planks which fit into a groove on the underside of the handrail. They are then glued in place and held in position at the bottom between two strips of quarter-round moulding, with fillet infills. The moulding and infills were also made from pallet wood.
A similar procedure was used for the balusters of the stairs. It took me a long time to figure out what sort of balusters to use. They are normally cylindrical, with a fluted or tapered design. This sort were obviously available ready-made, but would have been rather expensive. And in keeping with the La Darnoire philosophy, it would be better to make them myself. But as I don't have a lathe, this would have been extremely tricky. So what to do? Credit to a friend of mine, JC, where I got this idea. Here's his staircase:
And here's the pallet wood balusters installed at La Darnoire. Although the pallet wood is sanded and varnished, I did not fill in any of the nail holes or imperfections; I wanted it to be obvious that these were recycled pallets.
The mezzanine balustrade complete:
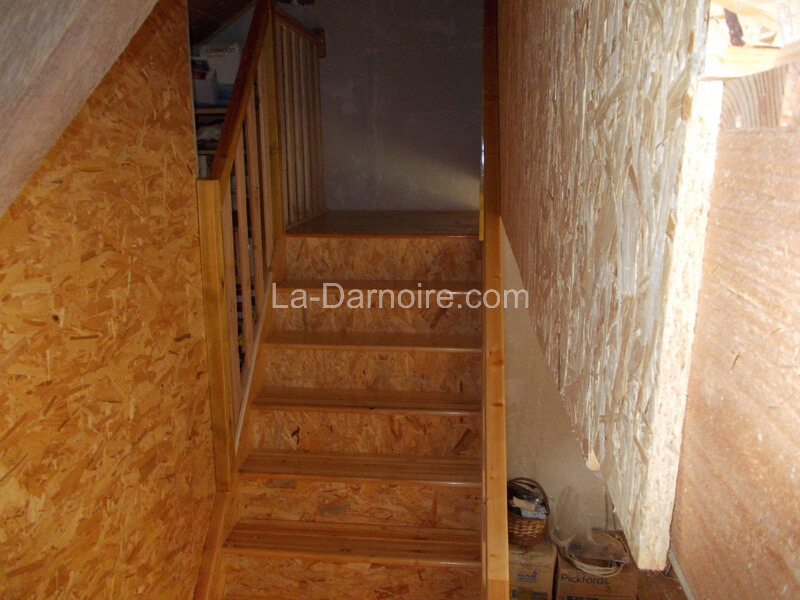
And the completed east stairs:
So there you have it. Several years in the making, but we're very happy with the end result.