

When we first moved in, we found the interior of the building to be quite damp. There were no gutters on the house at all, so unsurprisingly the rainwater had nowhere else to go but into the ground at the base of the walls. Guttering is an important building feature in order to channel rainwater away from the building and avoid any problems of dampness. This was the first of the many renovations which were needed.
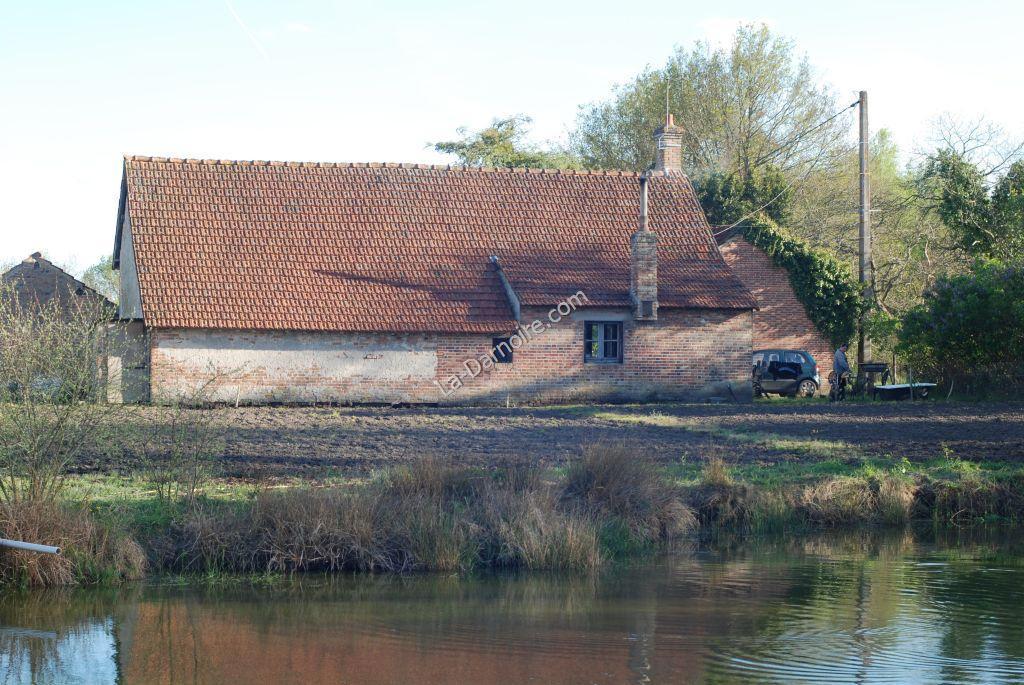
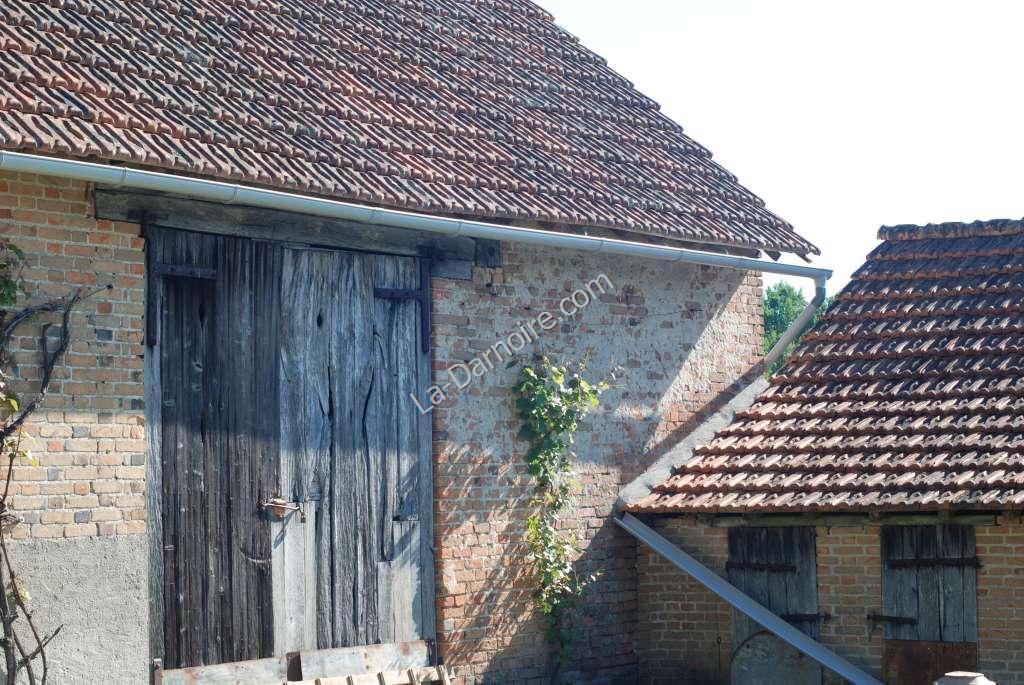
This has the largest roof area, and although the roof looks straight in this photo, this turned out to not be the case.
First of all, I examined the roof construction. The roof consists of small straight tree-trunks fixed to an A-frame of oak beams. Small laths across the tree-trunks provide the support for the clay tiles. Now when you read any DIY manual about installing guttering, they start off by saying "Make a mark on the fascia board, and using a spirit level and a piece of string, ensure that the guttering has a fall of 5mm per meter" . That's all very well if you have fascia boards; this house didn't have such luxuries!
We then had the joy of sourcing a supplier for our guttering materials. If we knew then what we know now, we could have saved ourselves a lot of time!
For the guttering supports, I purchased galvanised rafter brackets. However, the individual nature of each tree-trunk meant that each one had to be individually bent to shape. It also involved a lot of climbing up and down scaffolding. The trick is to install the first bracket, and then the last one. By tying a piece of string (I used nylon fishing line) between the two, this gives you a rough idea of the required positioning of the brackets in between.
The next photo shows what sort of bend was typical; the lower bracket is the unaltered one, and the top bracket is ready for fitting to a particular rafter.
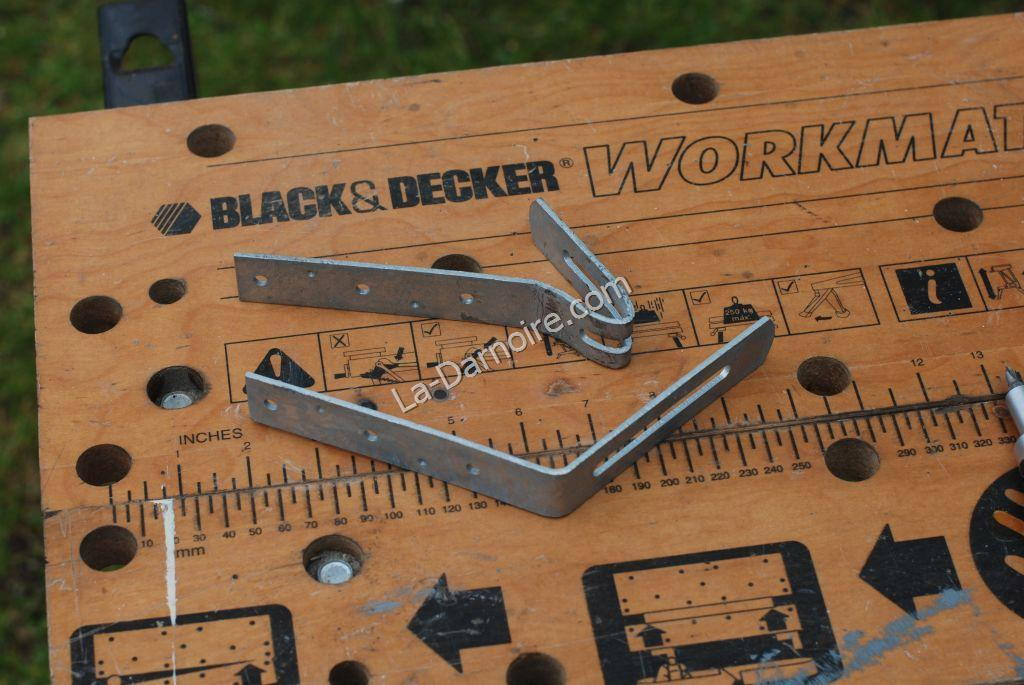
Some leeway for adjustment of the gutter clip is allowed by the slot on each rafter bracket.
Installing the guttering
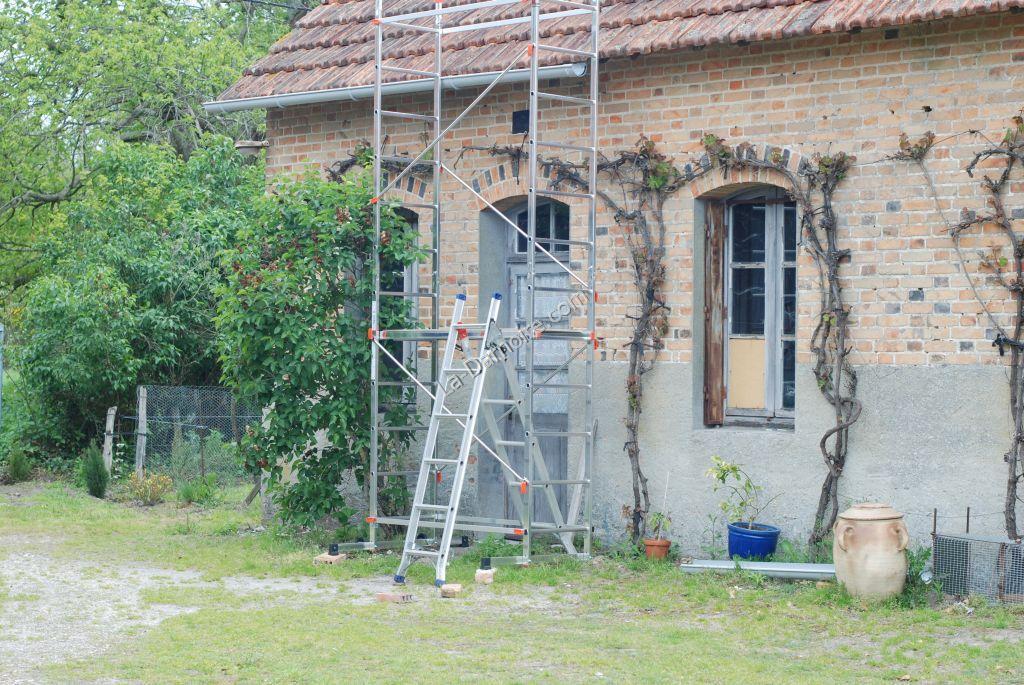
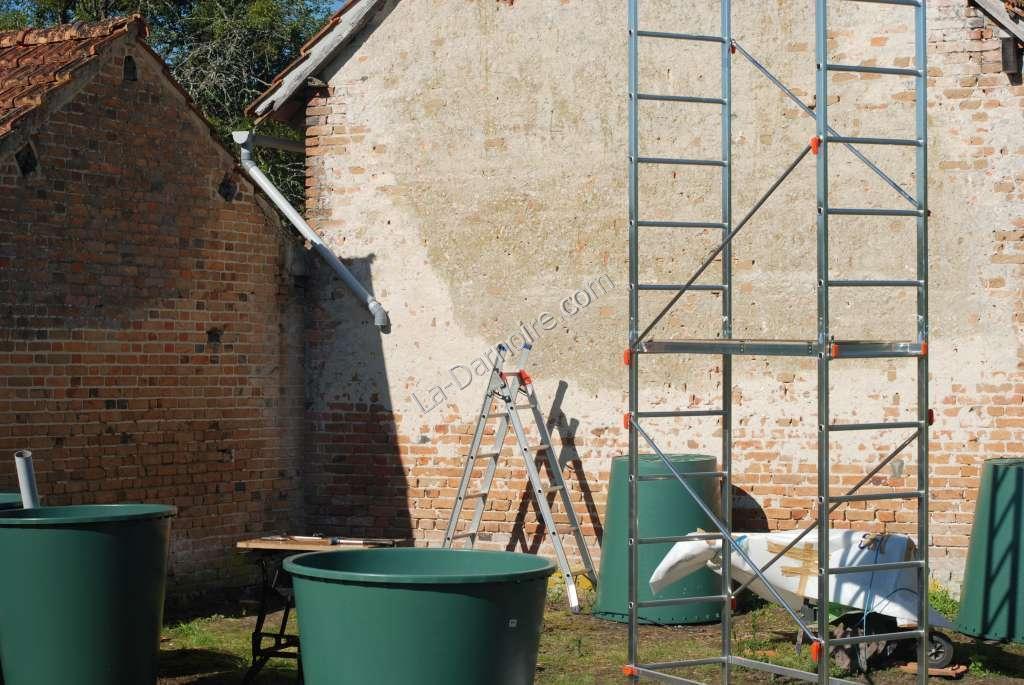
If you are going to be working at height, don't use a ladder. It's not worth it. We bought an aluminium Dexter Easy-Clip 5m Scaffold which happened to be on a half-price promotion at one of the major DIY chains in France. You could probably hire one for one-off use. I figured this would come in handy for much more than installing guttering, so we opted to purchase one instead. (later edit: and indeed it has come in useful for many other things including a temporary outdoor shower until our indoor bathroom was ready!)
I simply started at one end of the roof, installed some gutter clips (loosely fastening the height adjustment bolt), and then fitted the pvc gutter into place before moving the scaffold along.
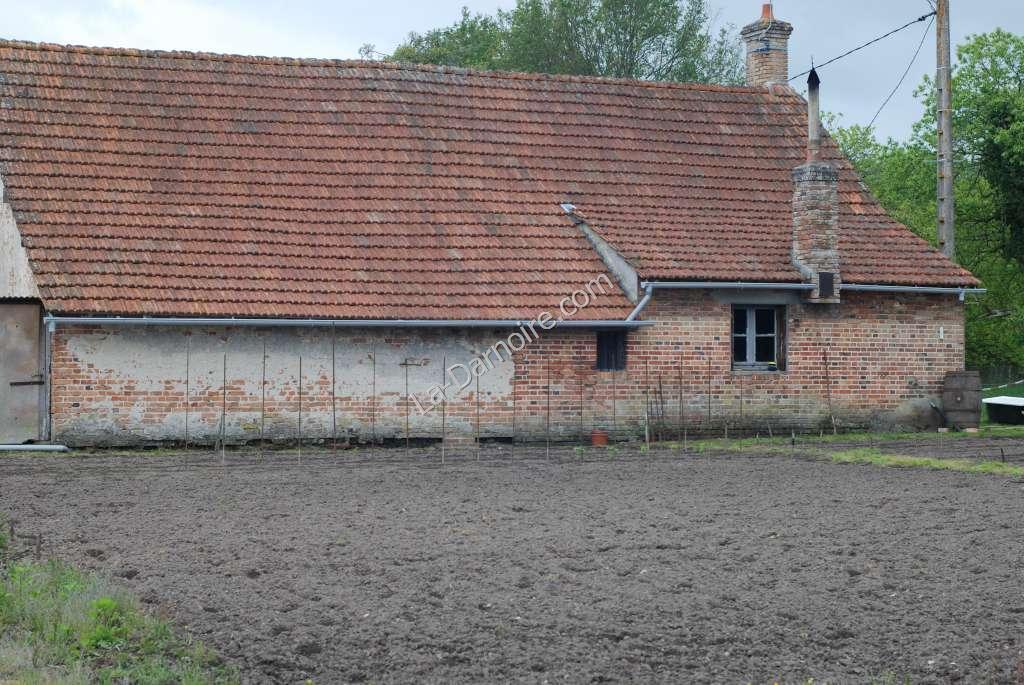
The rear of the house, with gutter fully installed.
Once the guttering was in place, it was tested by simply pouring a glass of water into the higher end, and adjusting the height of each clip in turn so that the water trickled along the gutter. It was only then that we realised how mis-aligned the roof was! This was most obvious on the south-facing side as you can see in the next photo. (Ignore the downward-sloping gutter in the foreground; this was a temporary measure!)
Here's another view of part of the rear of the house, with a downpipe fitted. This section of roof simply drains into an old oak barrel, which I raised on bricks and later added a plastic tap at the bottom to make it easier to fill a watering can! (Update, 2014:This wooden barrel later developed a leak. It was replaced by a similarly-sized plastic one which we found at the other farmhouse.Update, 2021The plastic one cracked, and has since been removed. The rainwater now flows directly to the pond.)
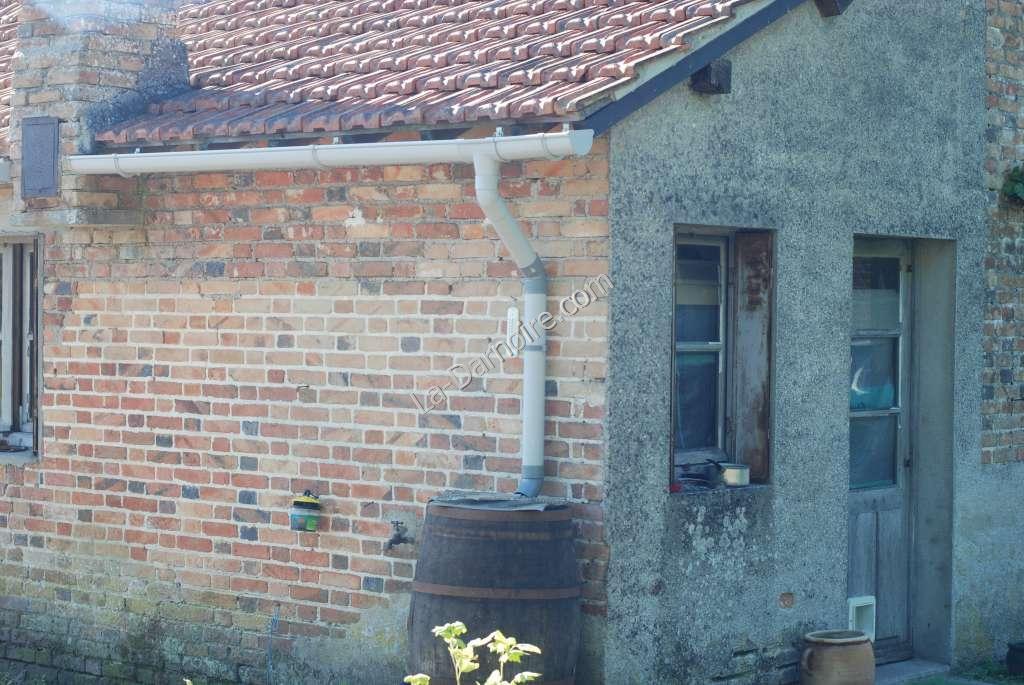
The little yellow-topped plastic container you can see on the wall to the left of the rainwater barrel is an organic fly-trap. (I later made my own by cutting a plastic bottle in half and inverting the top half into the bottom half).
How to collect 3,000 litres of rainwater!
An 80mm diameter downpipe on each of the two gutters will channel the rainwater into our rainwater recovery system. It is apparently good practice to have one downpipe per 12m length of guttering. However, this would not have been practical for the south-facing roof (which is 15 meters long), so there's just one downpipe on this side. This section of roof does have a smaller surface area than the north-facing one though!
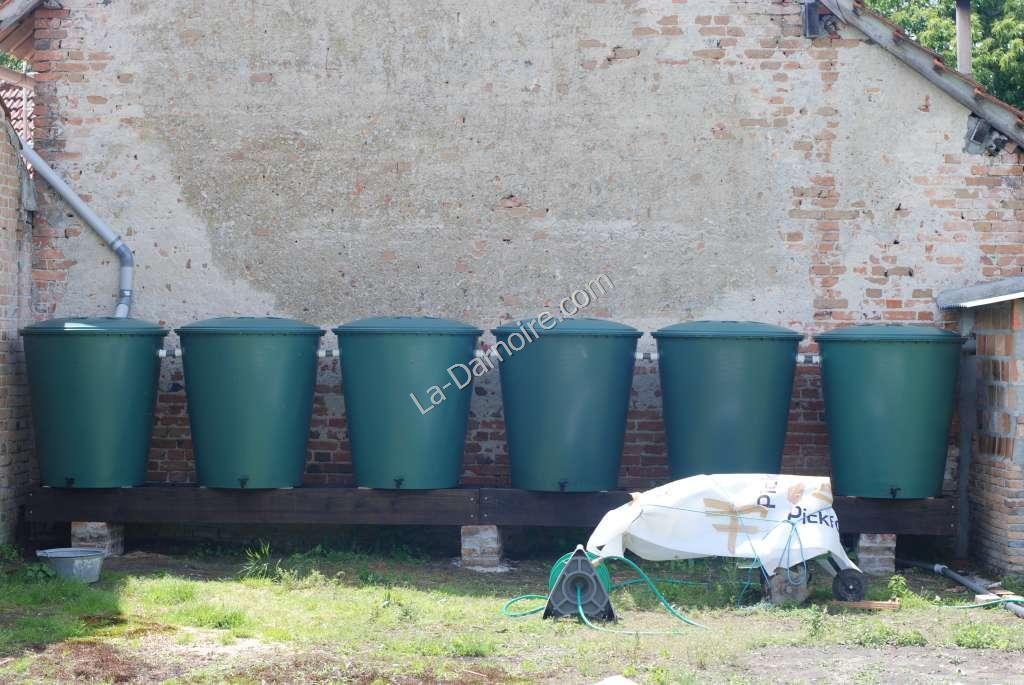
The rainwater recovery system itself consists of six 510-litre plastic drums, which will be connected together by short lengths of 40mm diameter pipe. In the next photo you have some idea of the size of these drums:
The drums need to be raised from ground level so that a watering can fits under the tap; the taps also have a shaped connector which fits a hosepipe. I was originally going to join all the taps together but we decided this design was getting too complicated.
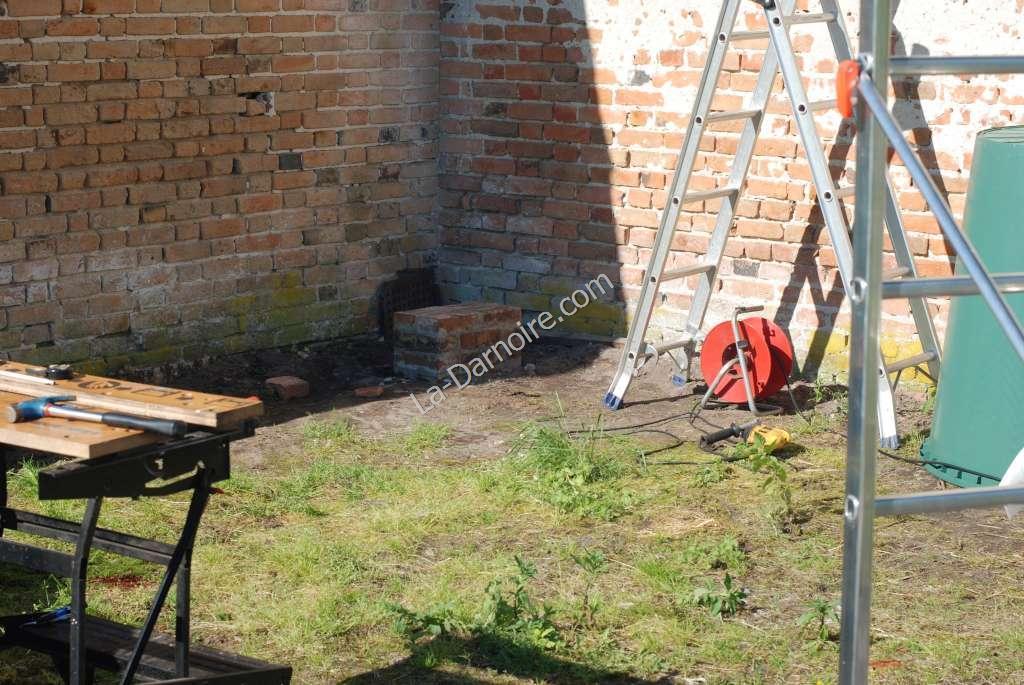
So the first task was to dig three holes for the foundations, each measuring 450mm long by 300mm wide and 450mm deep. A mixture of concrete was then poured into these holes, tamped down, and allowed to set for 72 hours before the brick pillars were constructed. The concrete mix I used was 1:2:3 (cement:stone:sand) - a general-purpose mix which I've used successfully in the past. I used cement for the rainwater barrel stand because it's not actually part of the house; any construction on the house itself will be done using lime.
For the bricklaying mortar, I used a 1:5 mix of cement:sand. When laying bricks it's important not to let the mortar dry out too quickly, so a good practice is to cover the newly-laid brickwork with a plastic sheet, and even spray them with water every day or so. We didn't need to do this as the weather turned to rain, so instead I just covered the pillars with an upturned rainwater barrel. It also helps if the bricks are slightly damp when they are laid; this prevents them from absorbing too much water from the mortar, weakening the bond.
Once the three brick pillars had been constructed and the mortar had hardened, it was time for the next step; a platform of wooden beams. These are actually old roofing beams which were scrounged from a barn at the other farmhouse, so the cost was zero. They measure 220mm x 70mm in cross section, with a total length of 6 metres. The beams were placed vertically rather than horizontally, as they will need to support a large weight of water (over 3 tons when the barrels are full).

The wooden frame is not fixed to the pillars, simply being held in place by its own weight. Because this wood is exposed to the weather, I investigated the options of protecting it. However, varnish or any other manufactured wood preservative in France is not cheap, so in the end I settled on another old standby, used engine oil. This was free, as there's several drums of the stuff in a shed at the other farmhouse. It soaks in to the wood and as well as being waterproof, should make the wood unpalatable to insects.
Drilling plastic
So, how do you go about drilling a 40mm diameter hole in a plastic barrel? What about a 24mm hole for the plastic tap? How about an 80mm diameter hole for the downpipe?
Simple. For the 80mm diameter hole I used an adjustable hole cutter. Be careful when using this thing though, make sure all the screws are tight first. And make a test cut in a piece of scrap wood to make sure the diameter is what you want.
For the smaller holes, I used a slightly different item, an adjustable augur-type drill bit. This is designed for drilling holes in wood, but does the job in plastic quite well. BUT... to get accurate holes, there's a specific technique to use.
Firstly set the adjustable drill bit to the size of hole you require. Then, using a drill press, lower the bit into a scrap piece of wood until the cutter starts to scribe a circle. Stop, and measure the diameter of the circle. Adjust the bit again if necessary. If you don't have a drill press, use a variable-speed drill.
Go slowly.
Once you're happy that the bit is set to the correct diameter, you can move on to the plastic.
Mark out on the plastic barrel where the hole needs to go, and using a bradawl, make a small dent in the plastic. Drill a pilot hole about 3mm in diameter all the way through the plastic. I used a hand drill for this.
Now insert the adjustable hole cutter into a variable speed drill which has a reverse function. I have a Dewalt which has come in handy for lots of jobs!
Switch the drill to reverse, and using a medium speed, drill into the plastic. Why reverse? Well, if you use the ordinary clockwise direction, the hole cutter "grabs" into the plastic, and this can throw the large diameter hole offline. Using reverse prevents this, and it's actually the friction heat of the cutter which melts the plastic rather than cuts it. The result: a nice, neat, large-diameter hole.
Harvesting the rainwater
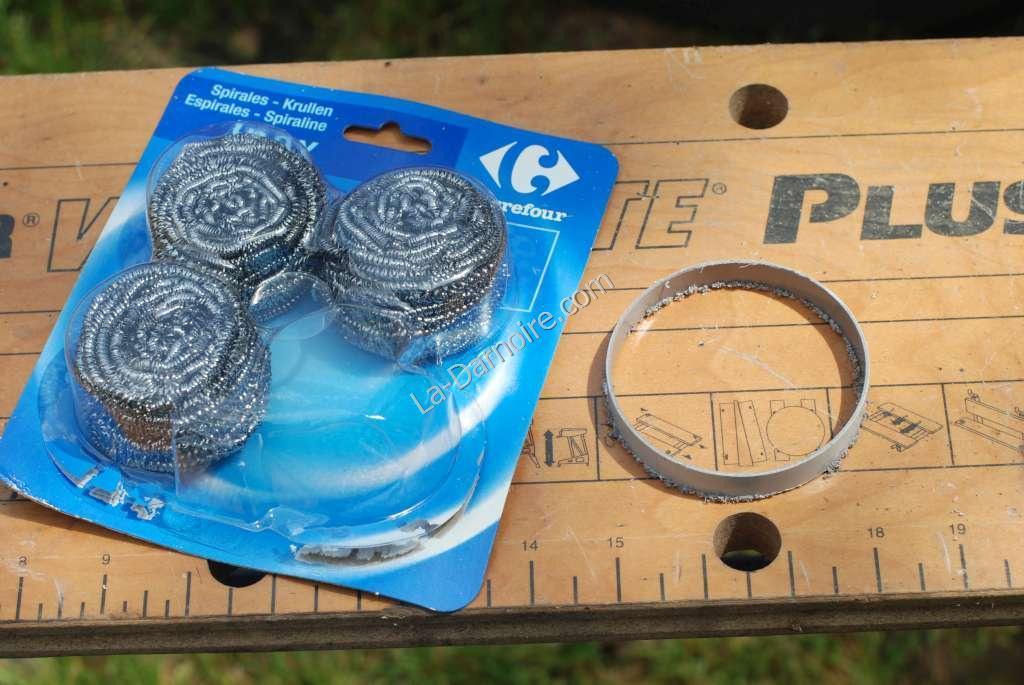
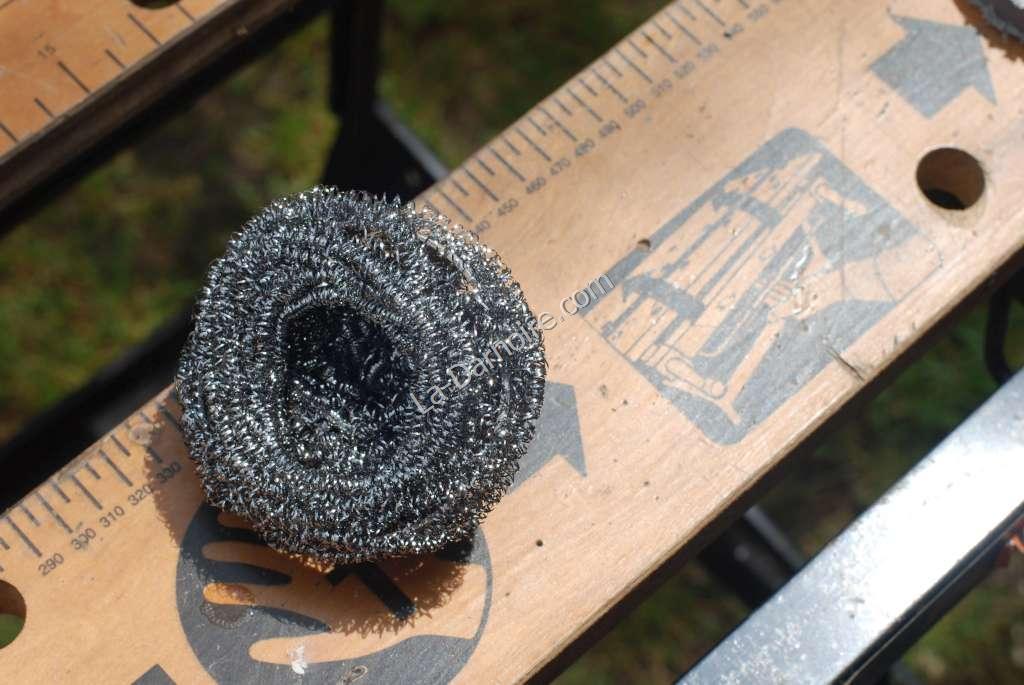
To keep debris out of the rainwater barrels, it's possible to install some sort of filter. I found some 80mm diameter plastic "fingers" which had an asking price of €7 each. I thought this excessive, so instead made my own. I purchased a pack of 4 stainless steel pot scourers for €2.11, and moulded each one around a cut-off end of an 80mm drainpipe:
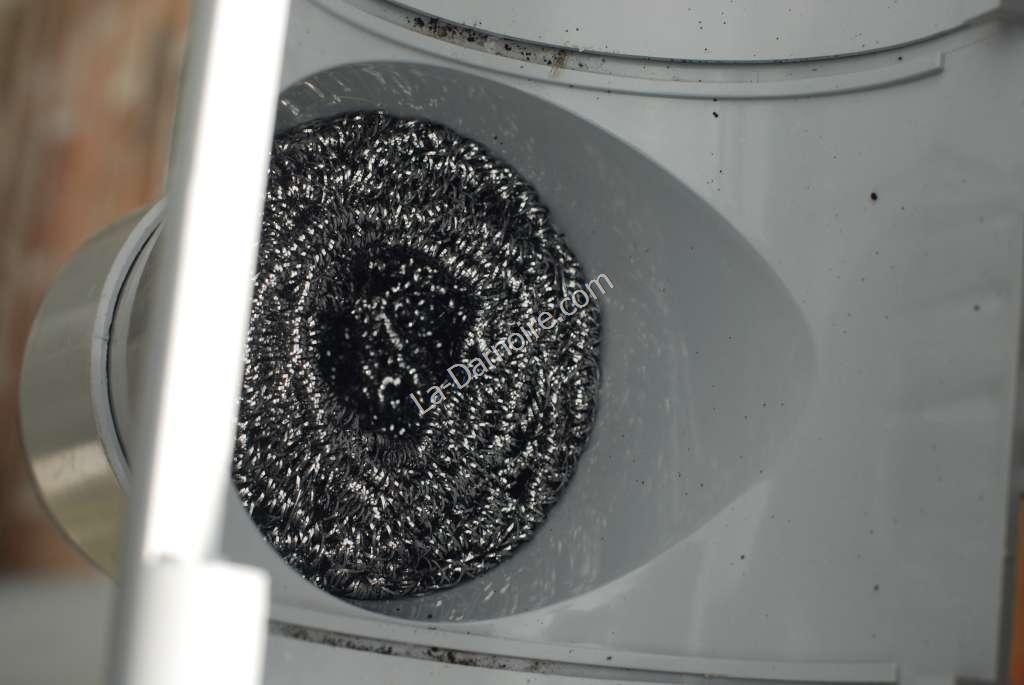
Here is the custom filter installed in the top of the running outlet:
Total cost: €2.11. Instead of €21.00 if I'd bought the plastic finger-type things. Bargain!
(Update, 2014:Although the drainpipe leaf filters worked well, they soon became clogged with debris. This means that a new pot scourer needs to be installed on an annual basis. (Cleaning the old one is just impractical).
Here's the finished system:
It's also important that the rainwater barrels have lids; this not only prevents any pets from falling in, but also stops mosquitoes from breeding. Another way to stop these pesky little blighters is to pour a small amount of vegetable oil into each barrel - this forms a barrier preventing the larvae from breathing. (However, this is not a suitable solution if you have fitted an overflow pipe, as the vegetable oil will be the first thing that floats away!)
So what happens when the barrels are full? There's an overflow pipe of course:
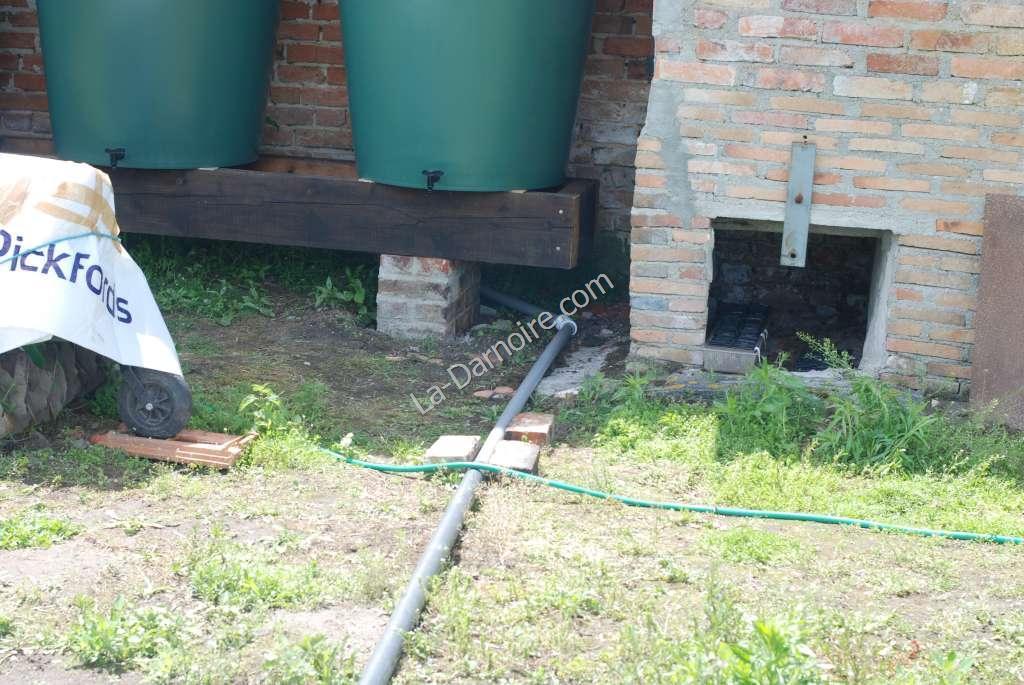
The overflow pipe will eventually be buried in a trench and feed into the pond, but at present it just diverts the excess rainwater away from the barrels. Digging the trench will wait until I'm ready to start the installation of our greywater reedbed.
So, what you're probably wondering is, does this system work? Well, we had some very heavy rain just after I finished it, and all six rainwater barrels were filled overnight (that gives you some idea of our roof area!) Yes, it collects rainwater very well. Filling a watering can from the tap is a bit slow though, and there isn't quite enough head of water to be able to use the hosepipe - water does run out of the hosepipe because the garden is much lower than the barrels, but it's more of a trickle than a flow. To improve matters, I connected up a small 12V DC water pump which was used for one of my old water-cooled computers, and this certainly boosted the flow, but it's not really a permanent solution. I'll revisit this issue at a later date as there are too many other projects requiring my attention at the moment!