It's all very well to use a freezer to preserve food. But it's also a good idea to use other methods too; what if there's a long-term power cut?
So not only do we freeze some garden produce, we also use sealed glass jars known as Kilner jars (or Le Parfait here). But drying food is another useful option, which need not cost the earth. I intend making a solar food dryer in the future, but the problem with using solar energy to dry food is that when the food is ready for drying (usually in the autumn), this is inevitably when the clouds appear.
DIY Food Dehydrator
New!
Book Two in the series.
Available in paperback and for Kindle:
Book One also available
in paperback and Kindle:
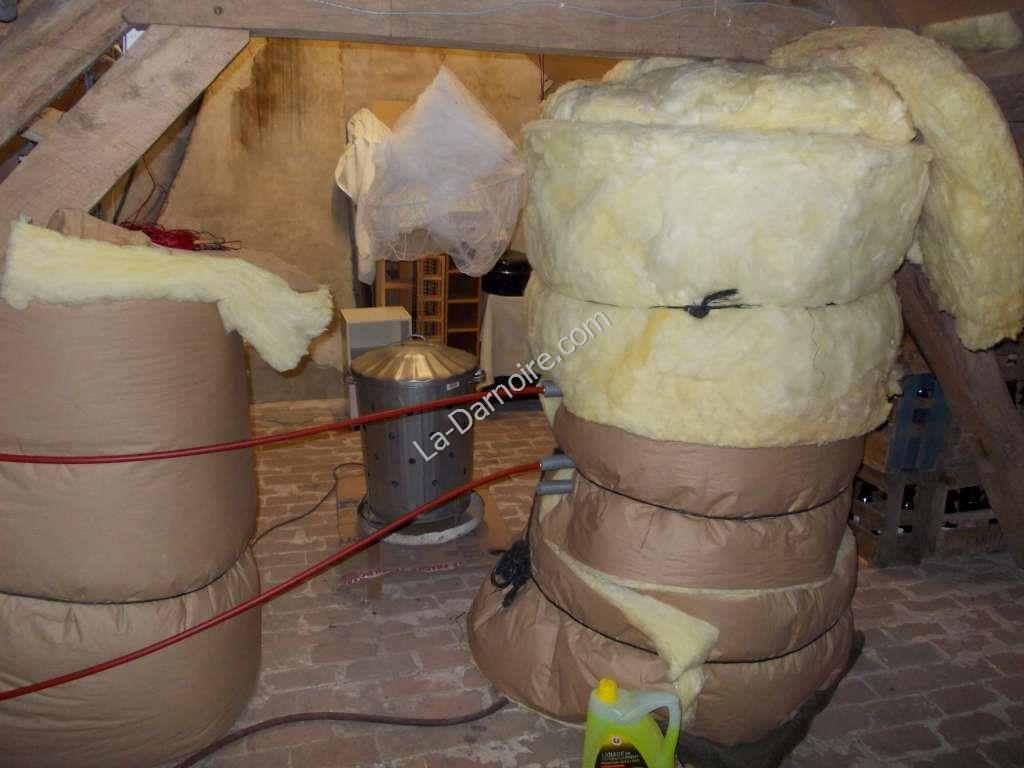
So here's how I made a cheap food dehydrator. Some years ago I bought a galvanized steel brazier (normally used for burning garden waste) which was offered at a discounted price in a garden centre. The only alteration I made was to drill a hole in the bottom.
(Click photos to enlarge)
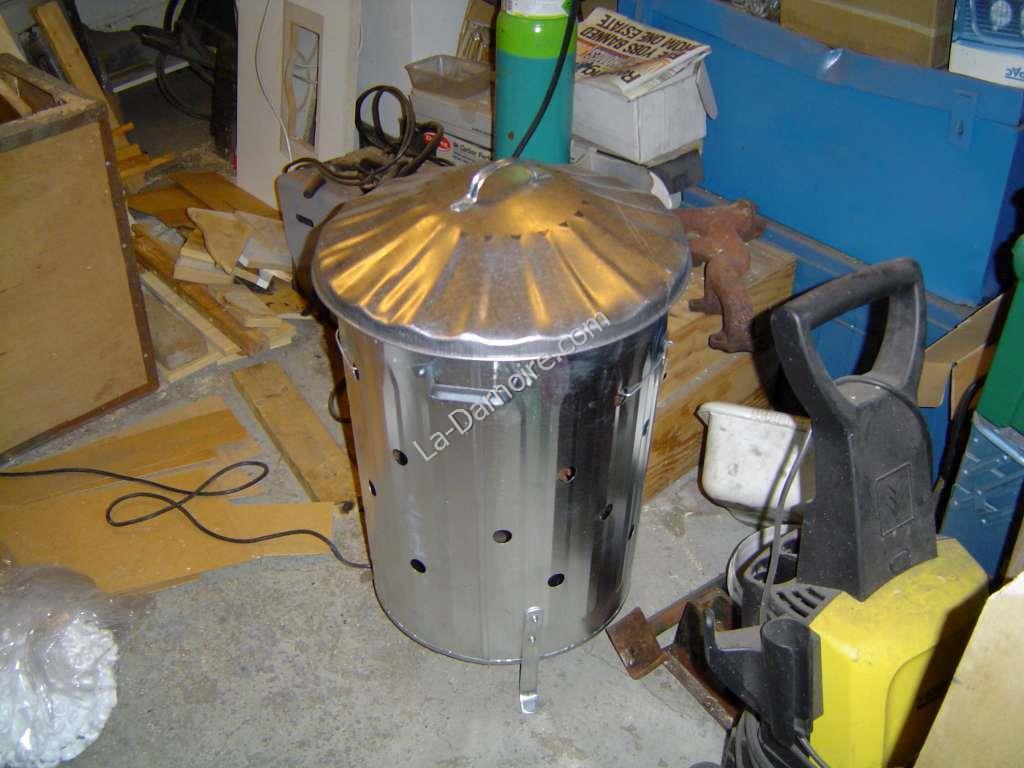
I mounted an ordinary electric light-bulb holder in this hole, and inserted an incandescent 40-Watt bulb. It's important to use an incandescent bulb for this rather than an energy-saving type, because the incandescent bulb gives off more heat. There's no need to use anything more powerful than 40 Watts. The drying process is actually carried out by airflow rather than the heat from the bulb; the lightbulb heats the air, which rises, and escapes through the topmost holes in the brazier. Cooler air flows in from the holes in the bottom. And the warm escaping air carries with it the moisture from the food you're drying.

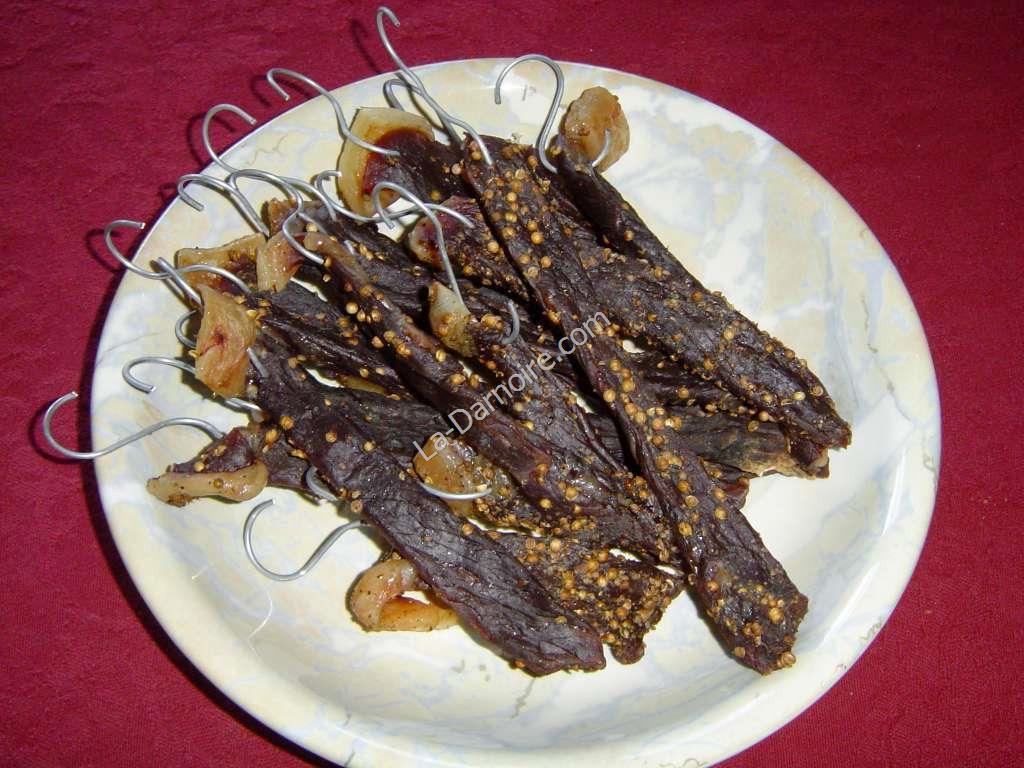
I strung some wires through the upper holes, and used these to suspend some thin strips of beef:
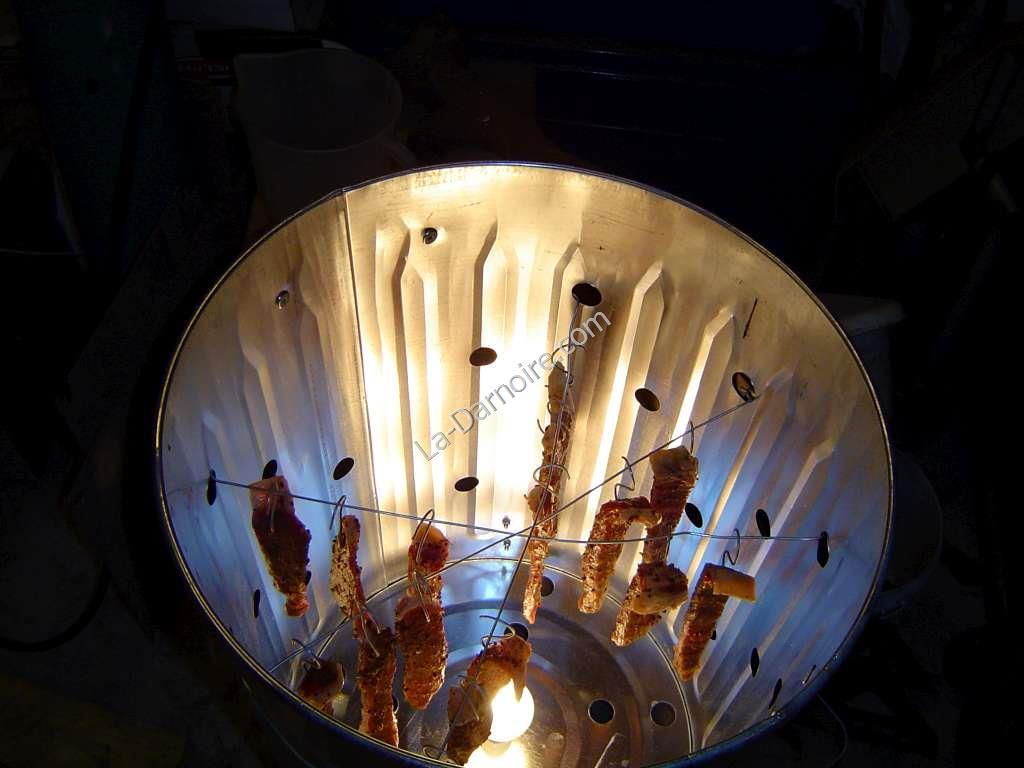
... and 48 hours later, the result: biltong (or jerky as it's known in the US!)
The wires are easily removed, and the addition of a couple of steel racks enables the dehydrator to process things like thinly-sliced apples, which can then be stored almost indefinitely in a sealed glass jar:
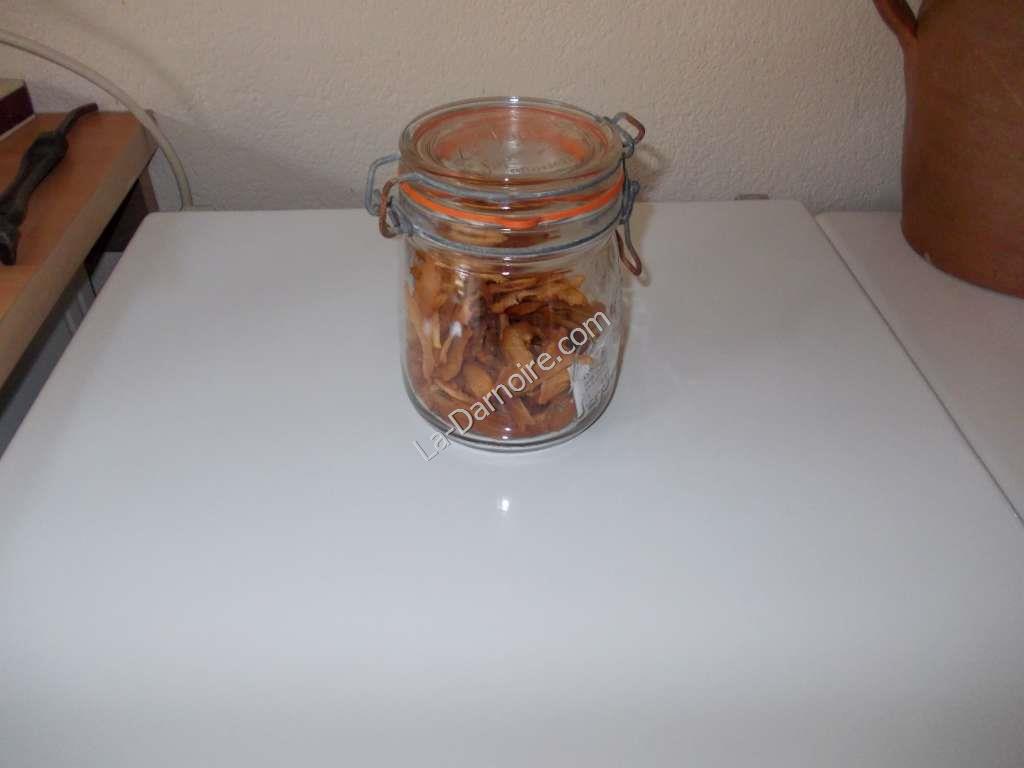
We've also successfully dried pears, tomatoes, and mushrooms.
In order to keep insects away, I purchased a mosquito net cheaply from Ebay, and suspended this from a roof beam above the dehydrator. It tucks up out of the way when not in use. You can see it in the background of the next photo:
And finally, as this food dehydrator falls under the section entitled "Recipes", here's one I use for making biltong:
Ingredients
2 kg meat, cut into thin, long, strips
Roughly ½ cup of brown vinegar
About ¼ cup of Worcestershire sauce
About a cup of good quality rock salt (not sea salt or table salt)
About ½ cup of soft brown sugar
White pepper
Roasted ground coriander (a very important spice, so be liberal)
A teaspoon of bicarbonate of soda, especially if using venison or a lower grade of meat
Method
Dust the meat with some white pepper, the bicarbonate of soda and coriander.
Sprinkle a little of the coarse salt and sugar on the bottom of the marinating dish.
Layer the meat in the dish with the thicker pieces at the bottom.
Over each layer sprinkle a bit of the vinegar, Worcestershire sauce, salt and sugar.
Use the spices in such a manner that they run out just as you pack the last pieces of meat into the dish.
Leave the meat to marinate for about 12 hours.
Remove the meat and squeeze it dry with your hands. You may want to press some more coriander and coarsely ground black pepper into the meat at this stage.
Hang the meat in the food dehydrator until dry.
Comments
Have your say about what you just read! Leave a comment in the box below.