
So what exactly is a thermal store?
Let's get the theory out of the way before going into the construction methods. A thermal store is simply a method of storing energy in the form of hot water, so that it is available when the heat-producing item (like a boiler stove) is not lit. If we take a conventional HWC as an example, this starts off full of cold water. Assuming that it is not heated by an electric immersion heater, it is heated by the fact that a coil (a heat exchanger) full of the same hot (80 °C) mucky water as found in your radiators passes through it, having been heated by your gas central heating boiler.
A thermal store works the opposite way round. The cylinder is full of the mucky, very hot, radiator water, and 3 heat exchangers (coils of copper pipe) pass through it.
One is for the Central Heating via a pump.
The second is for the hot water supply to the taps. This circuit simply pulls heat out of the cylinder to heat the water, which allows you to have mains pressure hot water.
The other is for the solar panel, which will supply heat to the store.
The mucky water in the tank itself passes either by a thermosyphon effect or via a pump to the wood stove. It exits at the bottom of the tank and returns at the top.
If the thermal store is the same size (roughly 100 litres) as a conventional HWC, it'll need its heat topping up quite frequently. But the bigger it is, the more heat it can retain for longer. The tank itself needs to have some means of ensuring the water doesn't all evaporate (in other words it needs a lid.) But at the same time, it needs to have an overflow fitted (because water expands when it is heated). There is no danger of an explosion; the worst-case scenario is that the water in the tank will boil and steam will come out of the overflow. If this happens, further heat needs to be extracted from the system by way of a "Heat dump". This can simply take the form of a large radiator.
If using a solar panel as a heat source, and it's a cloudy, cool day, the solar panel could start taking the heat out of the thermal store. The way to prevent this is by having a thermostatic valve, so that the solar circuit's pump is only switched on when the solar panel is at a higher temperature than that of the tank.
As far as regulations go, because the thermal store is not storing potable hot water, in effect it's not a domestic HWC. It therefore doesn't have to be a pressurised system or have its temperature maintained at over 70 degrees.
The only question is how hot the water at the taps will be. This depends on:
- The rate of flow through the pipe (the slower the water flows, the more heat it will absorb) and
- The temperature of the mucky water in the tank. This depends on the efficiency of the wood stove (and/or) the amount of sunshine hitting the panel (and/or) the amount of heat going to the radiators.
That's the end of the theory. On to the practical.
I did look at the purchase prices of thermal stores. Once I had recovered from my dead faint, my resolve of building a thermal store as cheaply as possible using recycled materials was strengthened considerably!
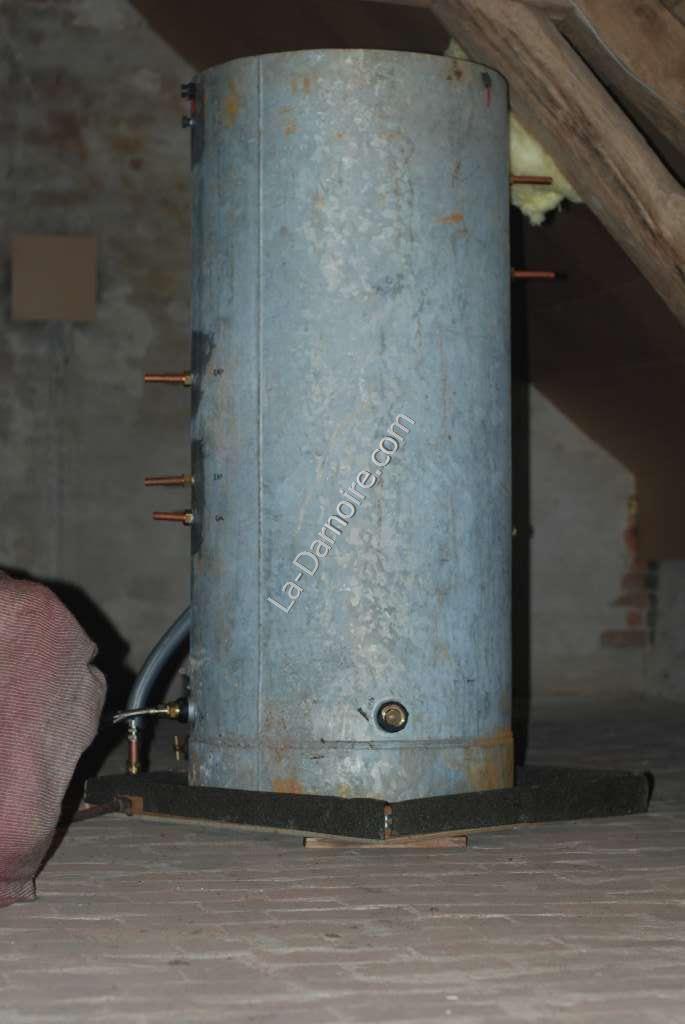
Fortunately T&M had decided to get rid of a 500 litre galvanized steel pressurized water tank, and kindly offered it to us for nothing. Not only that, they delivered it as well! It stood outside for several months before I had a chance to investigate it thoroughly; there were other jobs which needed to be done - namely, installing new double-glazed doors and windows! But here it is before anything was done to it:
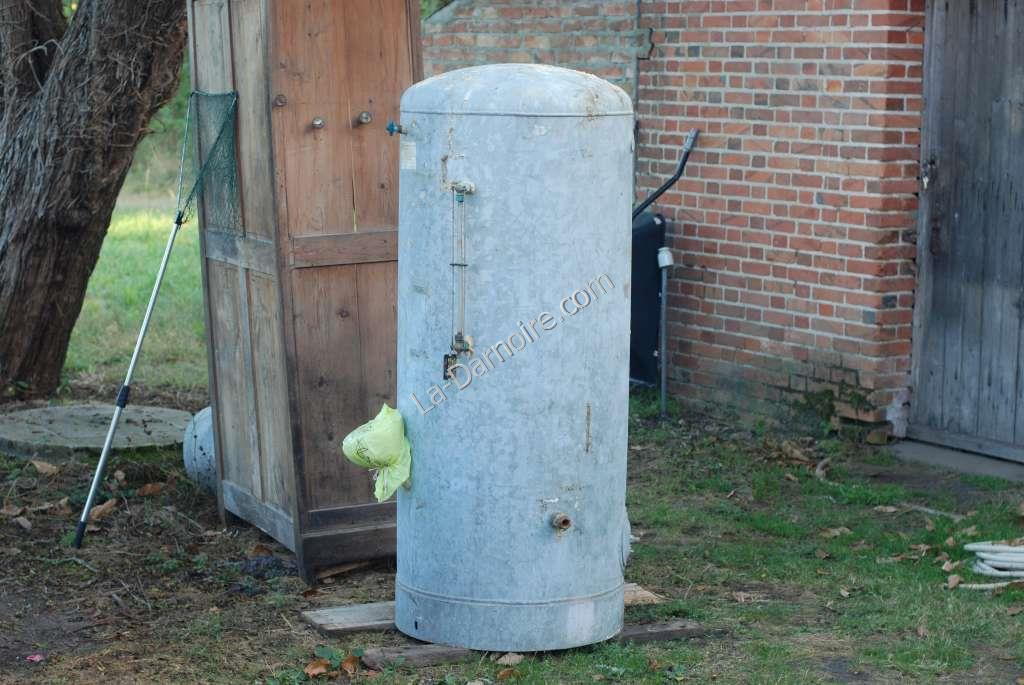
The tank itself was made in 1967, and it comes all the way from the USA.
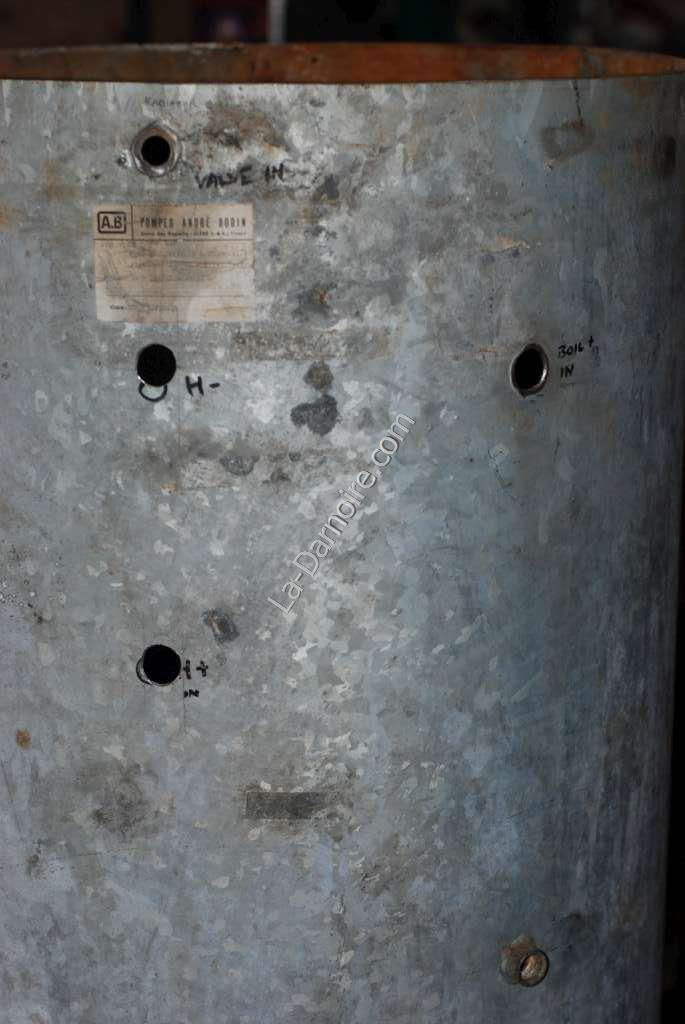
The first thing I did was cut off the top using an angle grinder. T&M were surprised to see the inside, as they had expected there to be a membrane. Well, there was no membrane inside, just a bucketful of sediment and rust. I borrowed an oxy-acetylene welder from LSS's cousins, and used this to install six brass compression fittings in the tank walls for the copper piping. (I'm not an expert welder by any means). The thermal store will contain three coils of copper tubing, each 10 metres in length and 16mm in diameter. The upper one will be used to extract heat for the domestic hot water supply; the middle coil will extract heat for a future radiator circuit; and the lowest coil will add heat from the future solar thermal panel.
Obviously I first had to drill some additional holes in the tank!
In order to form the copper coils, I first had to make a form around which to bend the copper tube. I used my router to cut two large circles from a scrap piece of chipboard, and then simply nailed some hardboard strips around the edges in order to make a cylinder. The copper tube was then coiled around this cylinder, and I soldered a short length of straight pipe onto each end. This straight section of pipe passes through the brass compression fitting in the wall of the thermal store, making it easier to remove the coil at a later date should any maintenance be required. I had to ream out the internal part of each compression fitting slightly (using a 16mm HSS drill bit in my drill press), as they are not designed to allow a copper tube to pass right through them under normal circumstances!
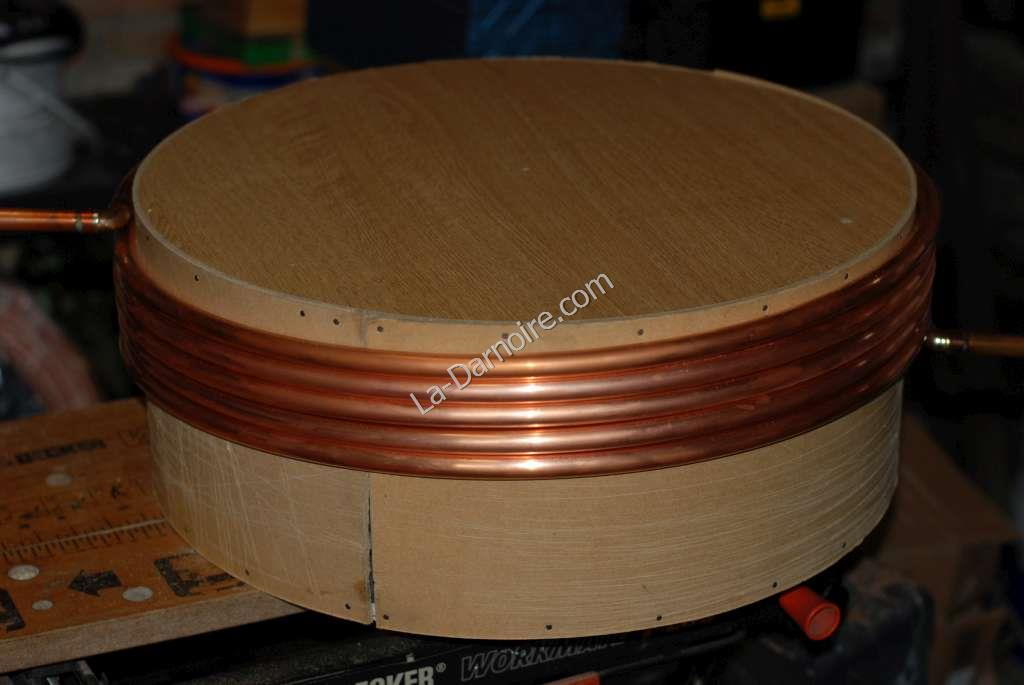
Here is a completed coil. The red wire is just re-used electrical copper wire, and serves both to keep the loops of coil apart, and to support the weight of the copper coil once it is installed in the thermal store.

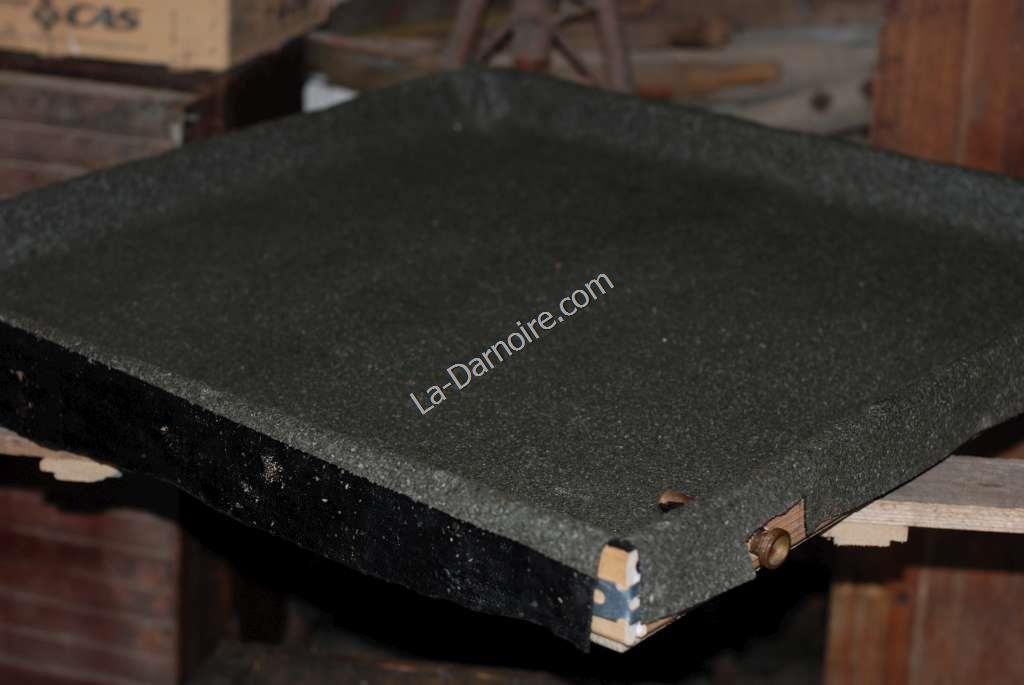
I also gave some thought to leakage. The thermal store will be installed upstairs, directly above the boiler stove, in the loft area. But because it has a large capacity, I thought it safest to situate it above a supporting wall; the last thing we need is for the thermal store to come crashing through the ceiling, inundating us with 500 litres of water! For any unforeseen drips or leaks, I thought it advisable to stand it in a tray. Obviously nothing shop-bought was used for this either; I did look but could not find anything large enough. Instead I used some melamine-faced scrap board, added some edges to form a shallow drawer, and then used some scrap roofing felt to line it. (I did test it, and it is waterproof!)
So, having successfully caught any wayward water, the next task was to design an overflow pipe to drain this water away. This took the form of a common-or-garden hosepipe. In the next photo you can see the tray, with a length of copper tube soldered to a hose end fitting (the hole in the side wall was sealed with mastic). A hosepipe simply screws onto this hose end, and leads across the floor to a hole which I drilled in the end wall.
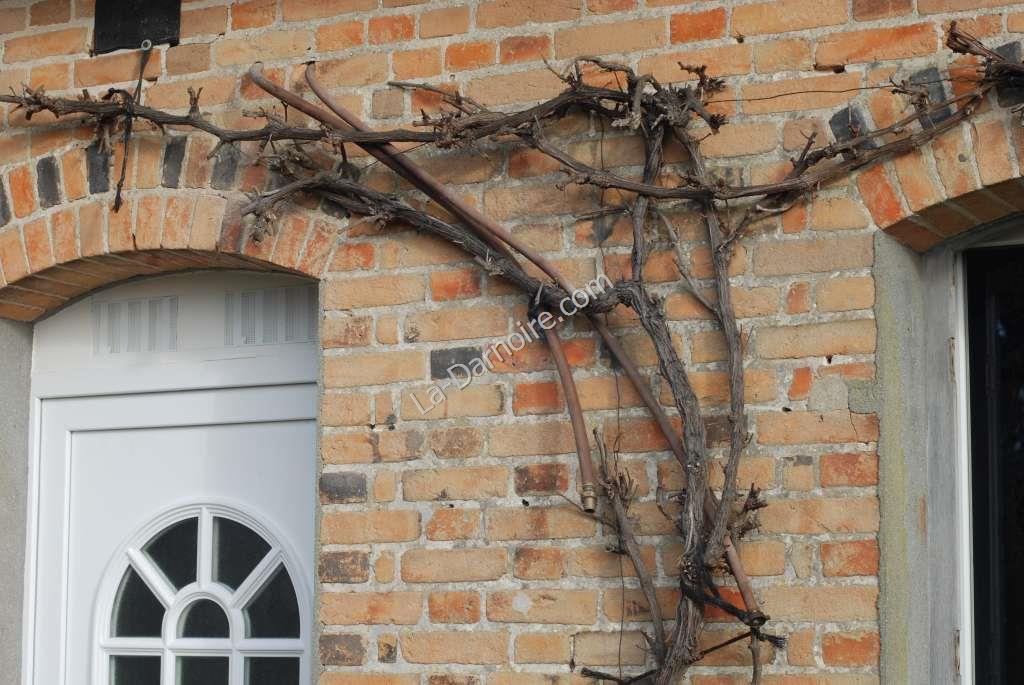
The hosepipe exits the upstairs area near the front door so that we could easily notice if we had a problem. I cunningly chose the right colour hosepipe to blend in with the surrounding grapevine! If you look carefully you'll see two pipes; one is from the thermal store drip-tray, and the other is from the water pressure cylinder drip-tray.
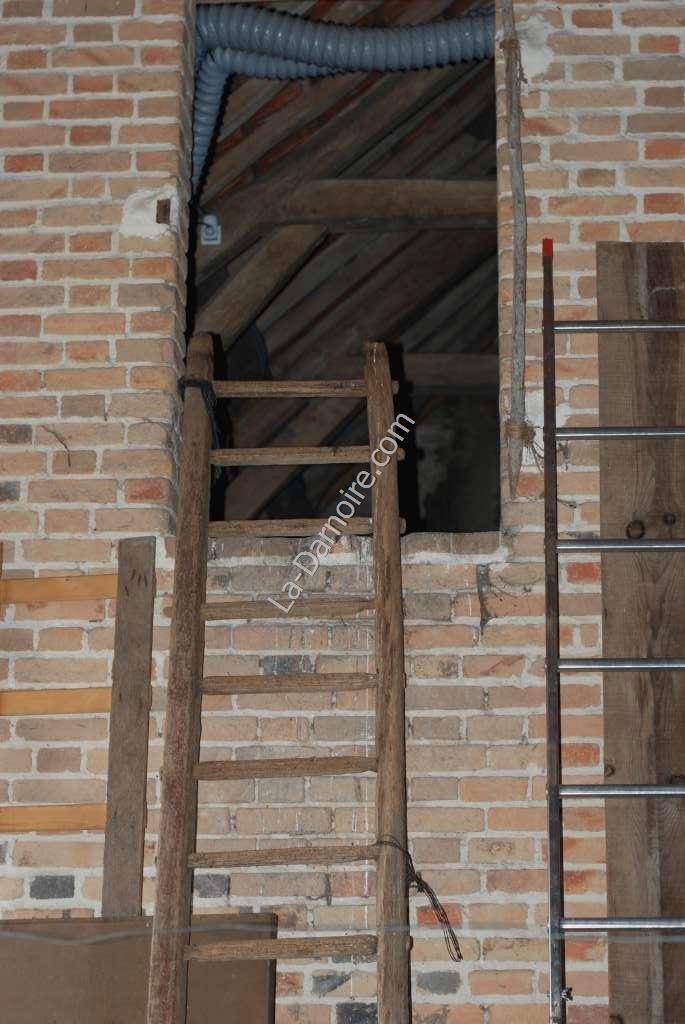
Getting the thermal store upstairs was no easy task. Fortunately the aged FIL had a block and tackle with three pulleys, so by attaching this via a rope to one of the roof beams, I followed a "rigged to advantage" procedure and was able to lift the cylinder through the access doorway, which is at a height of approximately 2.5 metres from ground level. One day I will be installing a proper staircase, which will make access to the upper floor a lot easier!
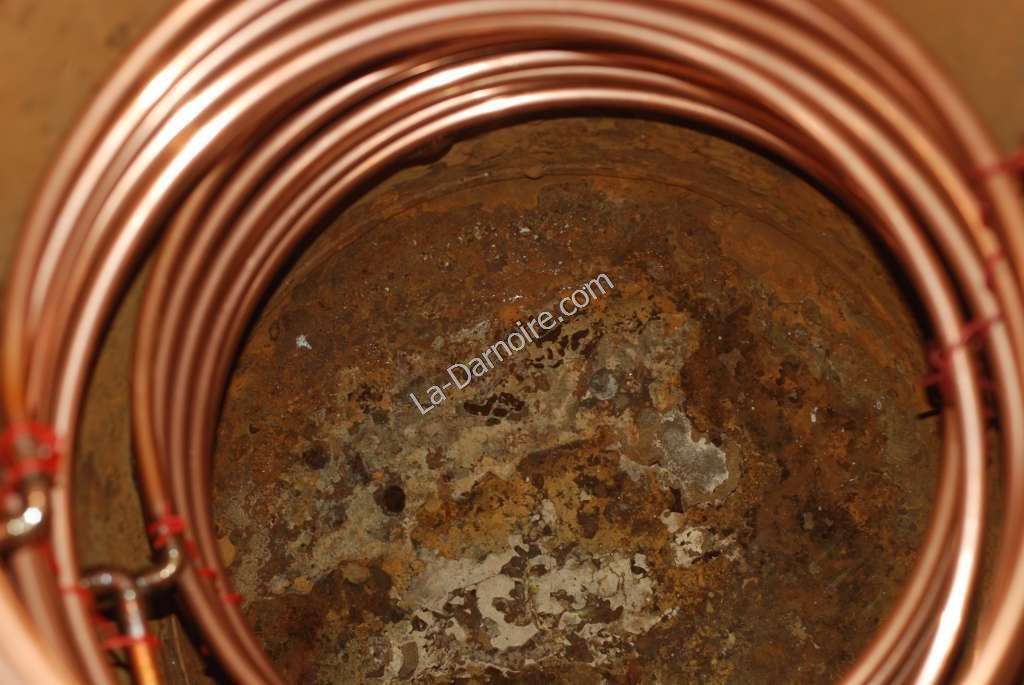
Once the cylinder was upstairs, I laid it on its side in order to install the copper coils. This was no easy task either - being accomplished by lying down and wriggling inside with a copper coil at the full extent of my arms - nor was it easy to photograph the coils once they were in place! (I did clean out the rust from the thermal store as best I could, but decided against painting the inside).
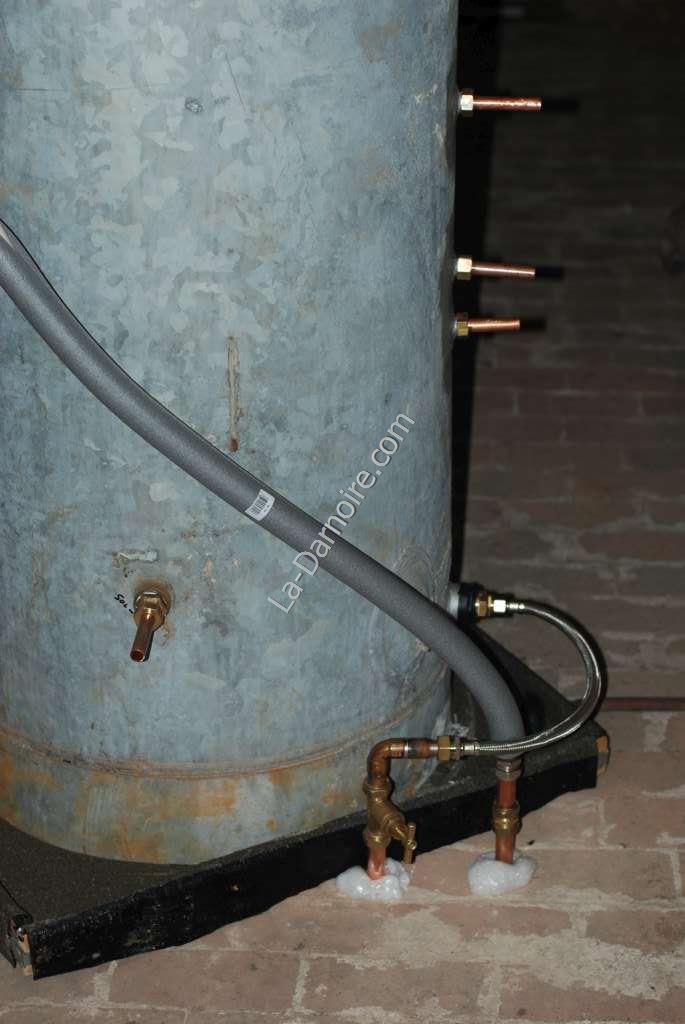
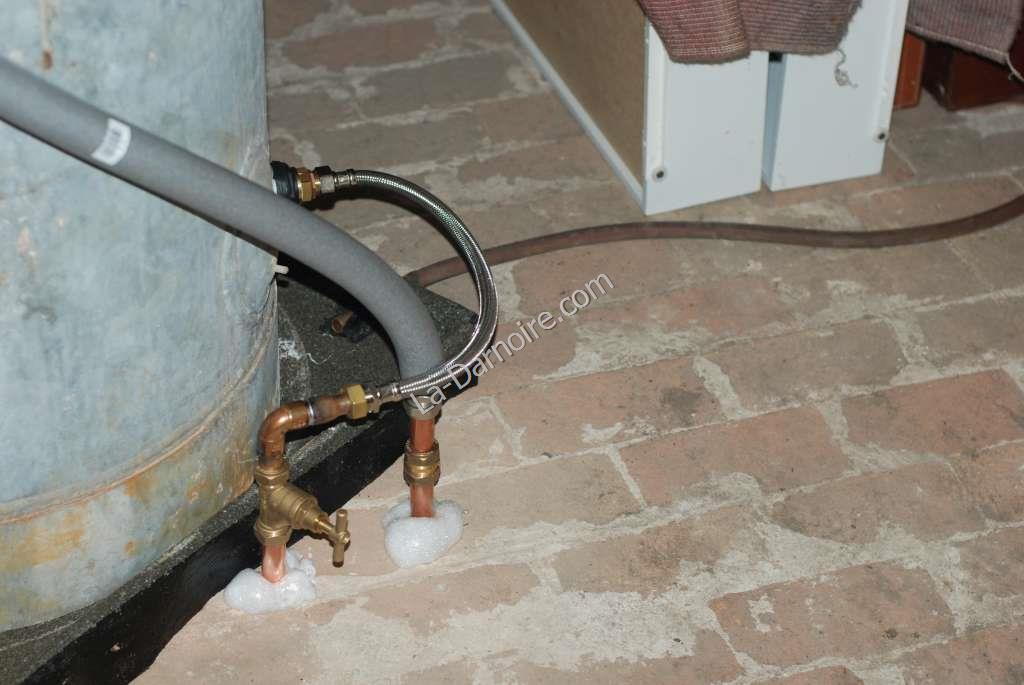
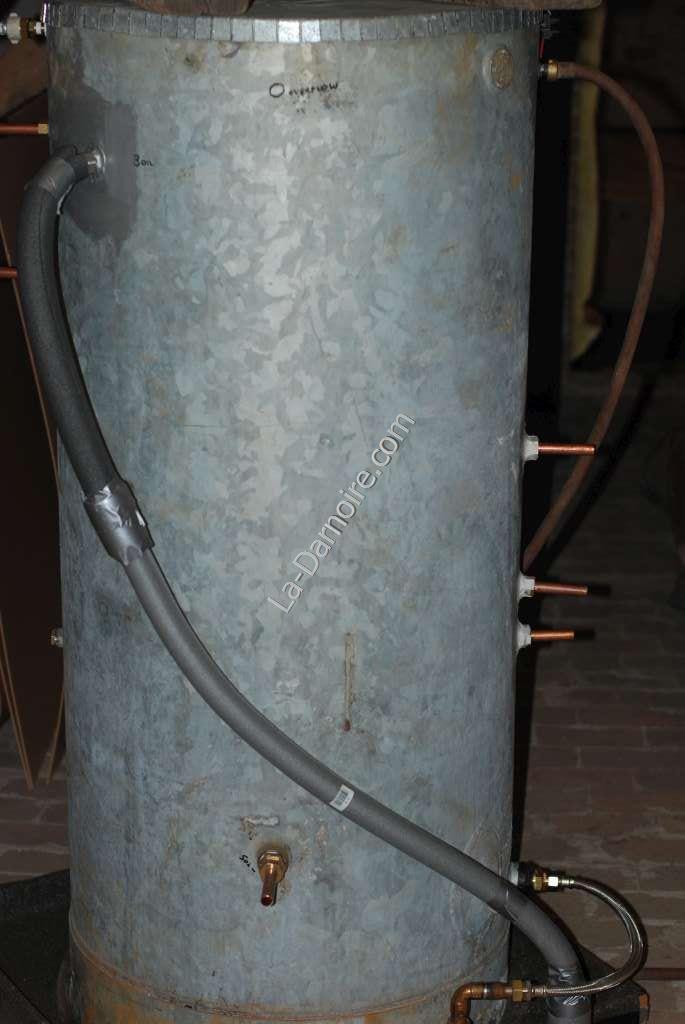
With the thermal store upright on its drip tray, holes could then be drilled in the lounge ceiling for the pipes leading to the boiler stove. For ease of installation I used flexible pipes here; the one in the foreground is for the boiler return. I installed a stop tap in this location in case the boiler stove ever needs to be drained; this saves emptying the entire thermal store! The insulated pipe is for the boiler-heated water entering the top of the thermal store. The entire thermal store will of course be insulated using several layers of glass fibre insulation - but this will only be done once testing is complete and the various temperature probes have been installed. There will be five temperature probes; a control panel (constructed later) will display the readouts as well as housing the pump controller for the future solar thermal panel on the roof. The temperatures will be measured at the boiler stove exit (top of the thermal store), bottom of thermal store, solar panel outflow, hot water supply feed, and the last one will monitor the upstairs temperature (as LSS is also using this area during the winter to store her garden produce like potatoes!)
Unfortunately, because of the height of the roof beams, it was not practical to re-install the original top of the thermal store, so instead I made a new lid out of a sheet of galvanized iron. To bend the lip around the circumference I made lots of short, parallel cuts with an angle grinder. It's not pretty, but it did the job! As you can see, this makes it an open vented system, so there is no need for the installation of any pressure relief valves. Legionnaires' disease is not an issue either; even if the Legionella bacterium existed in the thermal store (which is unlikely as the temperature at the top is over 60 °C) there is no danger of contamination of the hot water supply, because there is no direct contact between the hot water in the pipes to the hot taps and the water in the thermal store. I will be adding some propylene glycol to the water in the thermal store, but I'm not sure how effective it will be for rust prevention. The temperature upstairs should never go below freezing anyway.
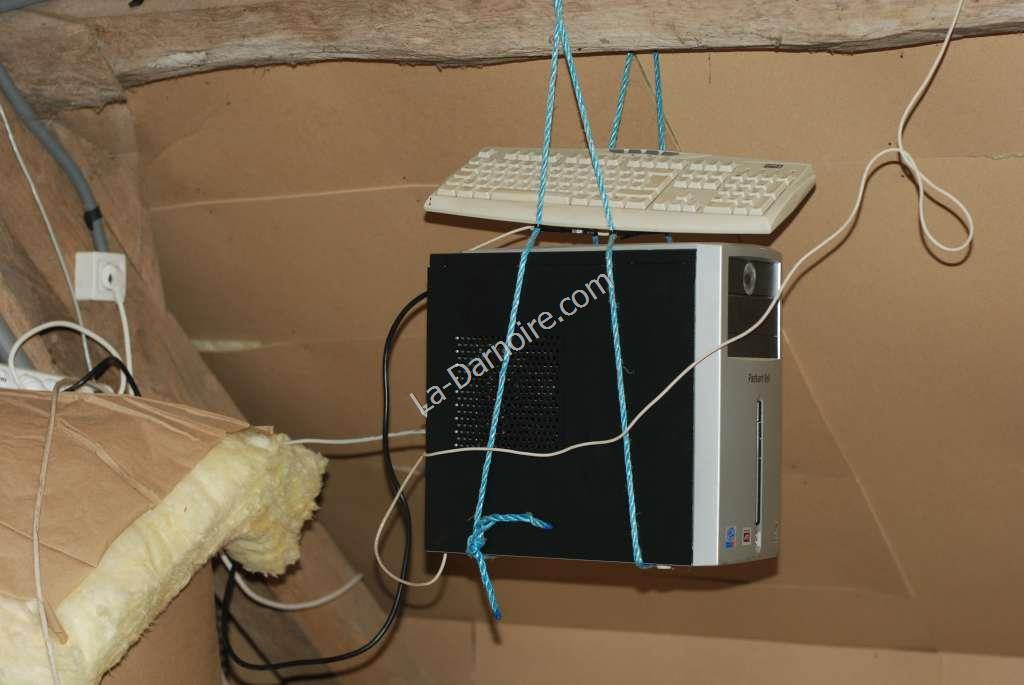
Oh - and here's a parting photo of my server which now resides upstairs as it's too noisy to have in the lounge! I suspended it from a roof beam both to keep it out of the way and because it's quieter that way.
Next page: Testing and Thermal Store Insulation